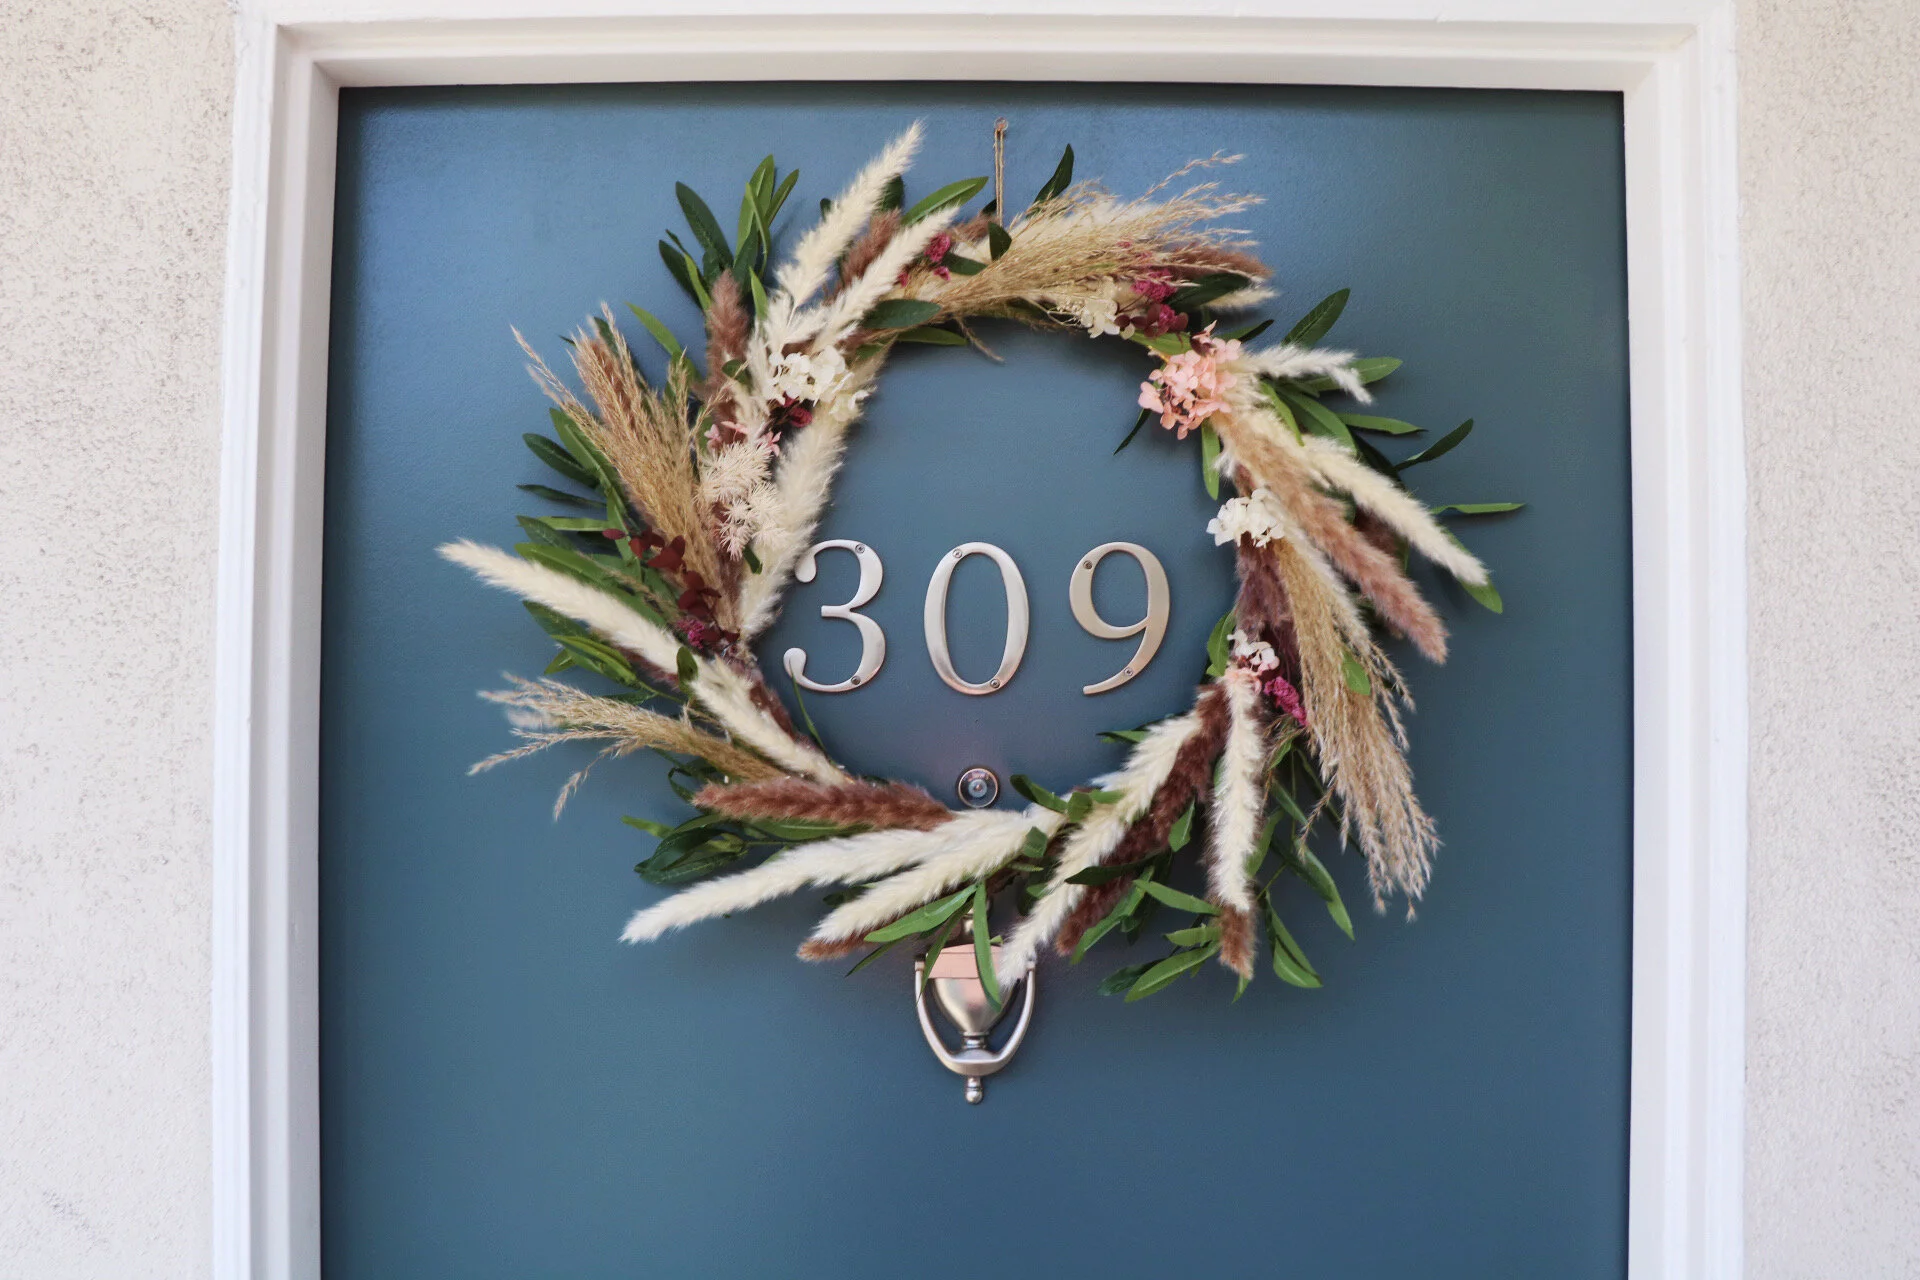
A Boho-Inspired Wreath
Wreaths are not just for the holidays! Make your front door feel like a welcoming entrance by crafting a wreath that fits the summer season. I’ve been working with my client and friend, Angela, on making her studio apartment feel like a colorful, bohemian oasis and one request she’d had from the beginning was a handmade wreath for her front door. I loved how this one turned out, and it looks particularly good in contrast to the deep teal color of her door.
Follow along to make one of your own! Use different greenery or floral selections to fit your unique style, preference, and home decor style.

Materials needed:
Green floral wire + wire cutters
Green floral tape (optional)
Faux-greenery (I used eucalyptus)
Dried florals (real or faux)
Twine (for hanging)
Hot glue
How to:
Assemble your materials. I found that the faux-florals selection at big box crafting stores was lacking in the bohemian-inspired department, but luckily I was able to snag the perfect items off of Amazon (everything is linked in the Materials list above). The key is to pick items that are fake, but don’t look fake. Otherwise you might veer into the dated, old-lady wreath territory (unless that’s the look you’re going for - it could be retro!!)
Build the base of your wreath around the gold hoop. Attach all floral pieces by wrapping small snips of green floral wire around both the floral and the hoop. I decided to have my base be the darker pampas grass pieces, and build up the look of the wreath from there.
Continue to add in pampas grass and greenery. Try to hide the green floral wire as best you can. I found that it was easiest to do so by grouping pampas grass and greenery together.
Once you’ve achieved a full wreath, it’s time to tuck in the dried florals. I used a combo of tucking in the flowers to existing green wire pieces, and further securing in place with hot glue. I personally liked a more asymmetrical look (it felt more bohemian) and achieved this by grouping similar colors together throughout the wreath, but not necessarily with the same materials.
Tie a loop of twine around the top of the wreath. Secure in place with a dot of hot glue. Let it dry completely before hanging onto your front door.


When selecting the hanging placement of the wreath, I had to choose between hanging it low underneath the unit numbers, or hanging it high as if to frame them. Ultimately, the low choice looked way too low, so high it was! I also didn’t want to block the knocker or peep-hole. I think in a perfect world, it would be slightly lower, but with the other elements of the door, I didn’t have a whole lot of wiggle room.

This entrance feels so welcoming and lovely. I love the way the colors of the wreath are complimented by the deep teal of the door, and it’s a little sneak peak at the other bohemian elements inside the rest of the studio. Oftentimes, our entryways get left behind as an afterthought; however, I think it’s important be just as excited to walk up to your home as it is to live in it. Little elements like wreaths, planters, and welcome mats are easy and affordable ways make you smile whenever you come home.
Once it got it all hung up, Angela and I both decided that this wreath could work from spring, summer, and fall! I’m really happy that it doesn’t fall into just one seasonal category, giving Angela maximum usage throughout the year. I love a good DIY and a happy client!

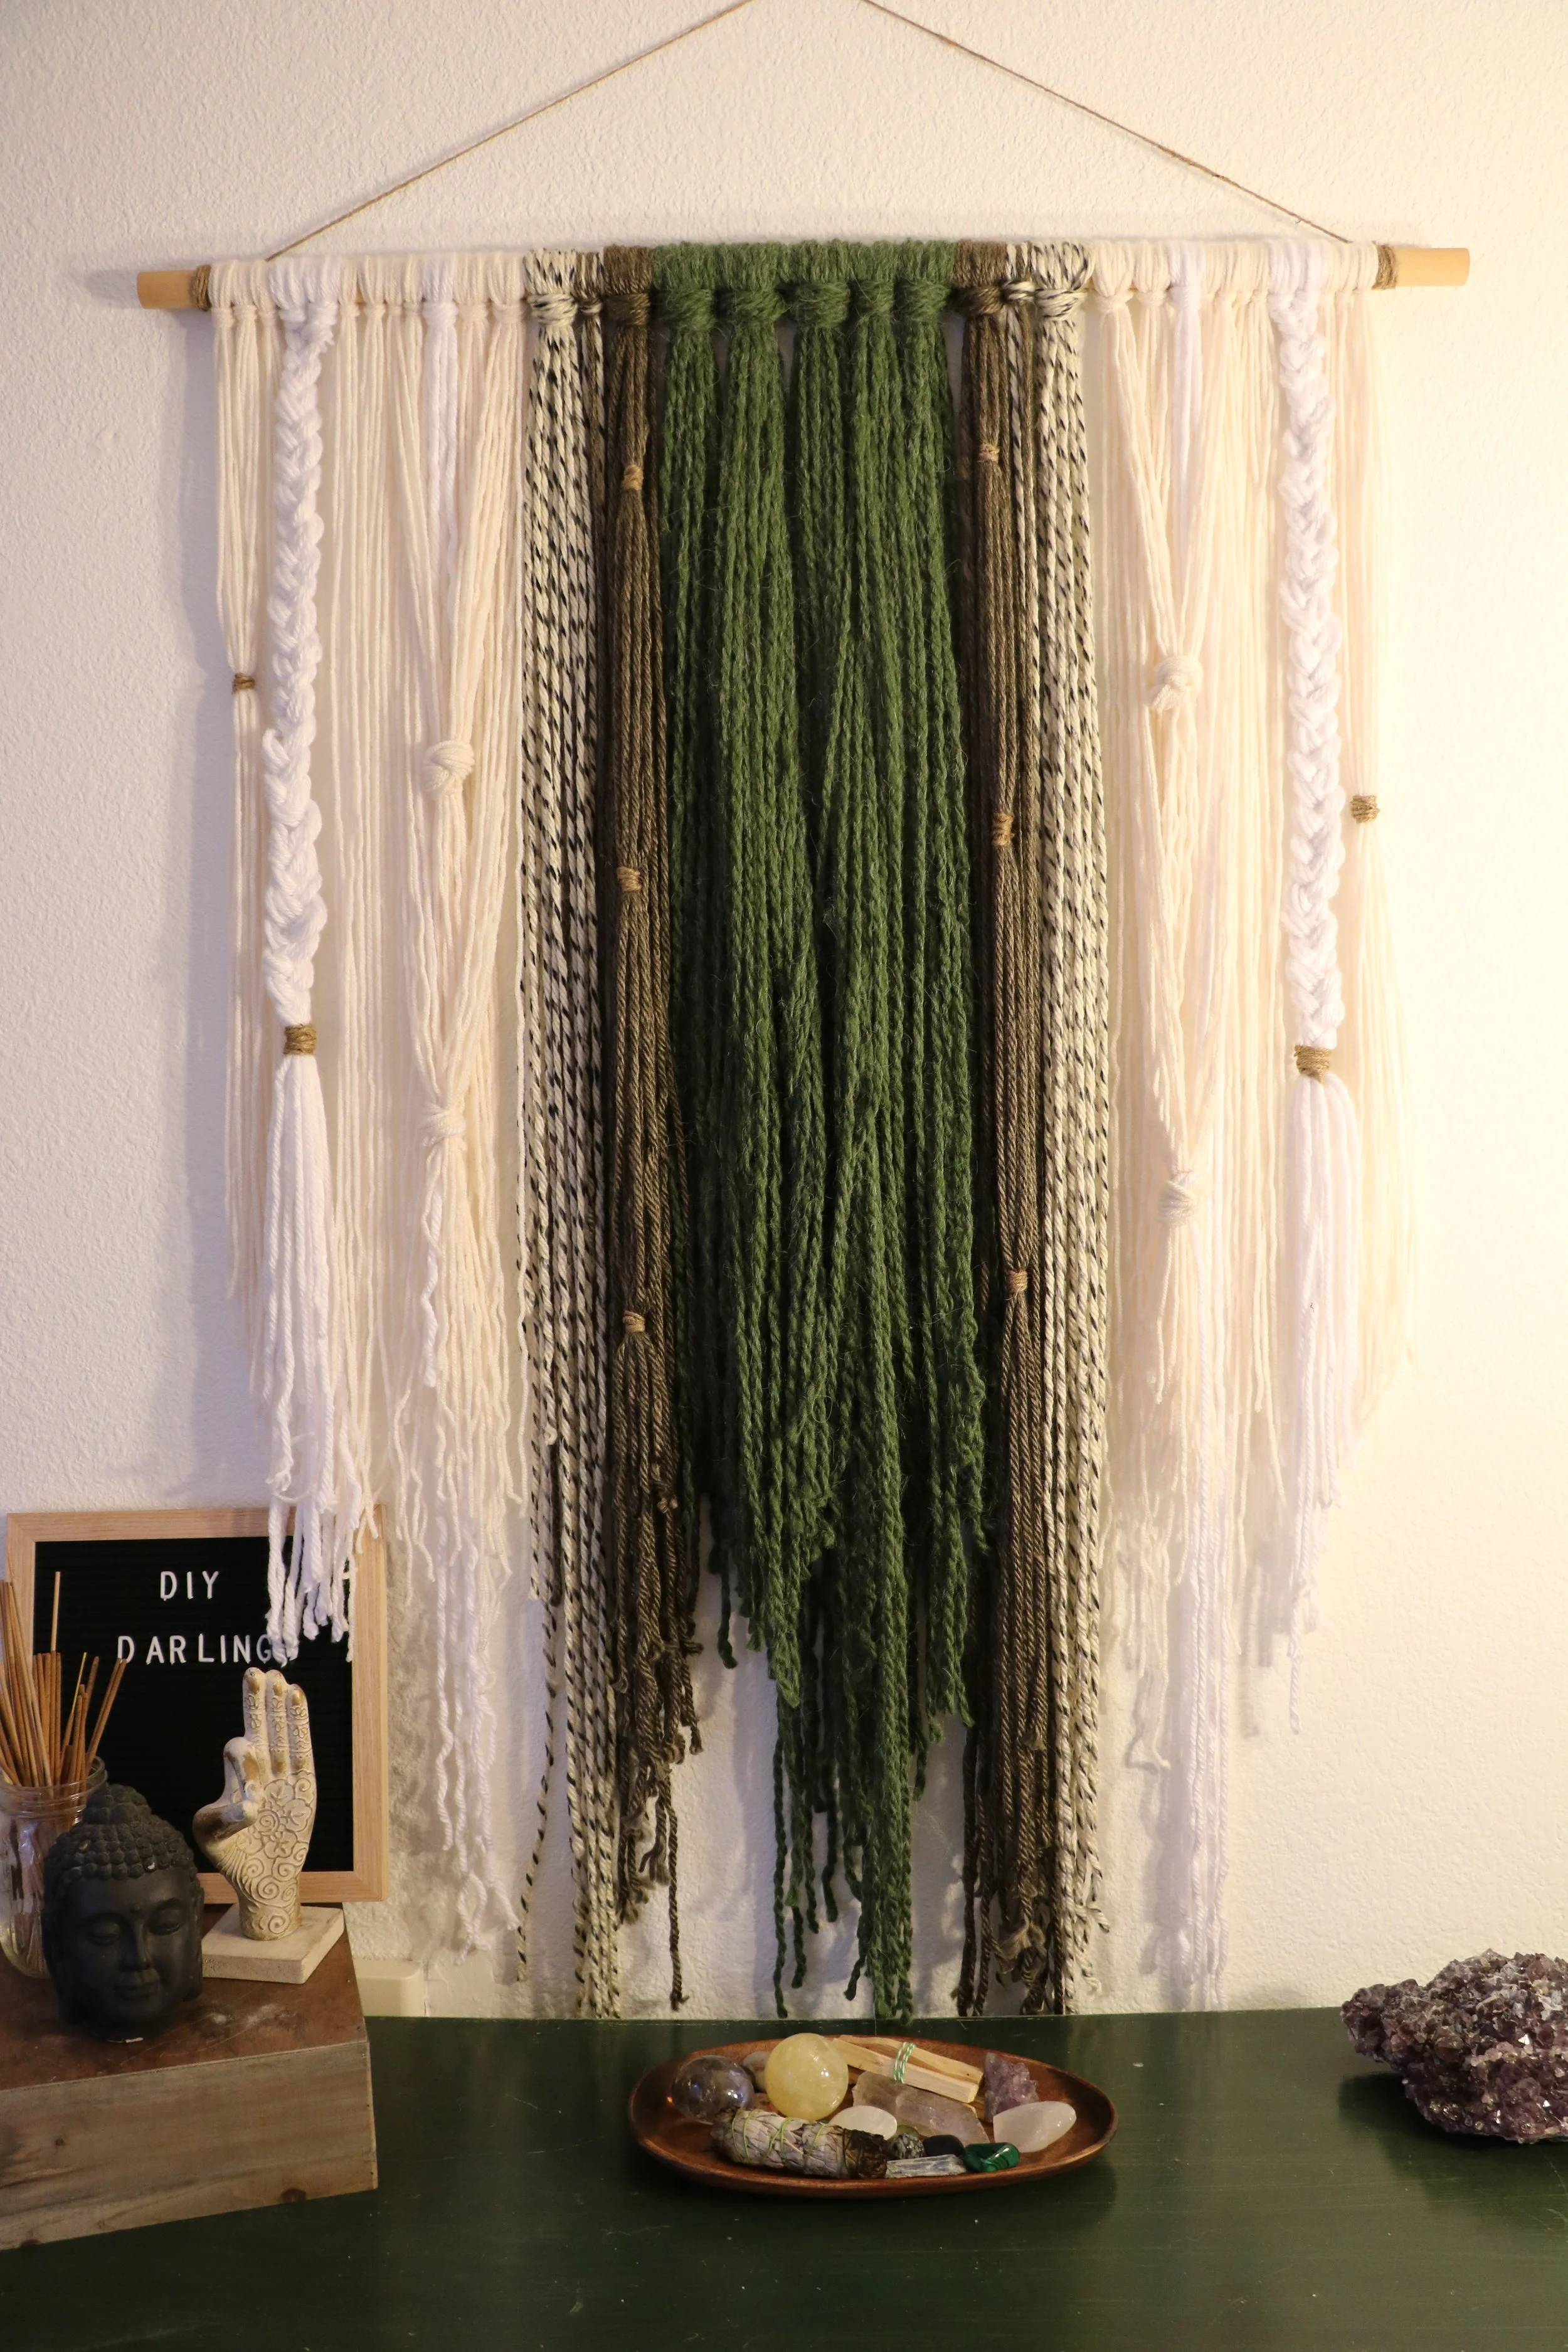
Check out the other projects I’ve done at Angela’s studio, like the Crate Nightstand, the Hand-Stenciled Tile Backsplash, the Half-Moon Painted Headboard, the Basket Light Hanging Hack, and the Wine Corkboard.