Half-Moon Painted Headboard
SO excited to start sharing a few client projects - first up is this half-moon painted headboard. The painted arch trend is popping up all over the place, and I was excited that my client, Angela, wanted to give this a shot for her studio apartment.
To give some back story: I’ve been working on the design and moodboard for Angela for about a month now. Here is what I came up with to transform her studio into a colorful and fun home.

Overall color scheme and vibe. Address has been redacted.

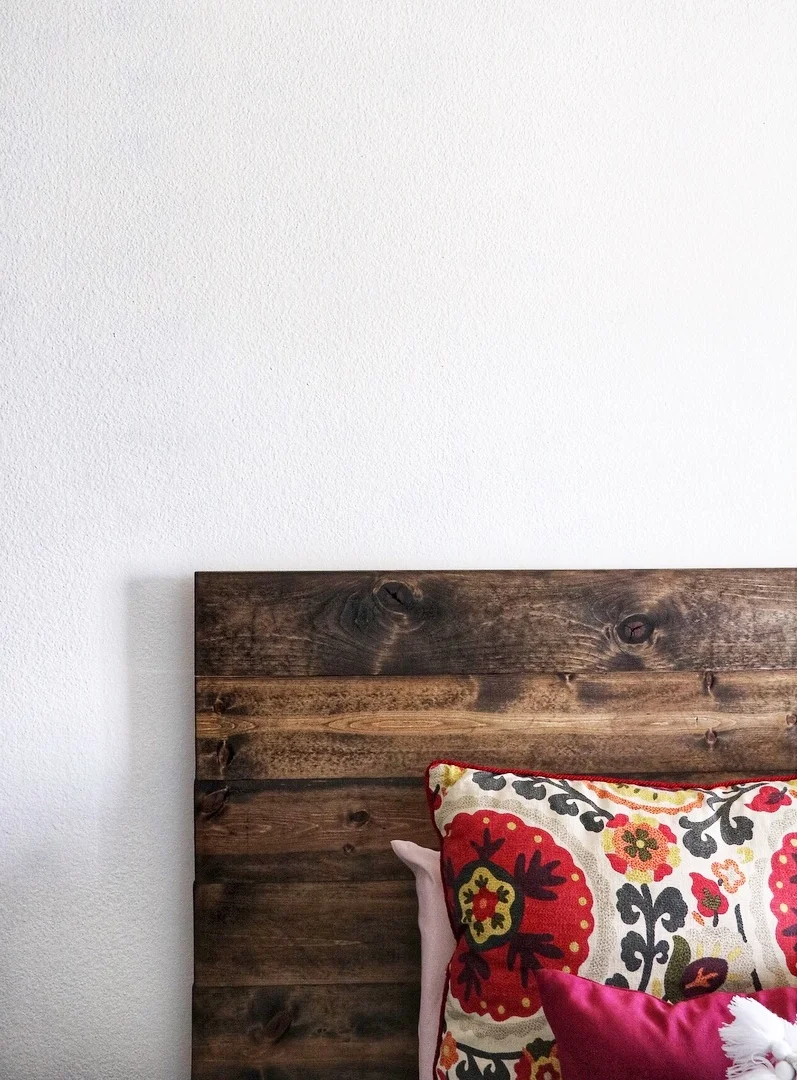
Bedroom area.

Living room area.

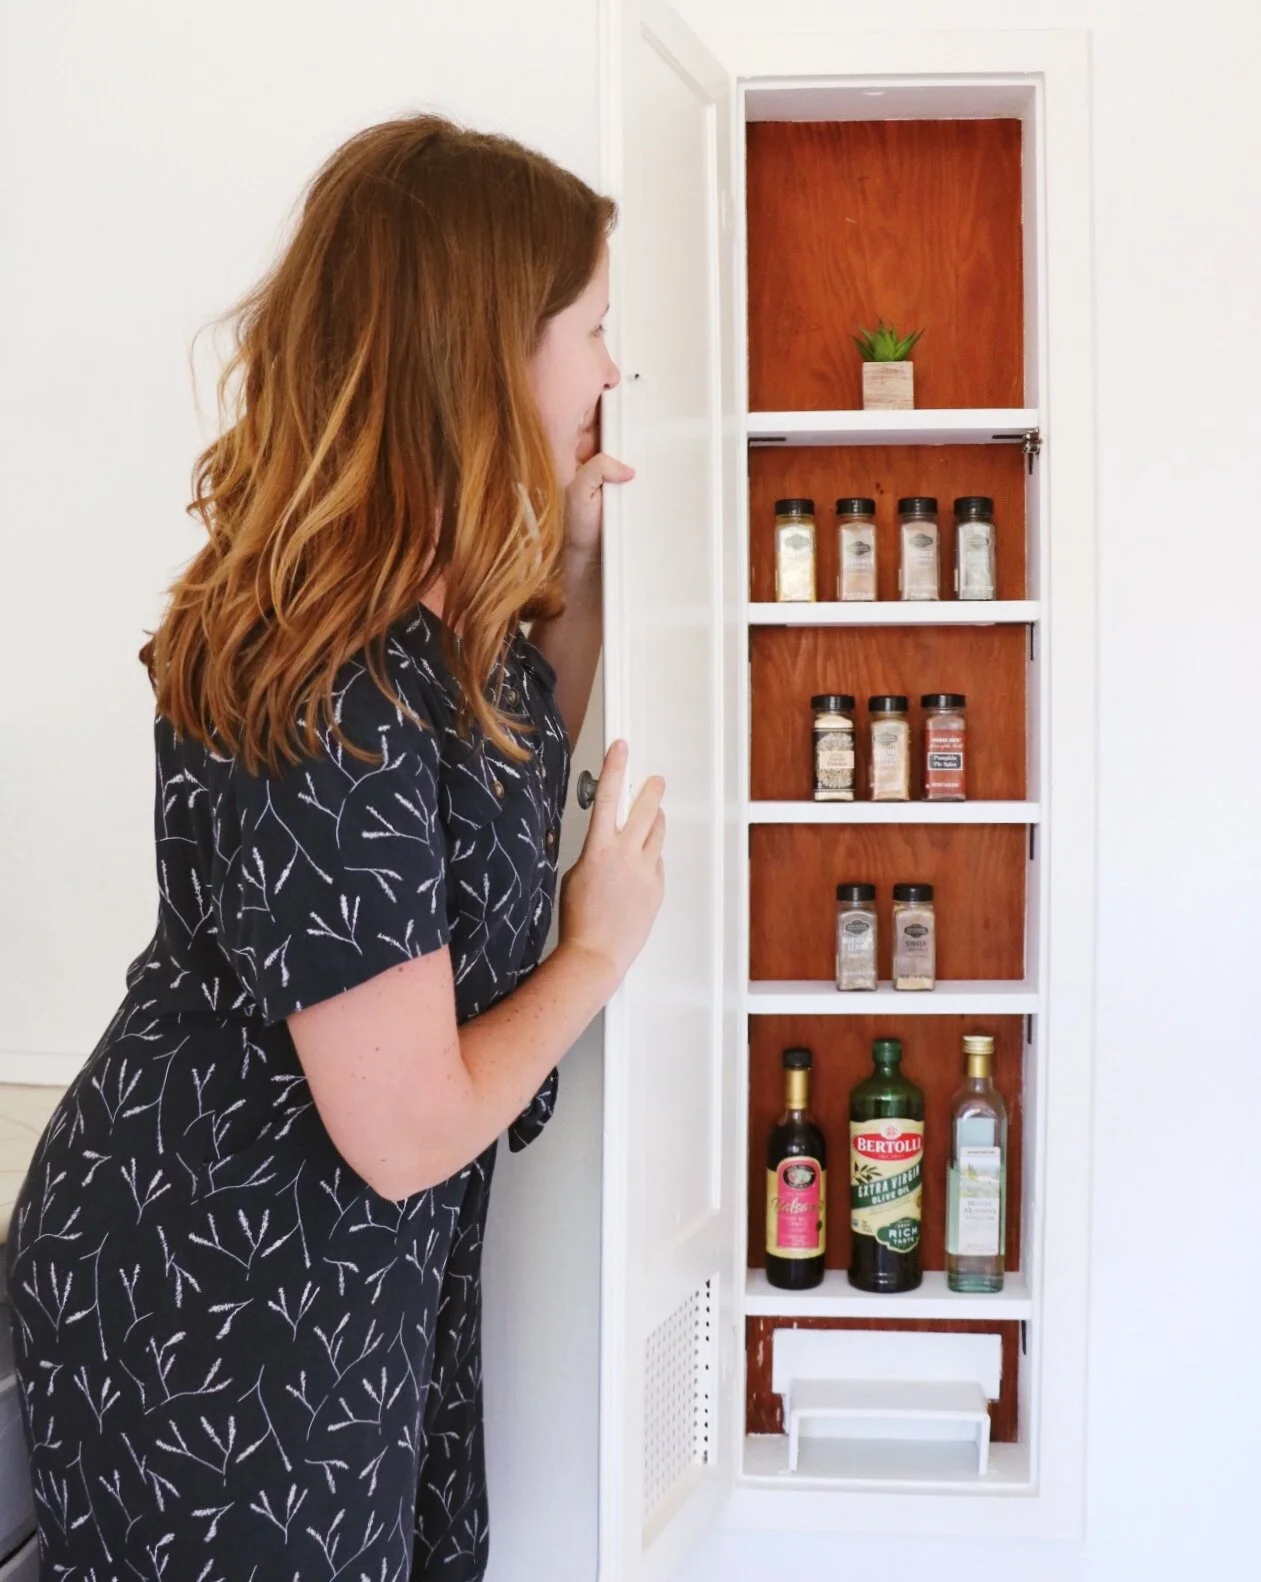
Kitchen area. Bathroom.
Moving is never easy, and unfortunately, Angela encountered a bit of renter’s drama and had to break her lease and move apartment buildings about a week after we finalized the design. BUT lucky for us, the new studio she found had dimensions that totally worked with the furniture we picked out! Score!!
The main challenge about designing a studio is coming up with a layout that delineates the different living spaces. You need a bedroom, living room, office, and dining room all in one space. It’s like a fun puzzle trying to make all the pieces fit together and work! From a design perspective, one was to make it feel cohesive is to use a complimentary color palate throughout the studio. Utilizing rugs and paint are also two fantastic ways to break up the room so your brain understands “this is the living room” and “this is the bedroom".

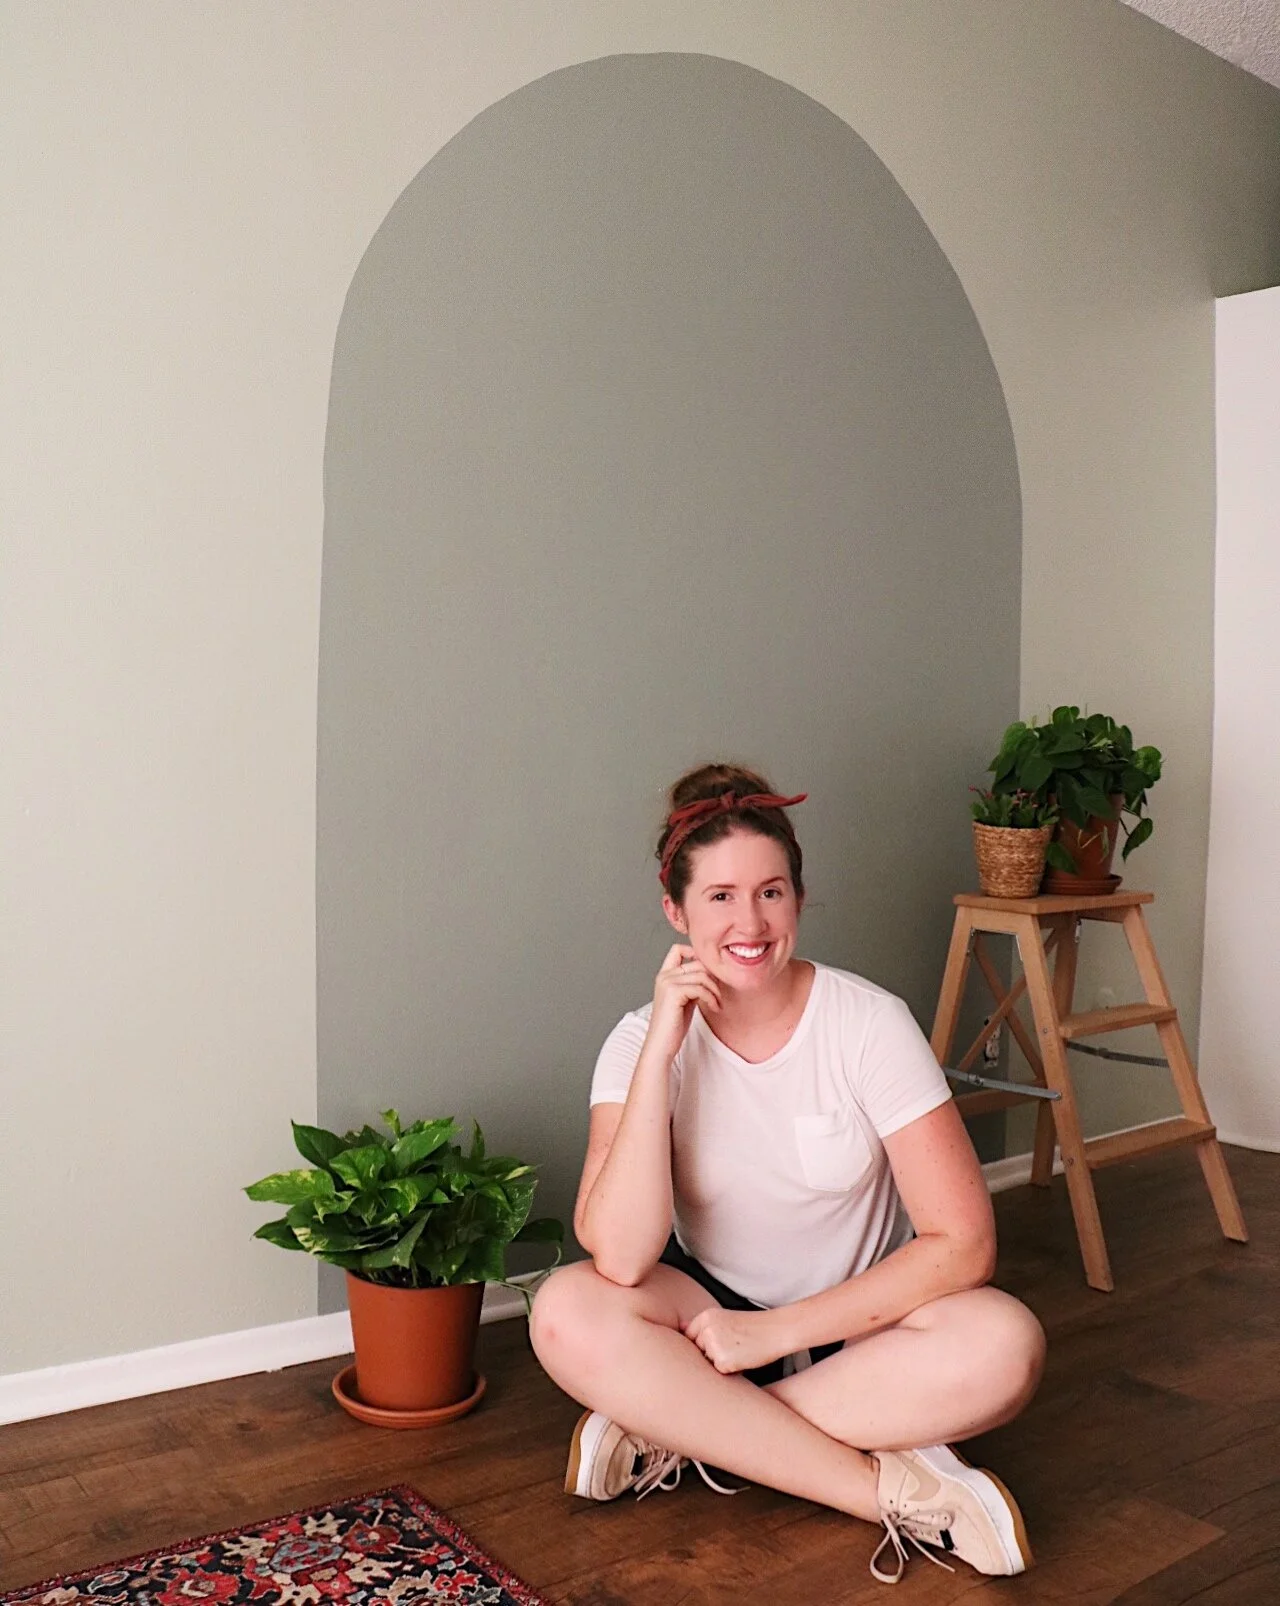
From the start, Angela loved the idea of sage green walls. I set out to find a few paint samples that could work. We both decided on Liveable Green by Sherwin Williams and it turned out SO GOOD. It was the perfect sage-y green color and looked a lot lighter on the walls than in this picture. We were thrilled with the choice!

Something about that Flora (by Benjamin Moore) kept speaking to us - but it was way too dark for all of the walls. Then, inspiration struck and I asked Angela if she’d let me attempt a half-moon arch. I was excited to use such a beautiful color and try something new! Keep reading for the ‘how to’.
MATERIALS:
Paint (a sample-sized can was the perfect amount for two coats)
Small finishing nail
Twine/string
Pencil
Level
Painter’s tape
White paintable latex caulk
Angle paint brush
Paint roller
Disclosure: My content is reader-supported, which means that when you purchase through links on my site, I may earn an affiliate commission. Learn more here.
INSTRUCTIONS:
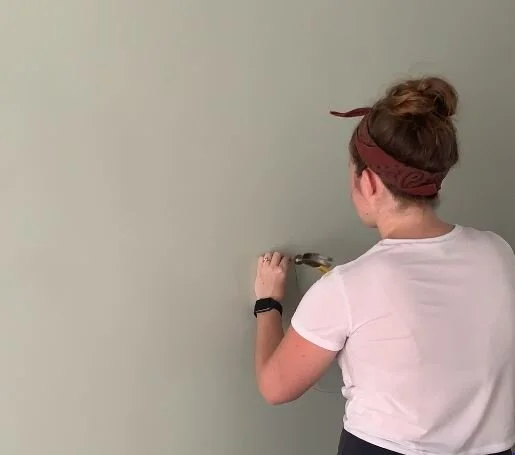
Measure the width of the bed. Mark the center point. Tie a piece of twine to a small finishing nail, and lightly hammer into the center of the half-arch. Tie the other side to a pencil.

2. Pull the twine taut. Use a level to make sure you’re starting from a… well, level, place. Draw a half circle.


3. Using painter’s tape and a level (to ensure a straight line) tape down the straight sides to the baseboards.


4. Using all-purpose, paintable caulk, line the inside edges of the painter’s tape. Wipe the excess off with your finger. This is the famous CAULK TRICK. I recently learned this one, and now I’m obsessed with it. Basically, it acts as a barrier for your paint, and stops it from bleeding under the painter’s tape. It’s crucial if you have textured walls and want a crisp paint line.

5. Don’t forget to tape and Caulk Trick the baseboards! Now you are prepped and ready to paint.


6. Using your angle brush, load it up with a decent amount of paint. Take a deep breath. Go slow. And steadily paint the arch.

Note: this will never be 100% perfect, so perfectionist may want to pick a different accent idea. I think I did a pretty damn good job though!


7. Load up your roller brush and cover the remaining surface area. Especially with a darker color, you will need a second coat. Wait at least 30 minutes in between coats.

8. Pull off painter’s tape and style it out! (It was still a little wet during photo time, so just imagine a bed pushed up against it.)

There you have it! I love the way this turned out and I am so excited about the color going on in this studio. Lots more to come, so stay tuned for more studio apartment projects!