

How to Install Drip Line Irrigation from a Hose Bib
I am one step closer to the garden of my dreams after installing a drip line irrigation system from our backyard hose bib - and I’m here today to teach you how to do it yourself! Keep reading for a step-by-step guide on digging out a trench, connecting the correct irrigation pieces, and setting your raised garden beds up for success to grow a plentiful harvest next spring.
Here’s the short of it - plants, veggies, flowers, and herbs all need water to grow. That’s a no brainer. And rather than taking on the arduous task of daily watering by hand, the best way to have a successful garden is to have automatic drip line irrigation. This is my first real garden, so I’m doing all that I can to lay the groundwork the right way.


First, some pretty inspiration photos to help with motivation. Yardwork of any kind is no joke so I love getting inspired by what my garden will hopefully look like in the future, as a result of all my labor today.
These raised garden beds are a mix of flowers, veggies, and herbs, which is exactly what I’m hoping for!
All the Materials You’ll Need for a Drip Line Irrigation System:
1/2 in. x 100 ft. distribution tubing for drip irrigation
6 in. galvanized stakes
1/2 in. compression end plug
3/4 in. female hose thread x 1/2 in. drip tubing adapter1/2 in. barbed tees
Drip tubing cutter/hole punch combo tool
1/2 in. barbed on/off valve
Garden hose splitter
Outdoor garden hose faucet timer
Disclosure: My content is reader-supported, which means that when you purchase through links on my site, I may earn an affiliate commission. Learn more here.


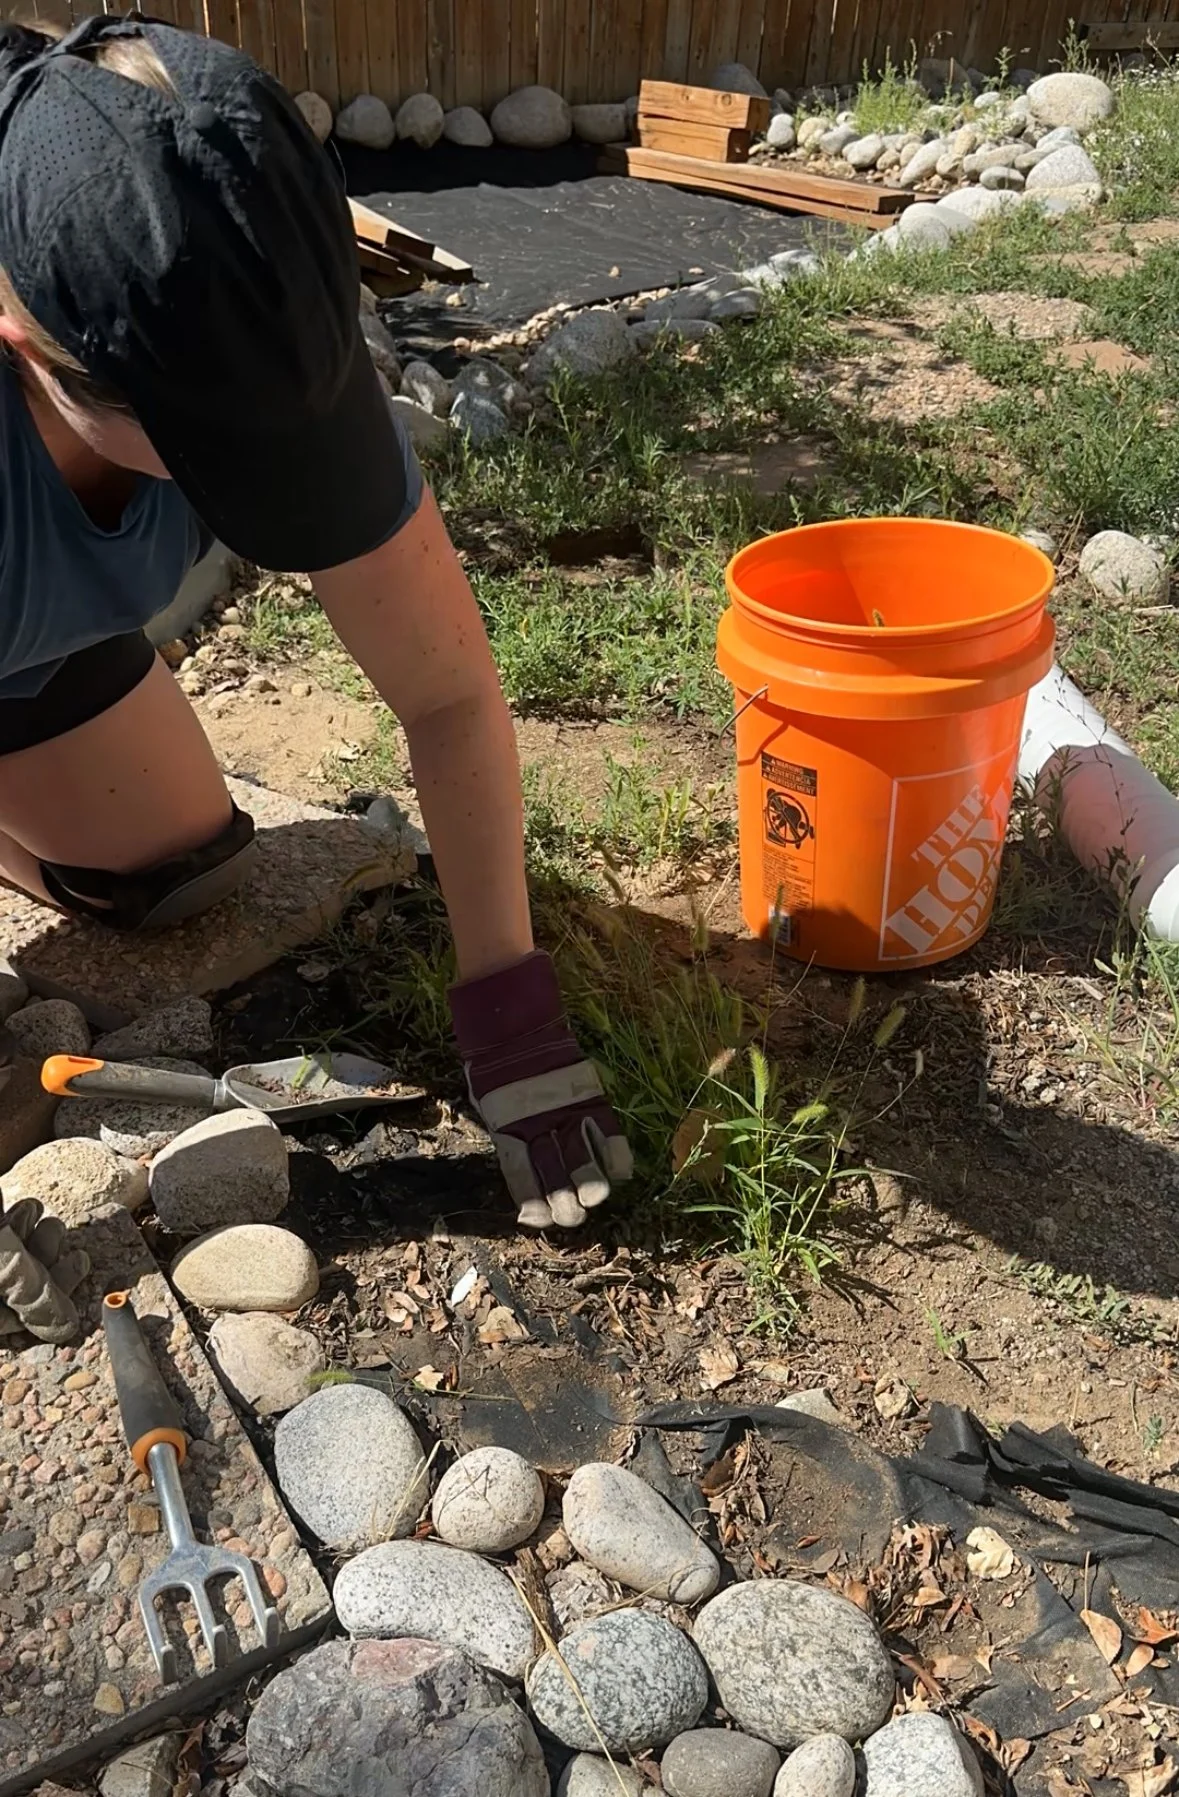
The first task is clearing the way for a shallow ditch for the irrigation tubing. In my case, that looked like moving a lot of rocks and weeding for over an hour. Not to mention it was a HOT end-of-summer day (we’re talking 90 - 100 degrees people!!) so I tried to work quickly and take lots of water breaks.
Dig a 5 - 8” trench from the hose bib to your garden bed. Mine was ultimately going underneath a paver pathway, so I wanted to be sure it would be buried enough to avoid any damage from walking on top of the pavers above it.
Next, connect the hose splitter to the hose bib faucet (it should easily screw in!) and add the hose faucet timer, the female hose thread tube adaptor, and then the 1/2” distribution tubing IN THAT ORDER.
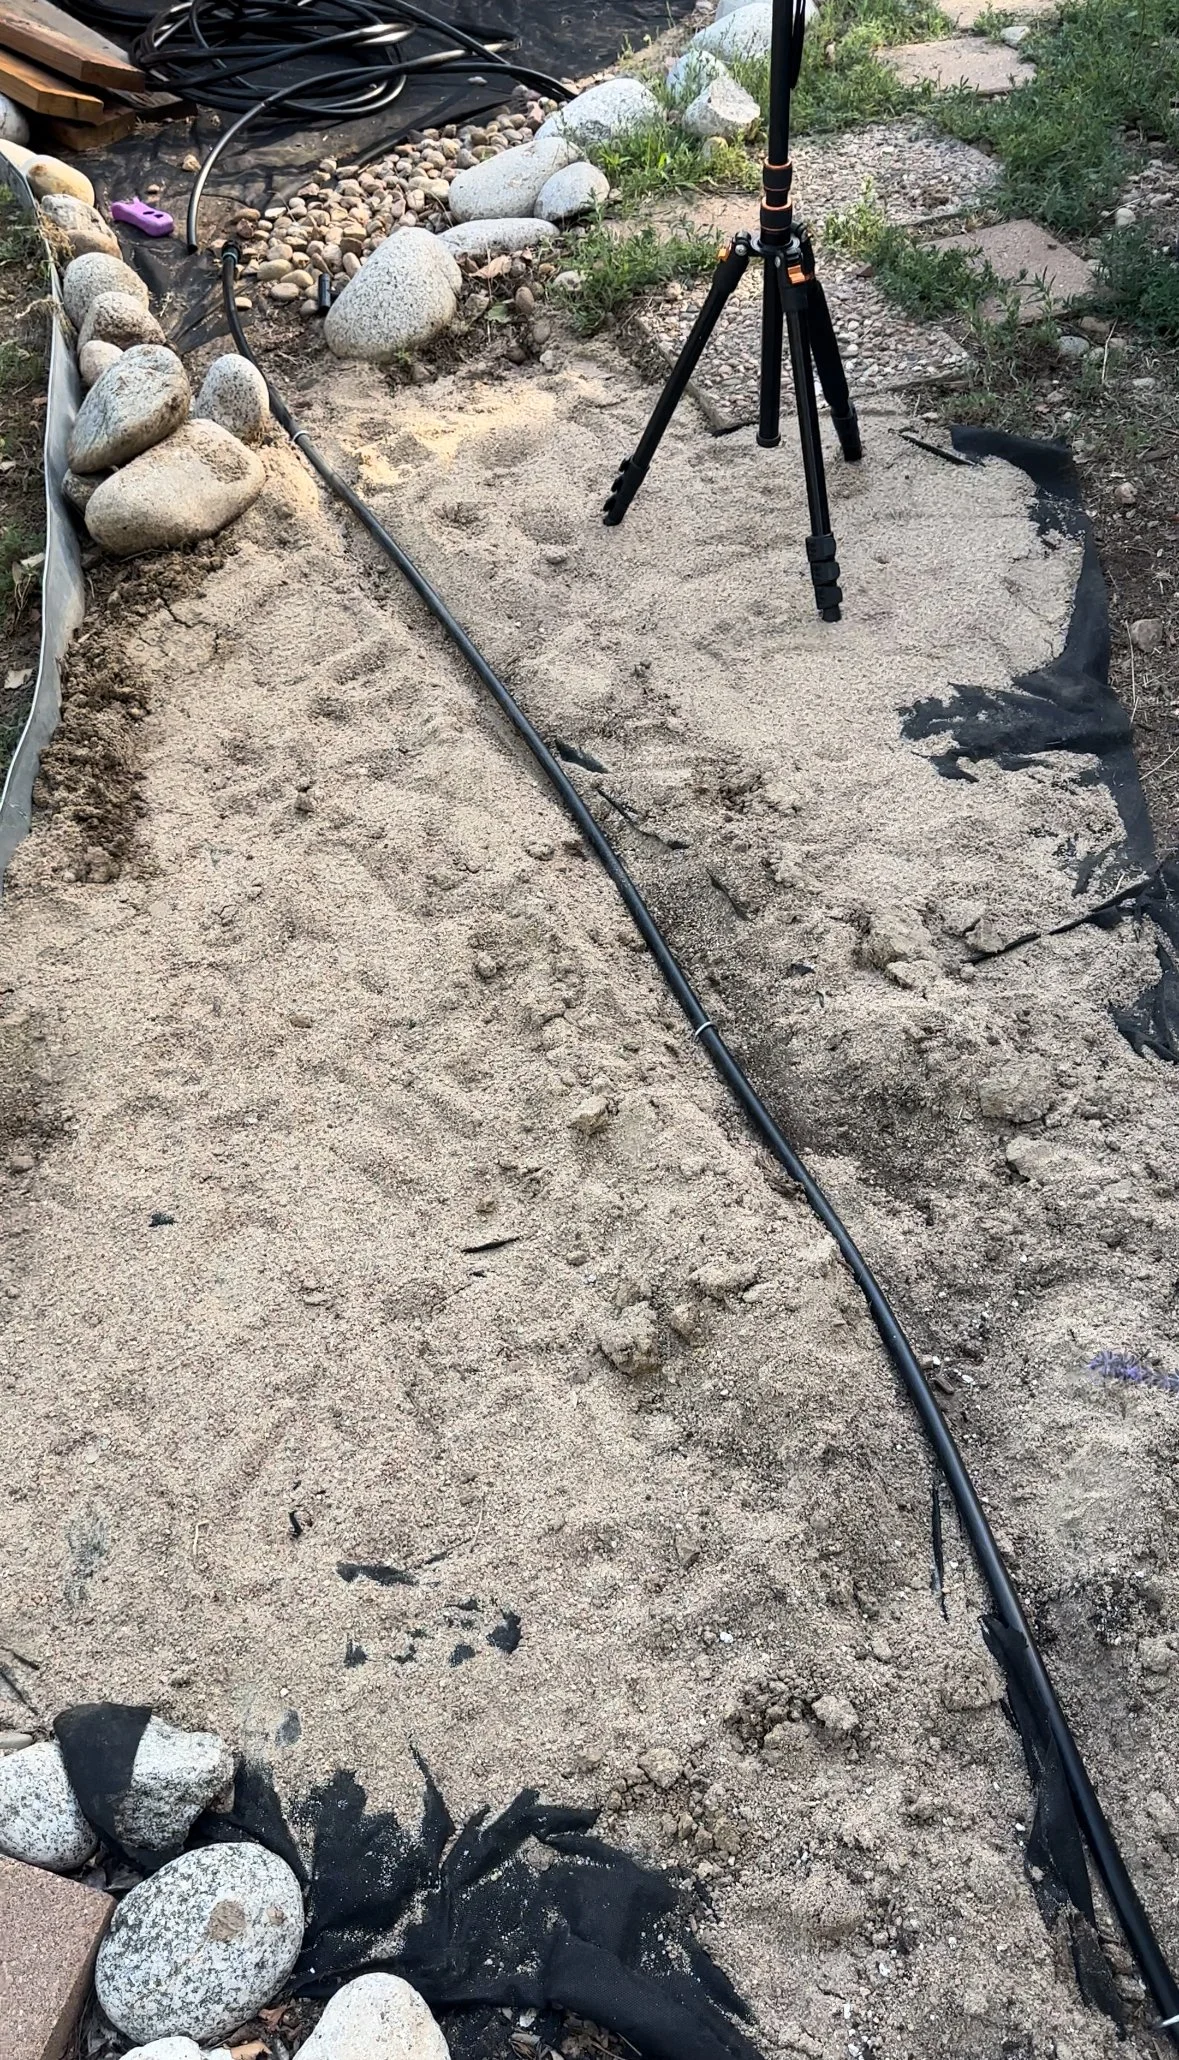
Lay the distribution tubing in the trench and secure it in place with the galvanized stakes. Use the drip tubing cutter/hole punch combo tool to cleanly slice the end.
From here, you can either add a barbed tee and continue one end to your raised garden bed, and add another line towards a different section of your garden, or add an end cap. In my case, I went the end cap route as I was installing this system towards the end of summer with plans to hold off on actually planting my garden until the spring.
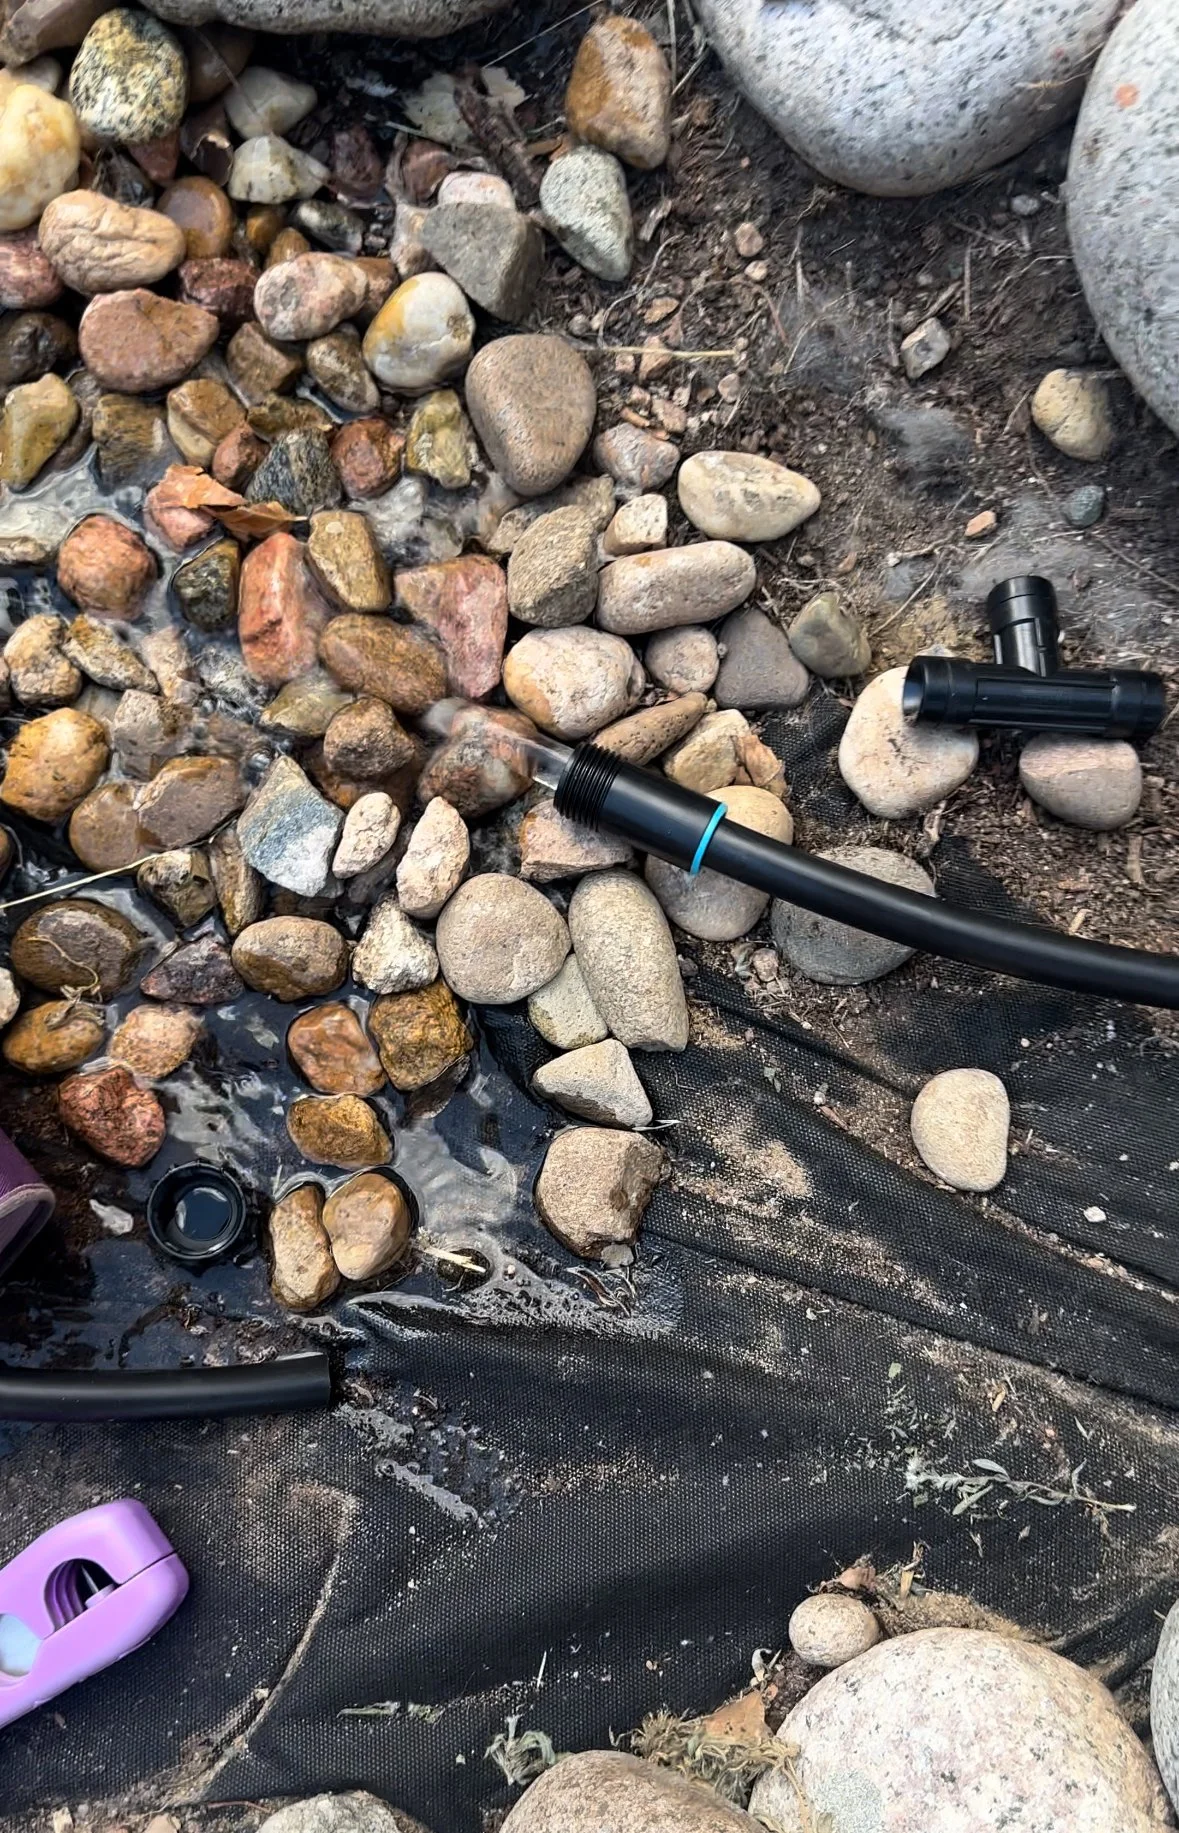
Before actually screwing on the end cap, test out your irrigation line to make sure water flows easily through! I was giddy seeing that it had worked and can’t wait until the spring to really get it going.
Next steps are finishing the pavers pathway, building out the cedar raised garden bed, and filling over the weed barrier fabric with crushed rock. That will be a great marker for the end of planting season, and I can then add fall leaves and mulch to the garden bed throughout the autumn season to create a compost situation. Really priming the soil for a hearty spring.
You can see here that I’ve:
Installed the drip line
Added the beginning of a pavers pathway
Planted a Russian Sage plant
Created the sides of the pathway area with medium-sized rocks
I hope this was helpful and come back for updates in the Spring! Learning to install a drip line irrigation system from a hose bib wasn’t hard once I had the correct materials - I believe in you that you can do it too!


