Celestial Jewelry Holder Project

I was recently in Santa Barbara for my best friend’s wedding and while wandering around the cute little downtown, I stumbled into the coolest boutique filled with incredible clothing and accessories. But what really stood out to me was how everything was displayed, especially the jewelry.
Sitting on a center table was this lovely jewelry display, and when I spotted this cool hand, I was struck with inspiration. I don’t even know if it was for sale, but it gave me a DIY project idea… I bet I could make my own version for a lot less!
Keep reading for how I made my own celestial jewelry holder, a chic way to hold extra rings (and look nice as decor, too!)
Materials:
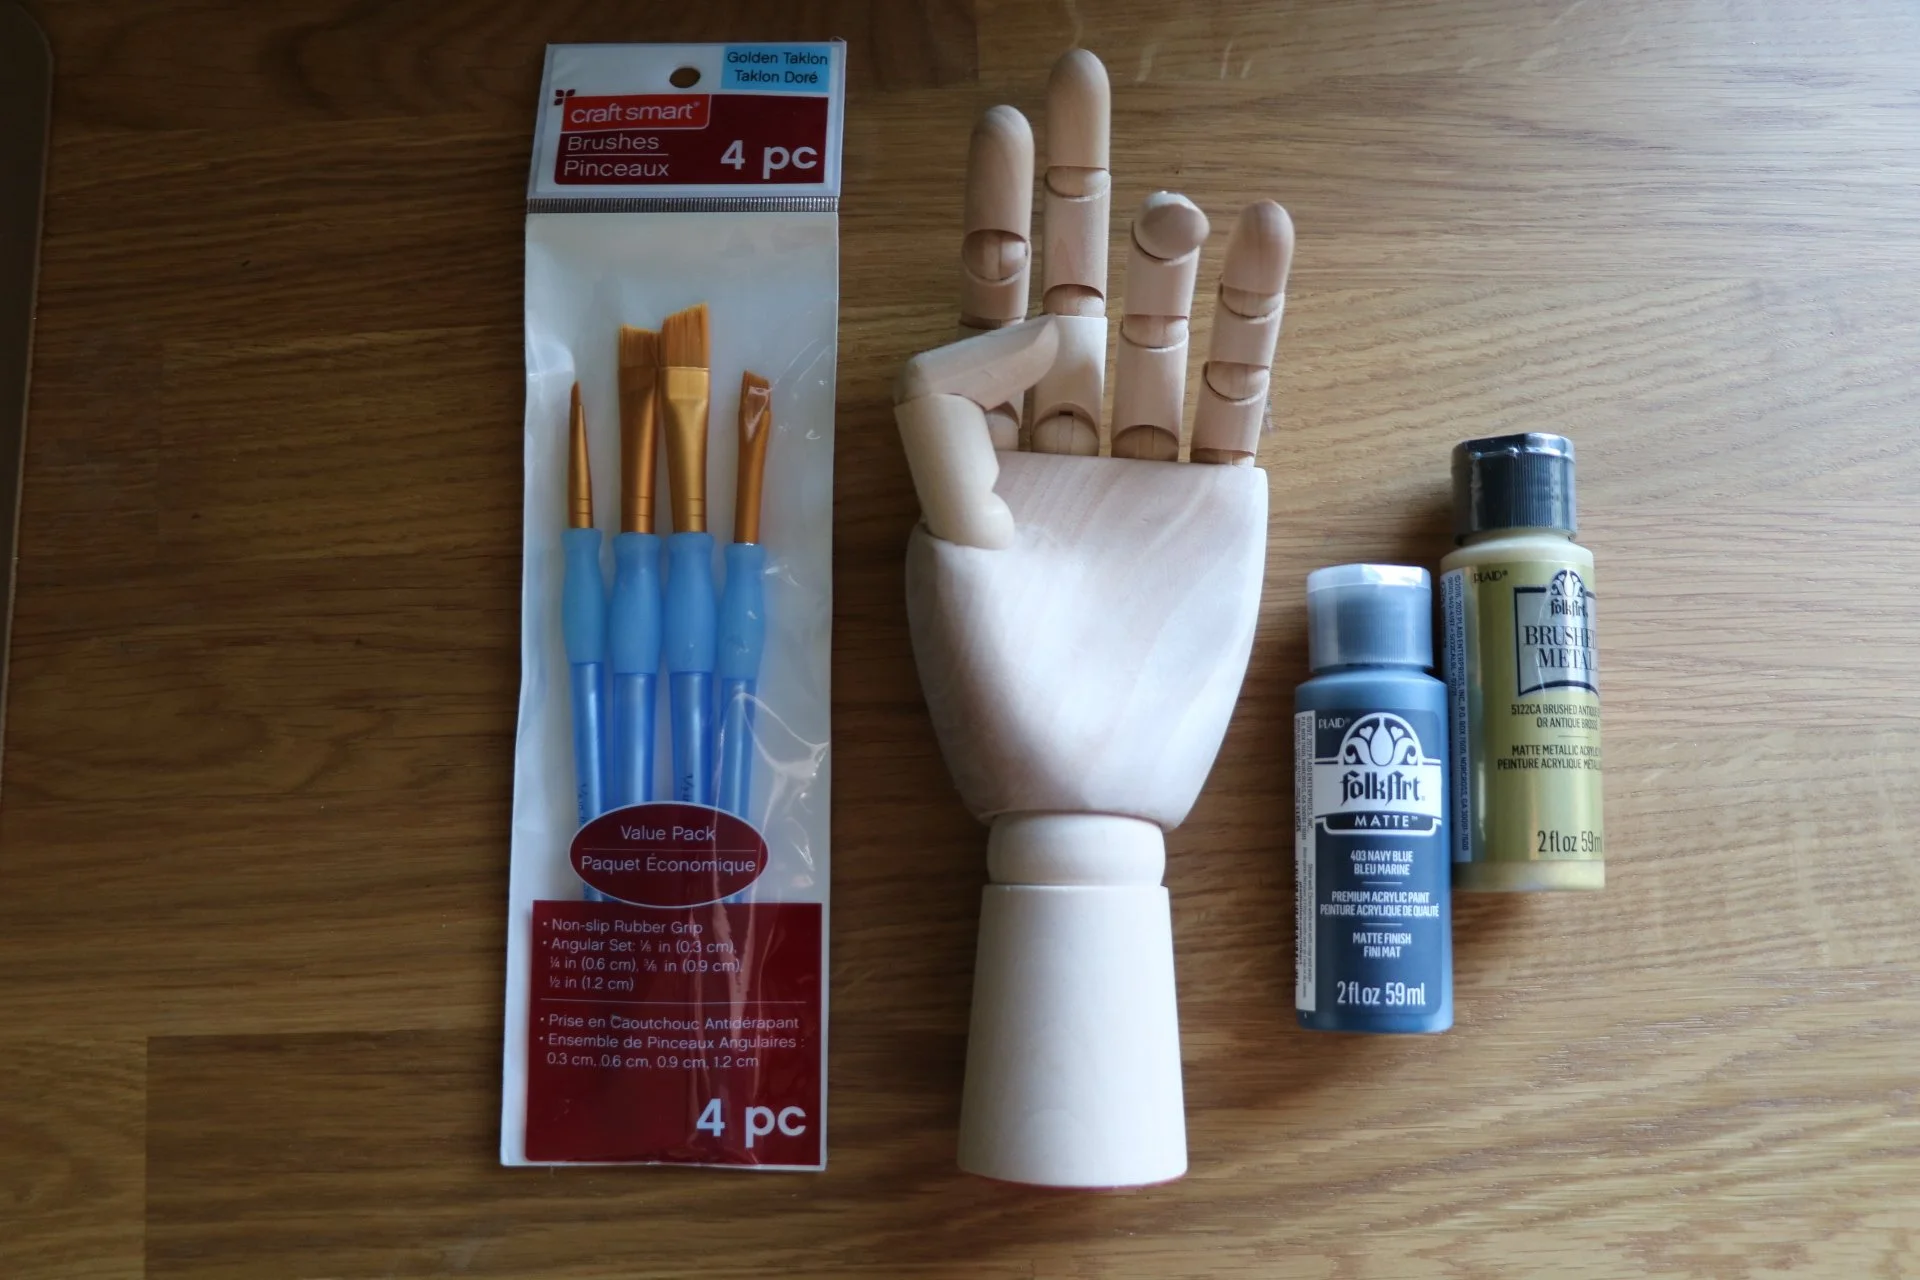
10 in. wooden hand model
Acrylic paint brush set
Self-healing mat
Pencil
Polyurethane sealant (in a satin or semi-gloss finish)
Disclosure: My content is reader-supported, which means that when you purchase through links on my site, I may earn an affiliate commission. Learn more here.

Step One:
Paint the base and the “fingernails” with the navy blue paint. It’s exactly like giving yourself a manicure, just take your time and use precision. I found that I only needed one coat. Let dry.


Step Two:
Print out stars and star burst shapes on regular printer paper in a variety of sizes. I used two different shapes and printed out three different sizes of each shape.
Use your exacto knife to cut out each star on top of the self healing mat. Then trace the star-shapes onto the wooden hand using a pencil.

Step Three:
Using a small paint brush and gold paint, fill in each star shape. I felt that it looked more “vintage” with some of the navy blue peeking through, but you could always do two coats to get a more solid gold look.
After the main stars were painted, I went back through with the tip of my brush and added small dots to look like constellations. Let everything dry completely.

Step Four:
Seal all painted areas with a water-based polyurethane. This helps to give it a bit of shine and to protect the paint. Let dry.
In my inspiration photo, it looks like they stained the wood part of the hand, and perhaps used a more glossy sealant. Feel free to adjust yours as needed. I love the way mine turned out as the lighter wood provides a nice complement to the wood table underneath.

In total this project probably took me about one hour, give or take. Even without rings on it, I love the way it look as general decor. The navy blue matches a lot of the color palette throughout our home, and something about how the star bursts turned out gives it a slightly vintage-esque quality.
Would you ever make your own celestial jewelry holder? This project would be great to accompany a gift for a newly engaged bride (perfect to store her new ring on!) or even alongside a pretty piece of jewelry as a Mother’s Day gift. Or, simply add it to a styled out bookshelf for a unique touch in a room. Let me know in the comments below if you give it a try!