Creating a Gallery Wall Around a TV
My office is slowly but surely coming together. Ever since painting it green and installing picture molding, it’s really starting to look like the moodboard I envisioned.
Enter: this corner by the window.
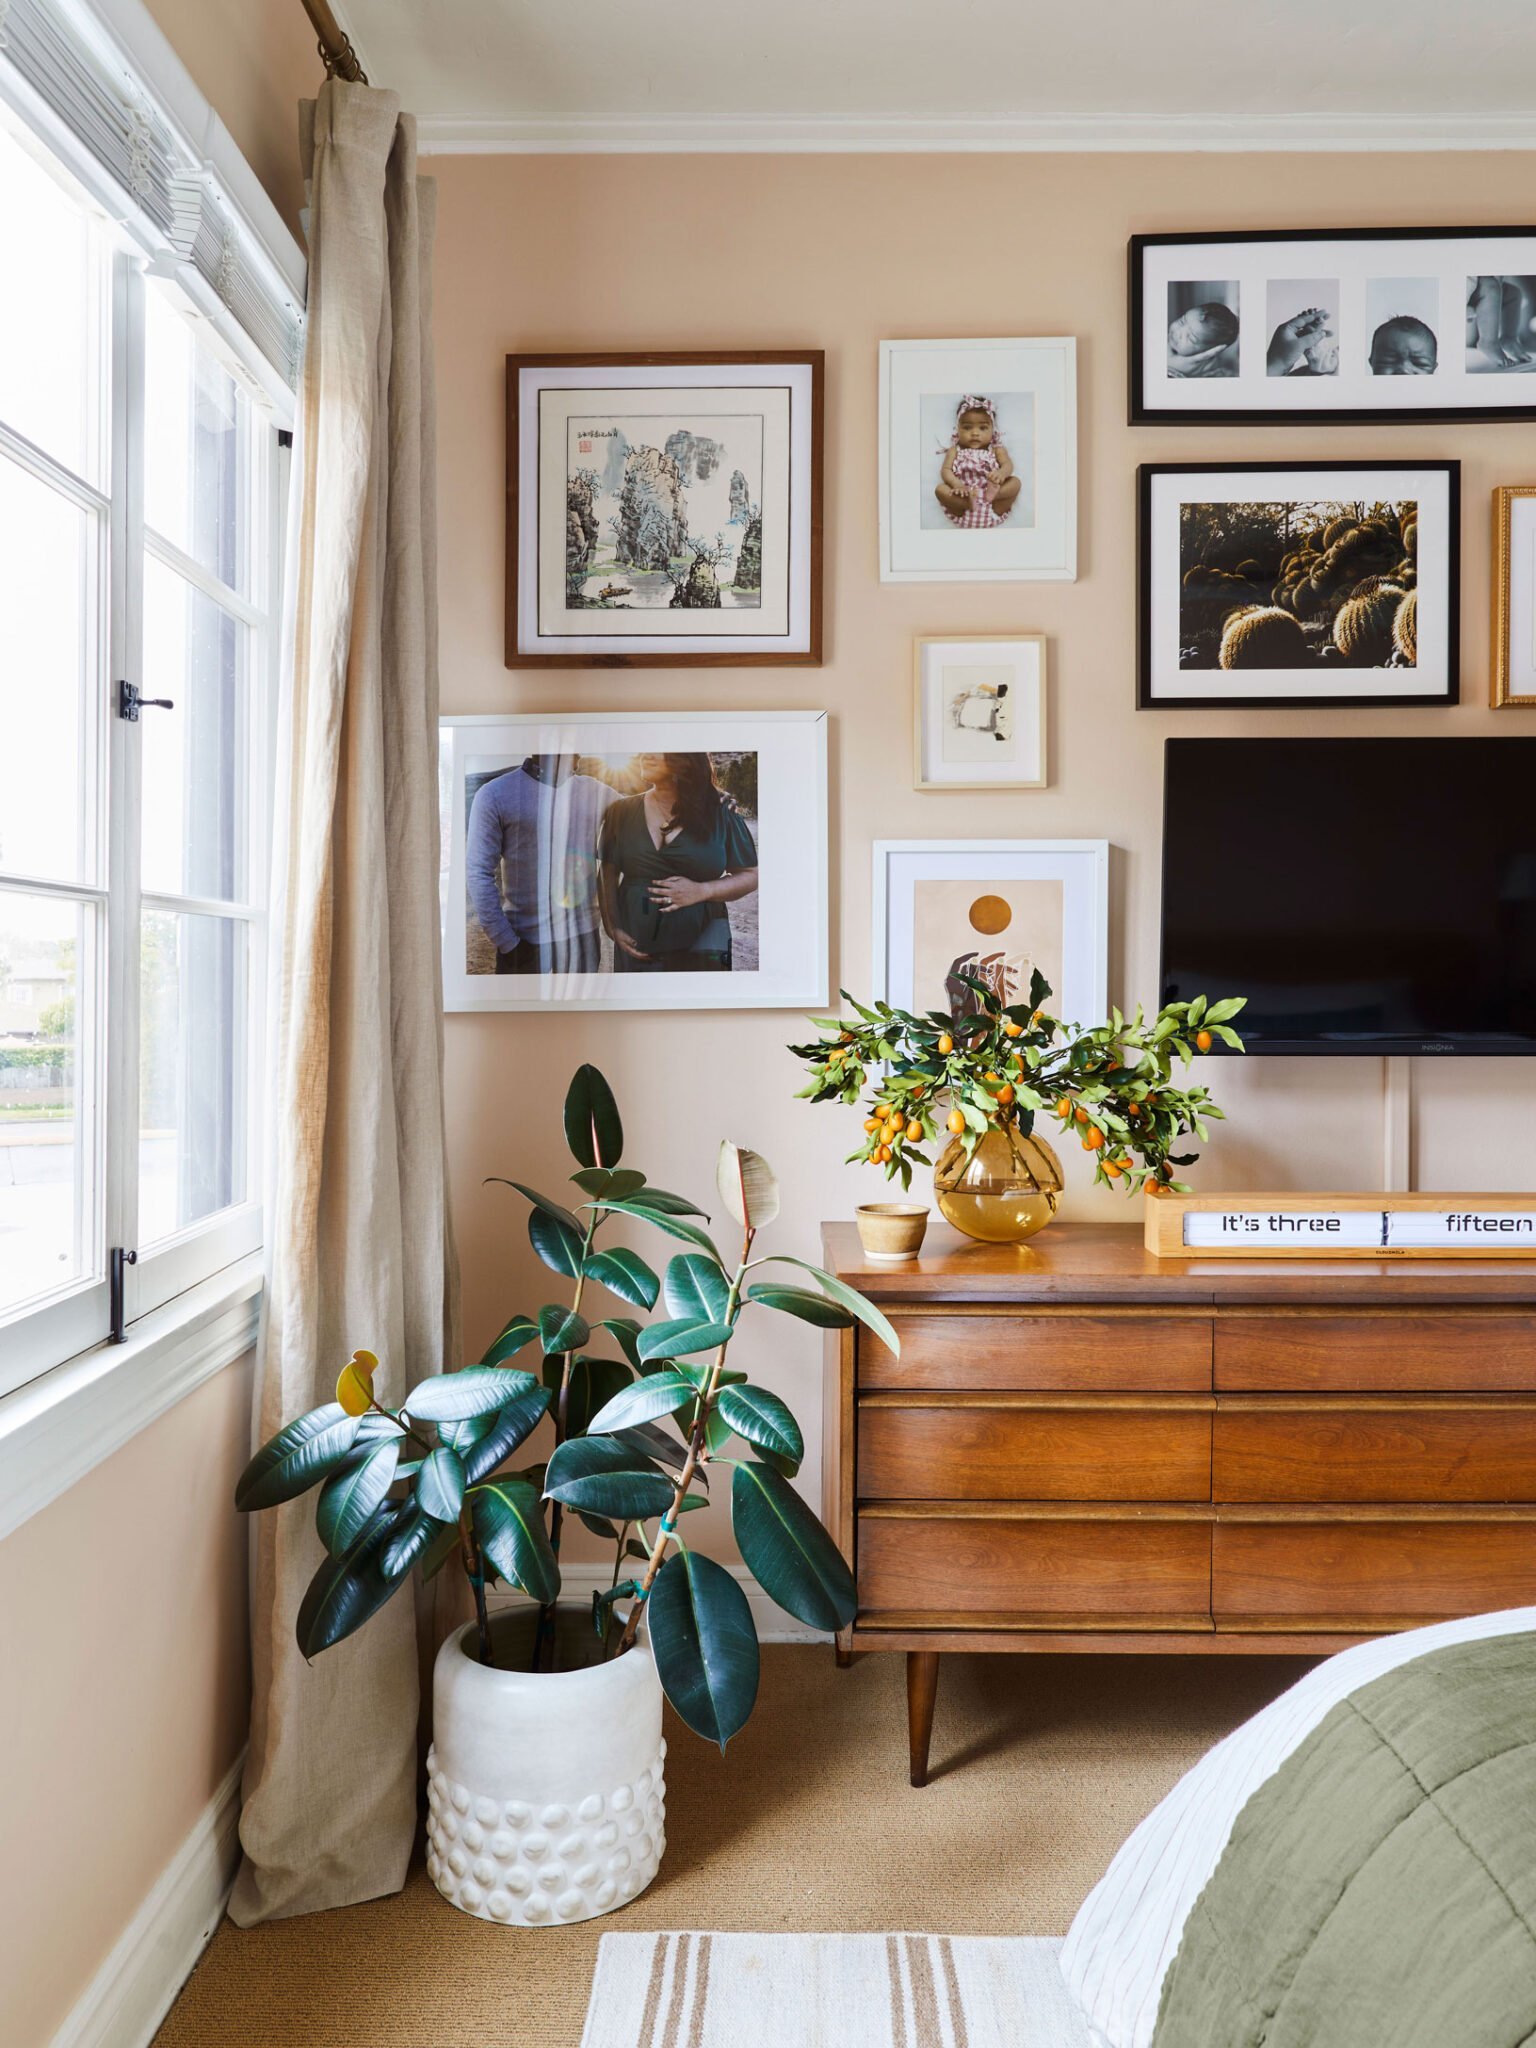
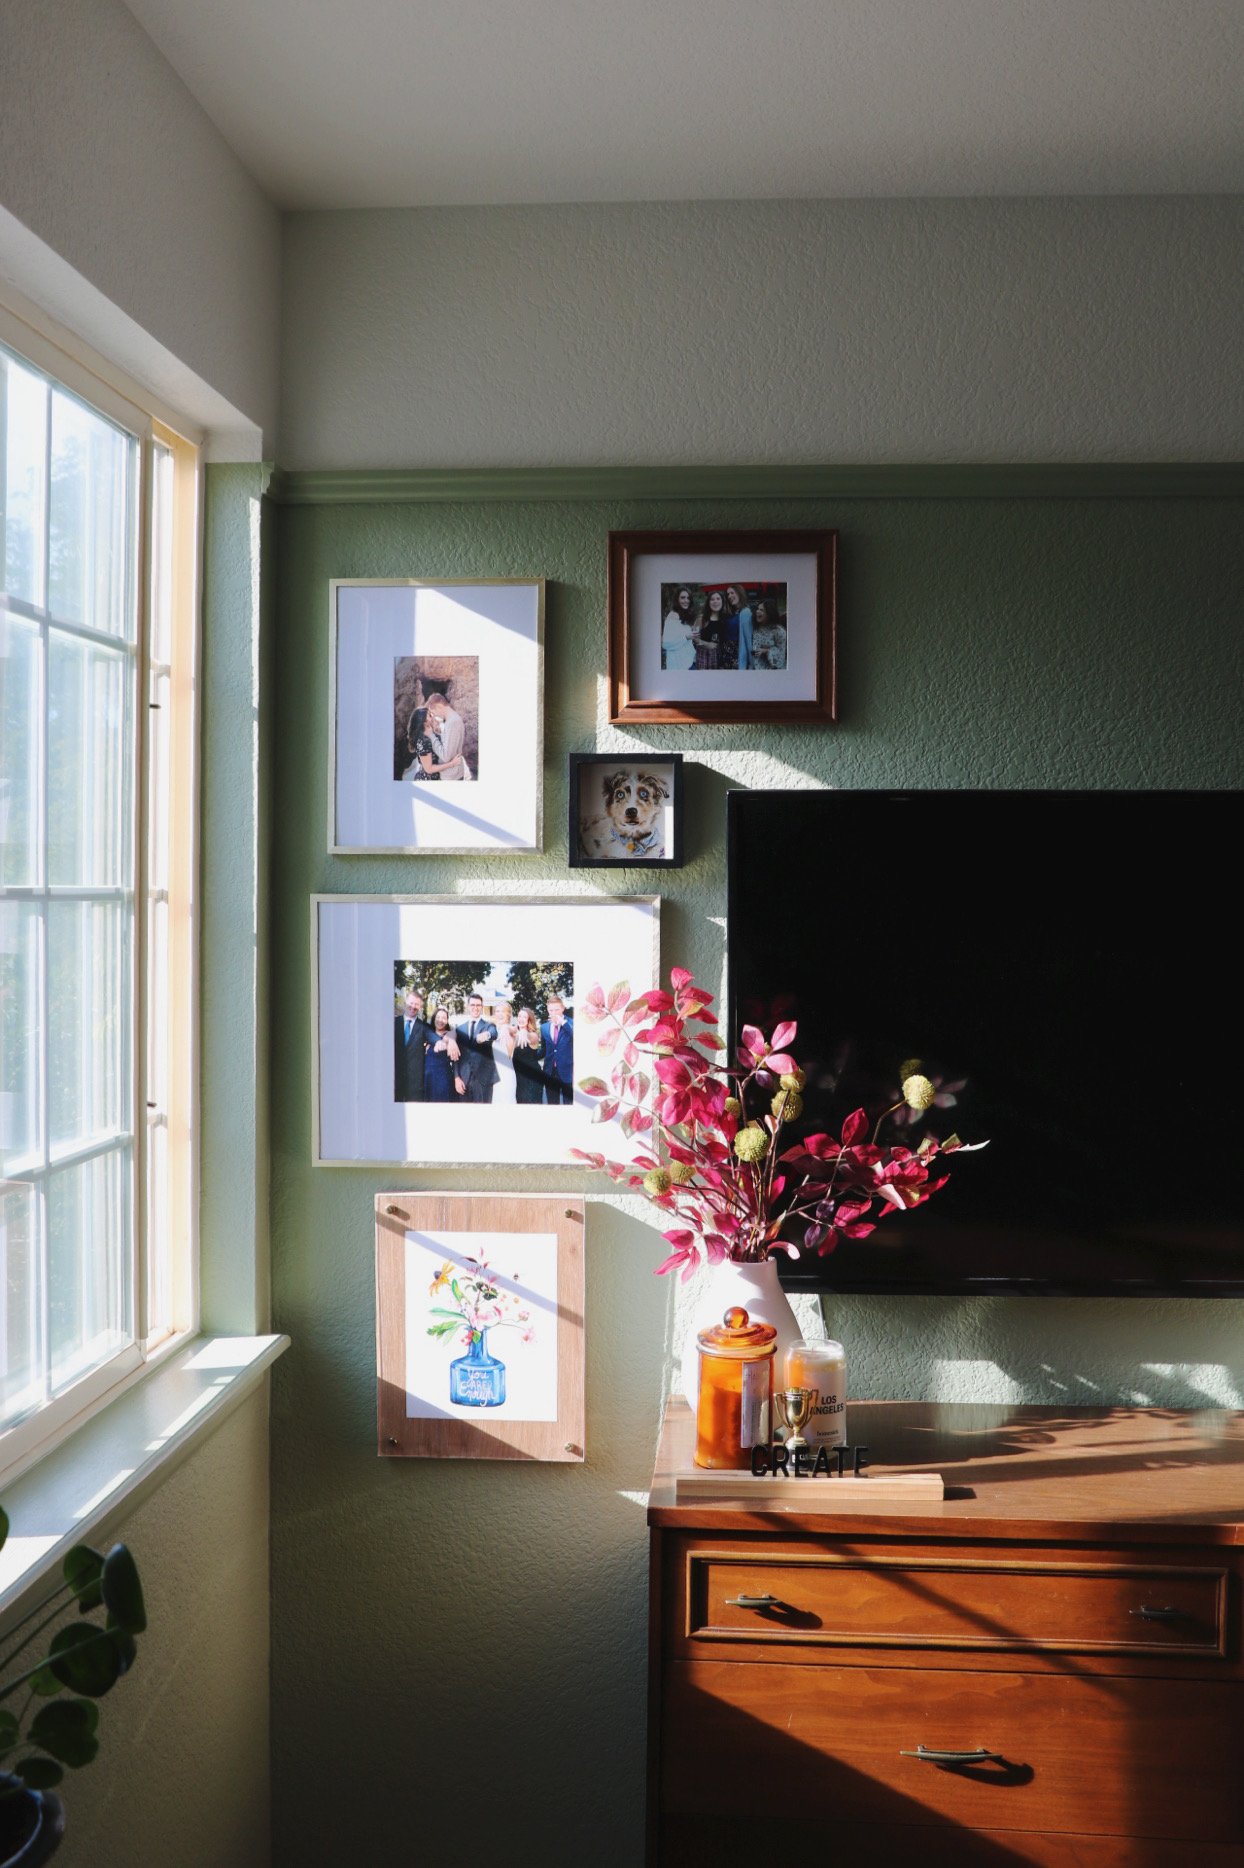
I was gifted this gorgeous vintage mid-century modern dresser by a family member, and I love how the wood tones look with the wall color. It’s not huge, so I decided to mount the TV to free up surface space. In an effort to make the wall look more visually interesting (and to find space to hang up some of my growing photo/art collection) I was completely inspired by this photo:
Inspiration from the Style by Emily Henderson blog | Designed by Arlyn Hernandez | Link
So I present to you how to create a gallery wall around a TV.
You’ll need:
Framed photos/art
Measuring tape
Pencil
Painters tape
Hammer + nails
Drill + wall anchors + screws
Level
Disclosure: My content is reader-supported, which means that when you purchase through links on my site, I may earn an affiliate commission. Learn more here.
Let’s do this.
Place the bigger frames first, as they will be the anchors of the rest of the gallery wall. Depending on the weight, you’ll either need to use wall anchors and screws, or just a sturdy nail.
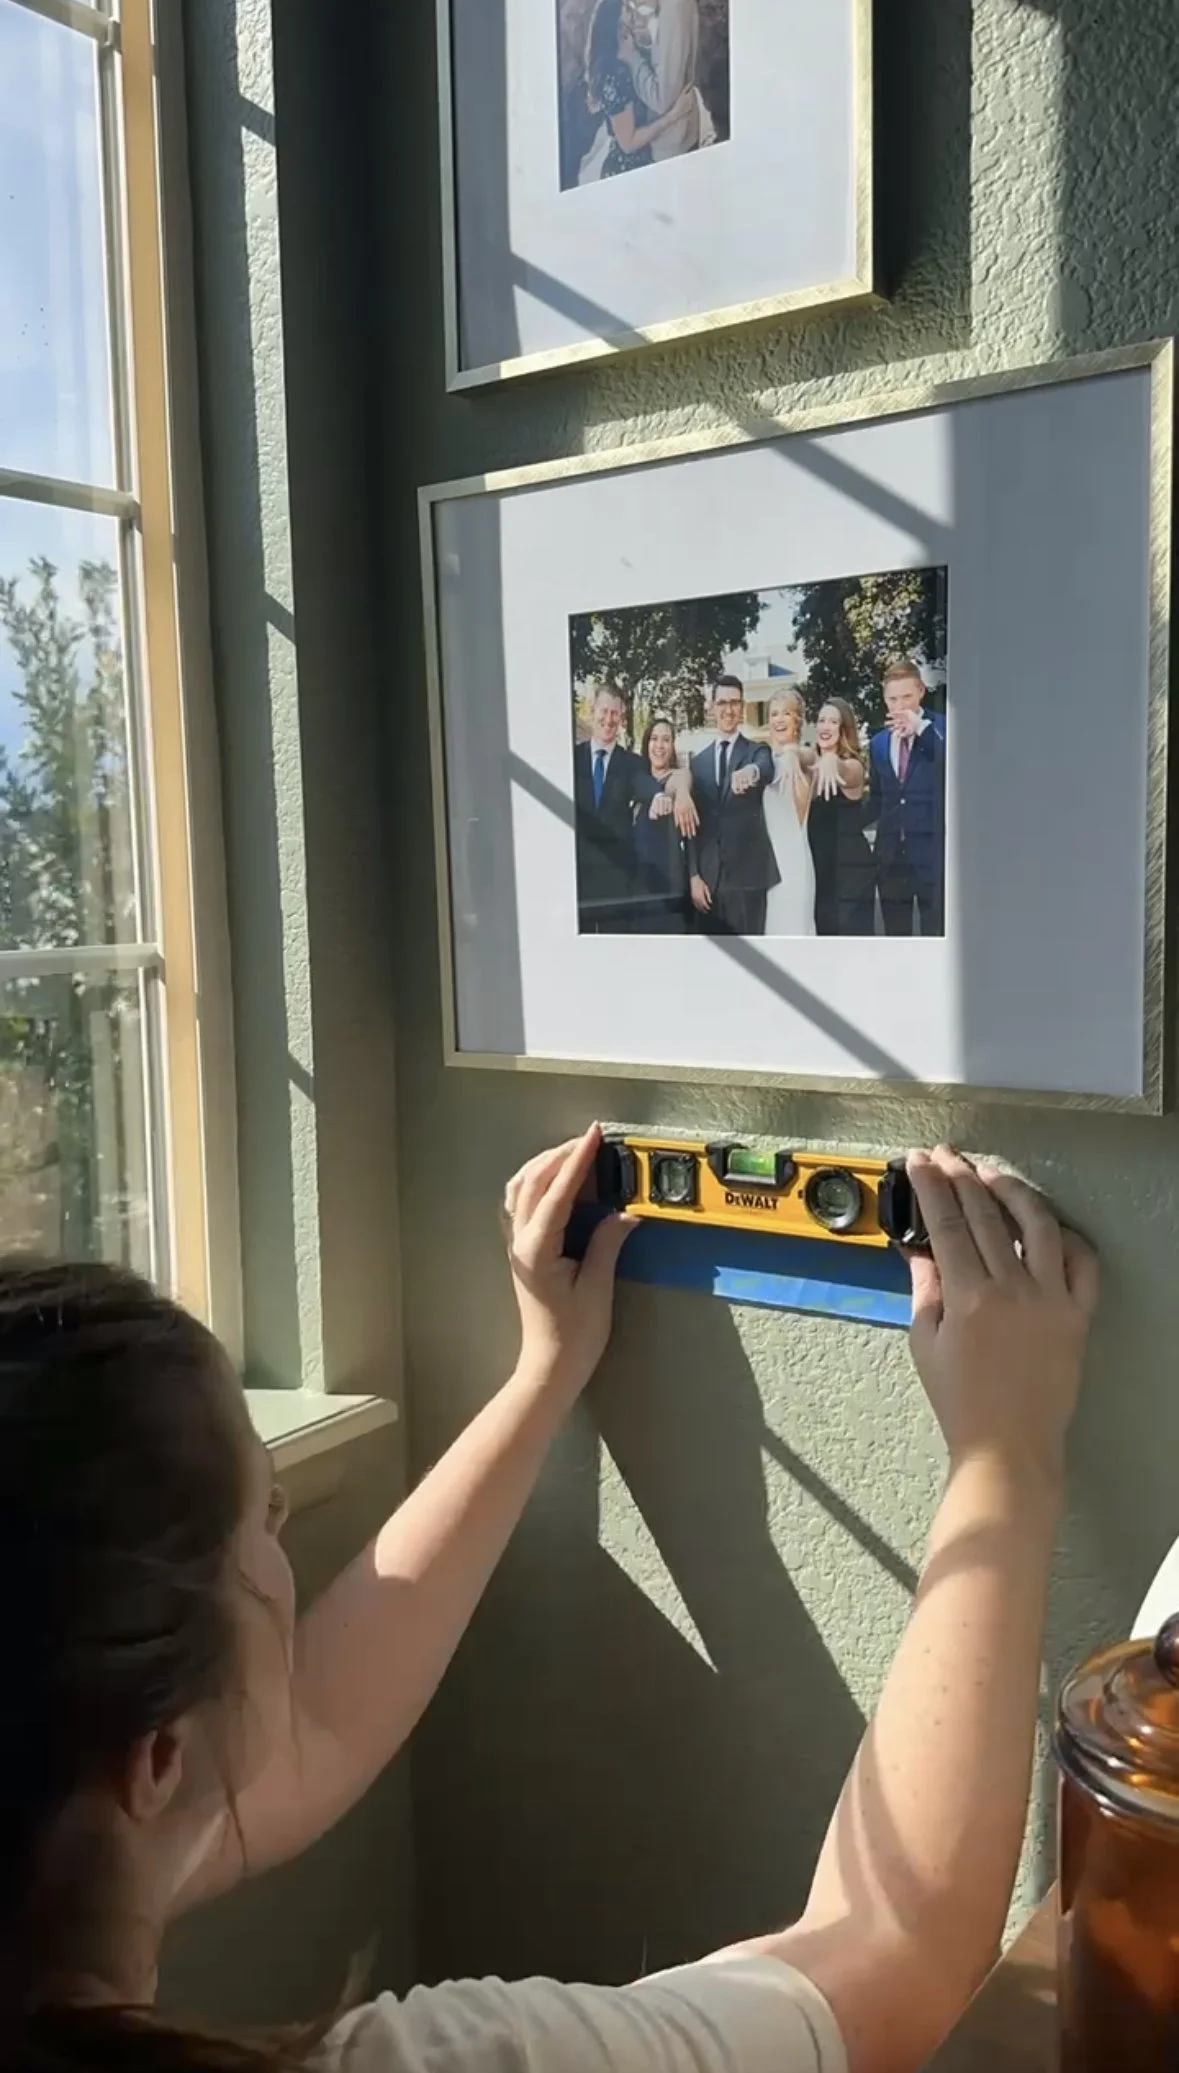
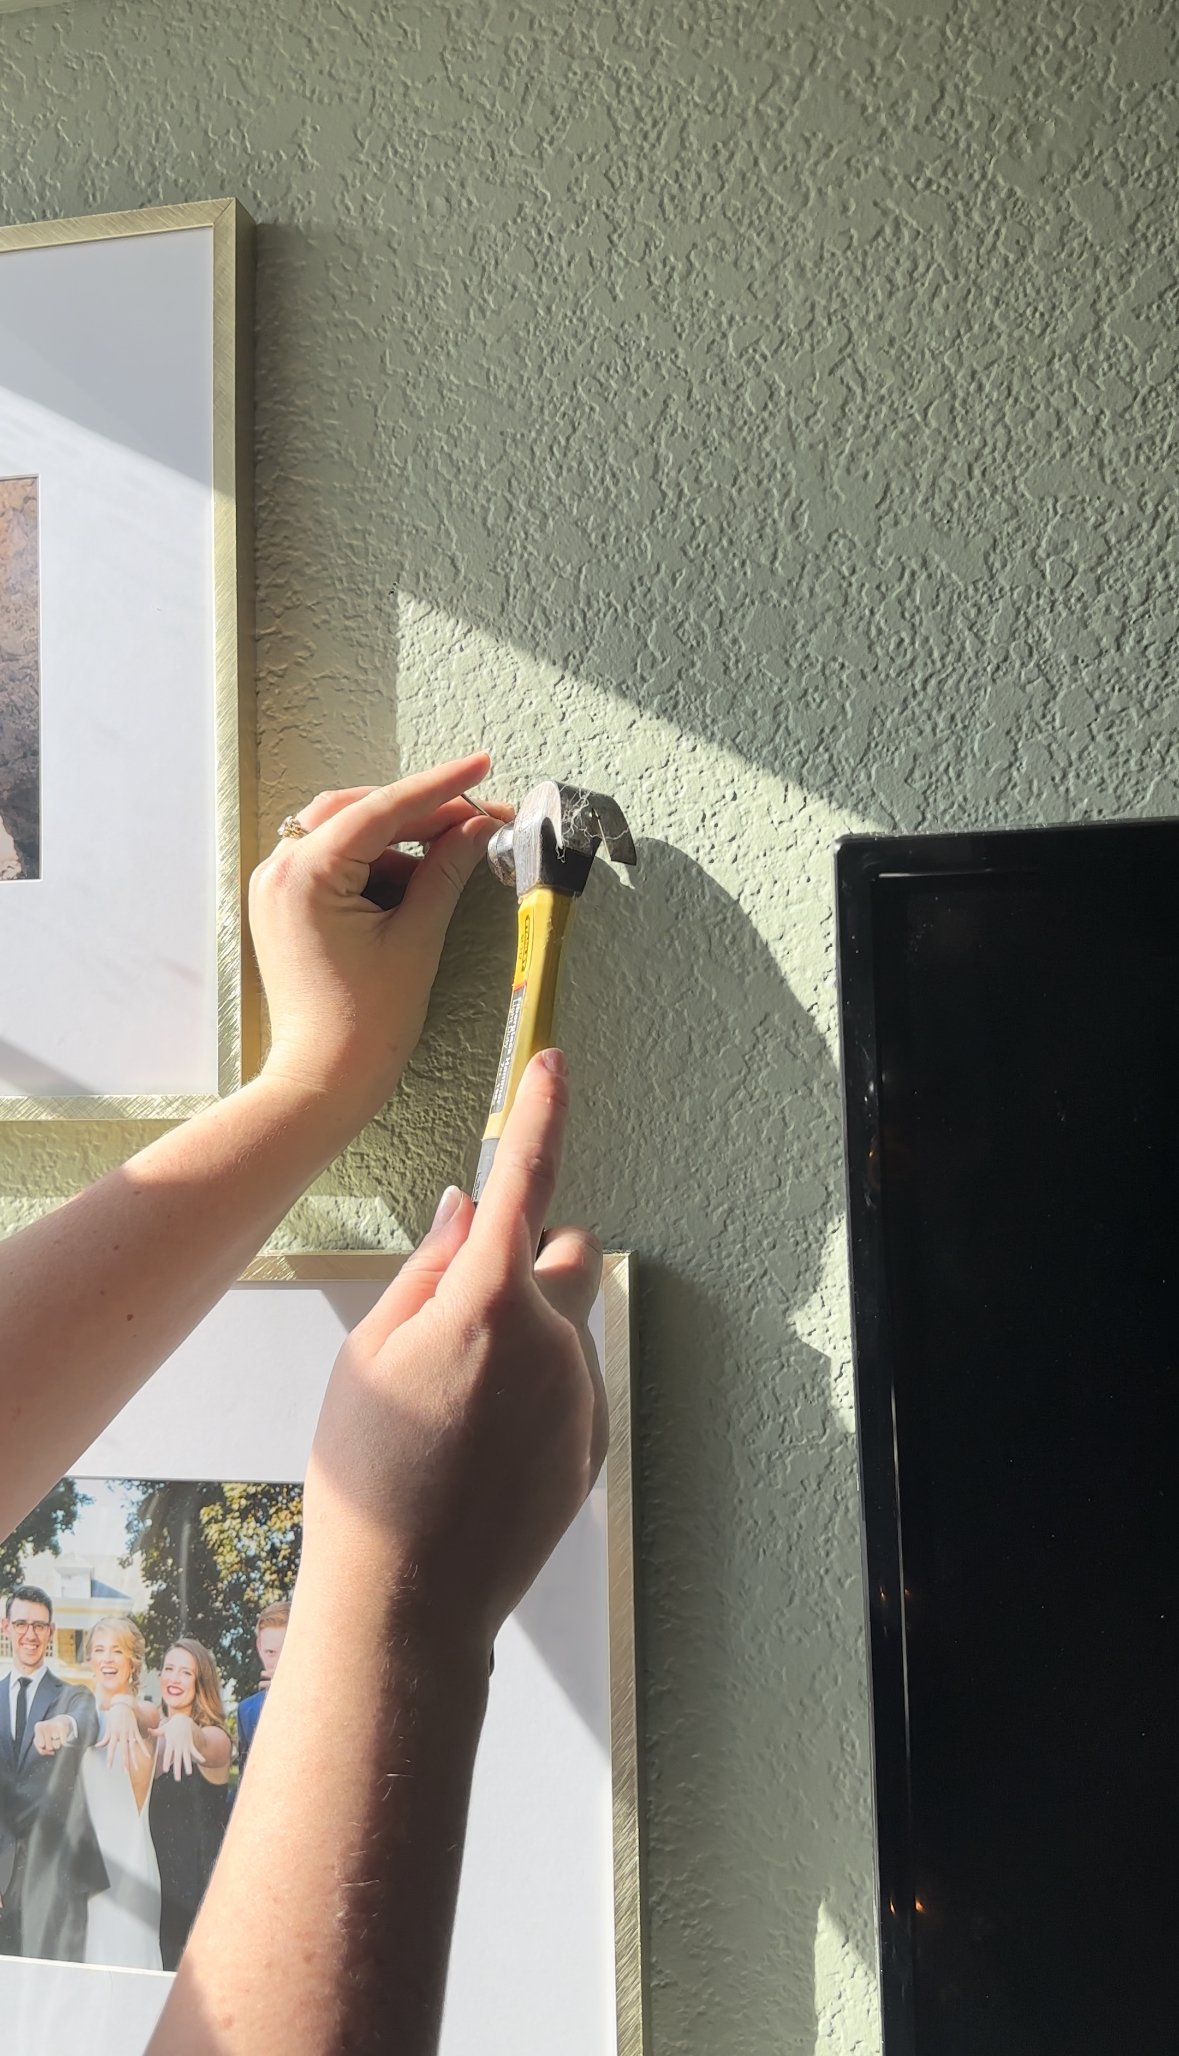
Have you ever used the painters tape trick? It’s a sure-fire way to ensure straight hangs without the trial and error of a bunch of holes in your wall. Here’s how to do it:
Flip the framed piece over. Tape the distance between the two hanging points. Mark those points with a hole through the tape.
Put the tape on the wall where you’d like to hang your frame. Use a level to make sure the tape is straight.
Hammer or drill in nails/screws at the marked holes, directly through the tape. Pull the tape off.
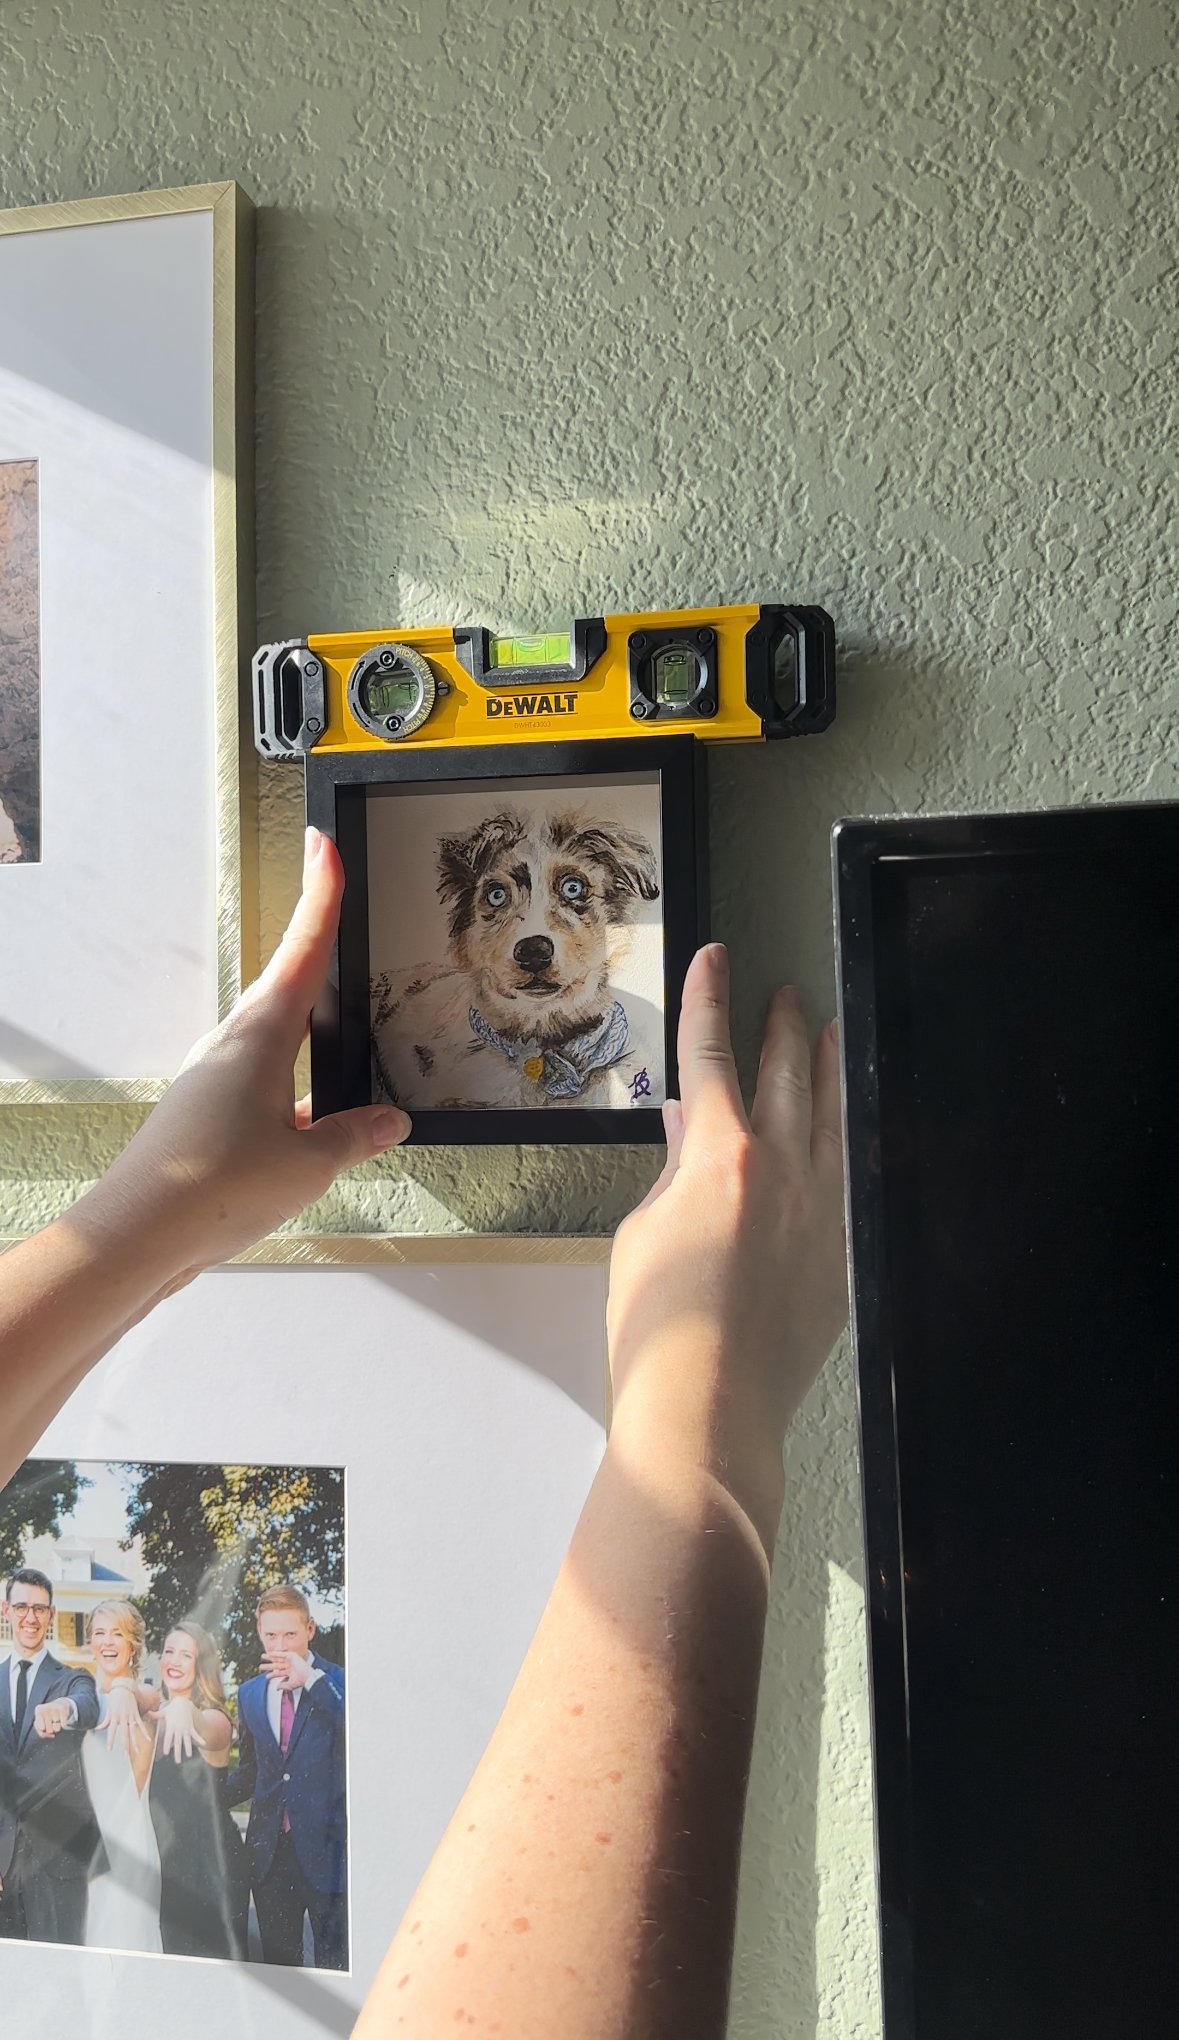
Hang the frame. Double check your work with a level.
Let in a bit of play and creativity with your arrangement of framed photos and art. You can try laying out the frames on the floor first to try different layouts. Or just go for it directly on the wall. I recommend balancing out smaller pieces towards the top of the wall with larger pieces towards the floor. Otherwise it can look top heavy. I prefer a mix of frame materials, but for a more streamlined look consider using all one color.
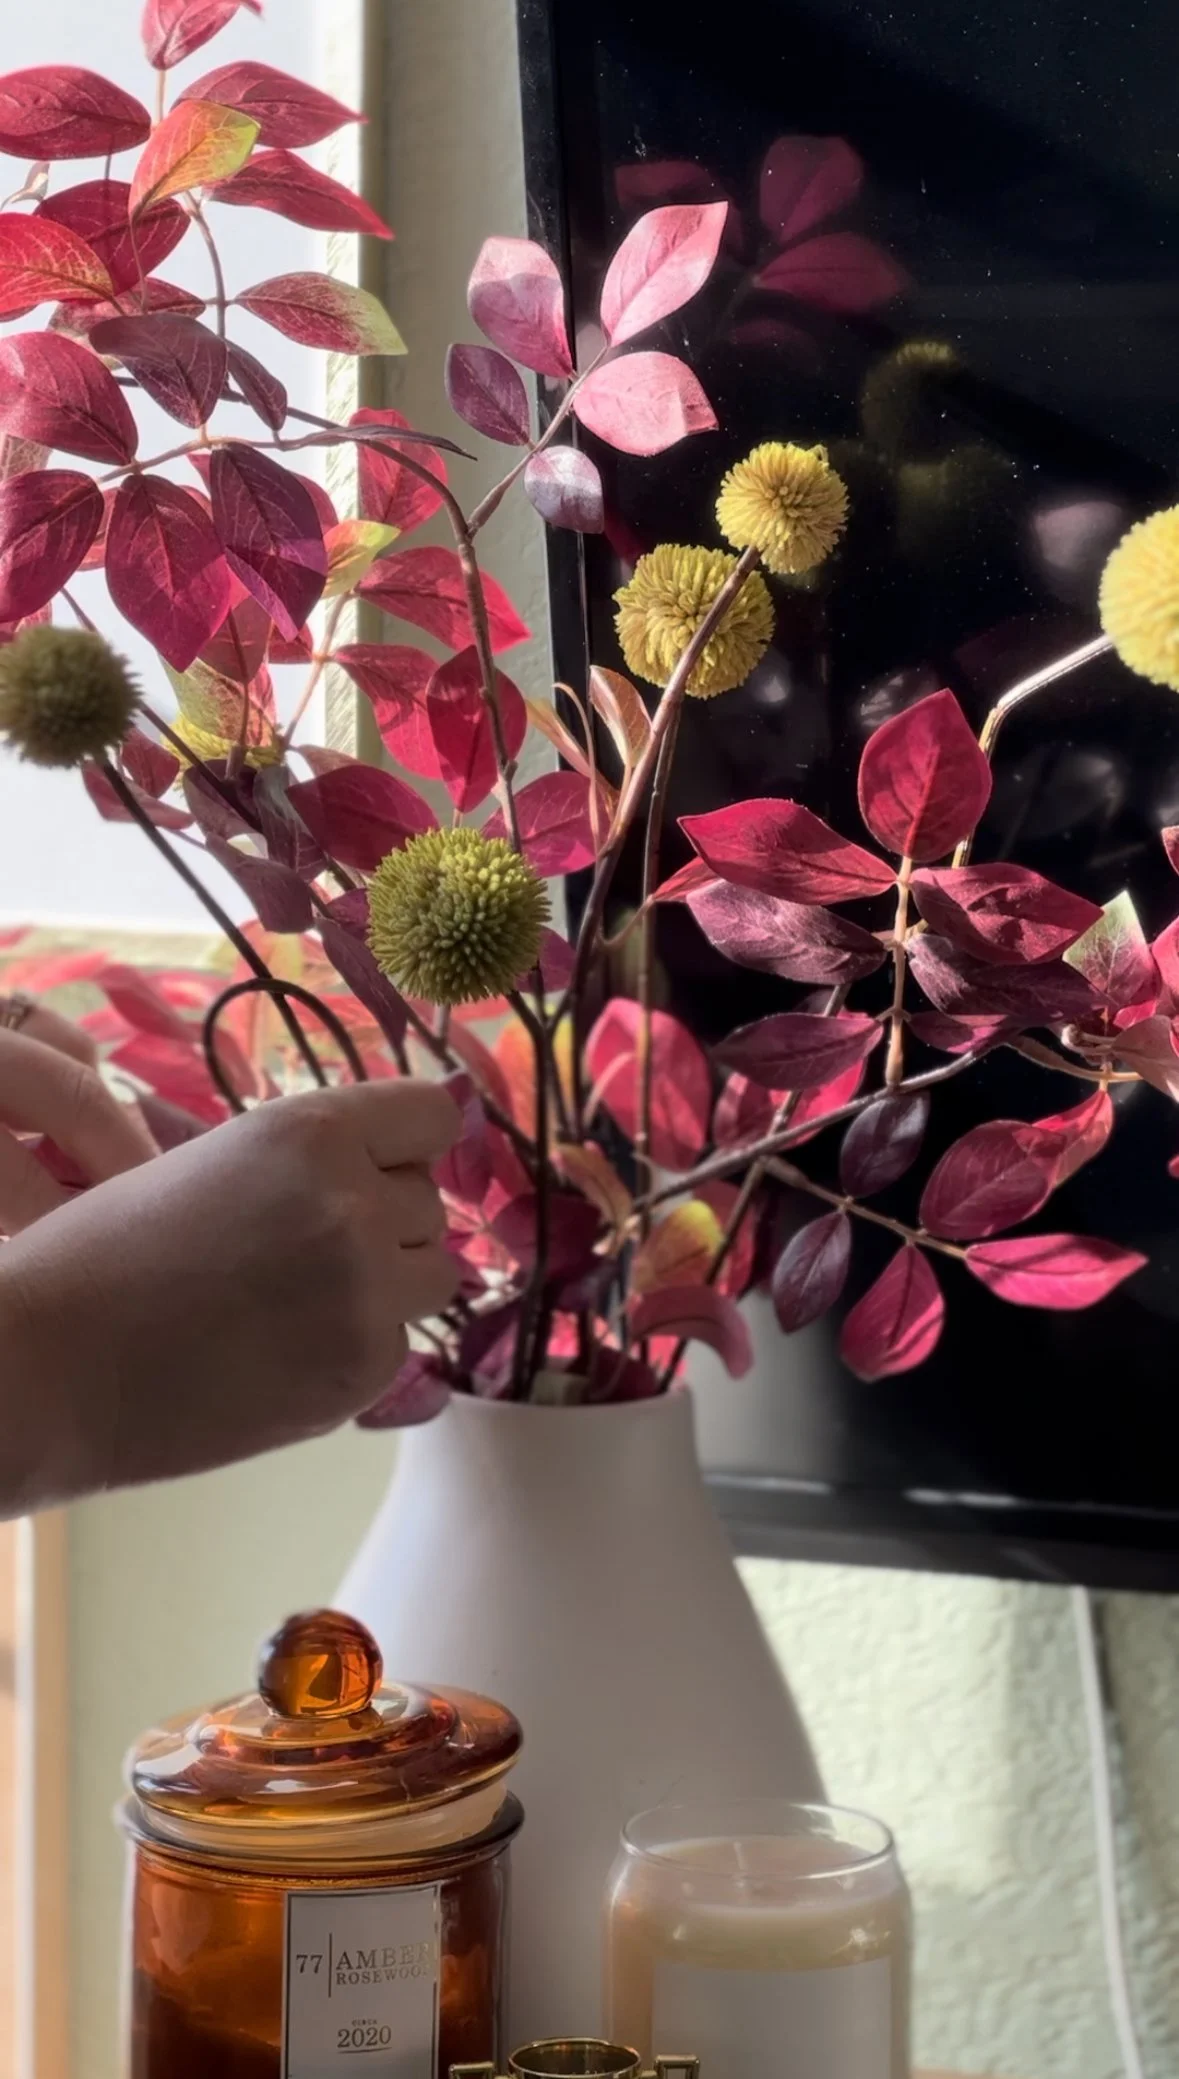
I added pretty faux branches and a few candles and knickknacks on the top of the dresser. I love how the burgundy contrasts with the green paint. Total swoon moment.
Possibly one of my favorite photos I’ve ever taken. I love how the light is streaming in through the window. Let me know in the comments if this helps you create a gallery wall around a tv in your home!
Up next in this room: window treatments and a custom pinboard.


