Crafting a Checkered Blanket
The checkerboard pattern is an old-but-new-again trend that’s been popping up all over the place. I’ve written about it for Insider Reviews, and filmed content for Pinterest that highlight how it’s considered a trend to watch this year. It’s actually been around for centuries, appearing cross-culturally as early at 1500 BC. And it’s definitely back.
I was inspired by Lone Fox and this Anthropologie blanket to incorporate checkerboard into my own home. I love giving trends a try; however, I wasn’t compelled enough to make a renter-friendly semi-permanent project in my home. I will say, though, that if we owned our house, I would install a checkerboard floor into the kitchen, laundry, or entryway. Now that is a timeless take on this trend that I can get behind!
Back to the blanket (which I also love, by the way). Lone Fox did one with coffee-colored fabric spray and it was incredible. Very muted and cool looking.
This project took about 1.5 hour in total, plus drying time.
Here are the materials to make it happen:
Ingrun blanket (from IKEA)
4.25” paper squares (~200)
Rocks
Step 1:
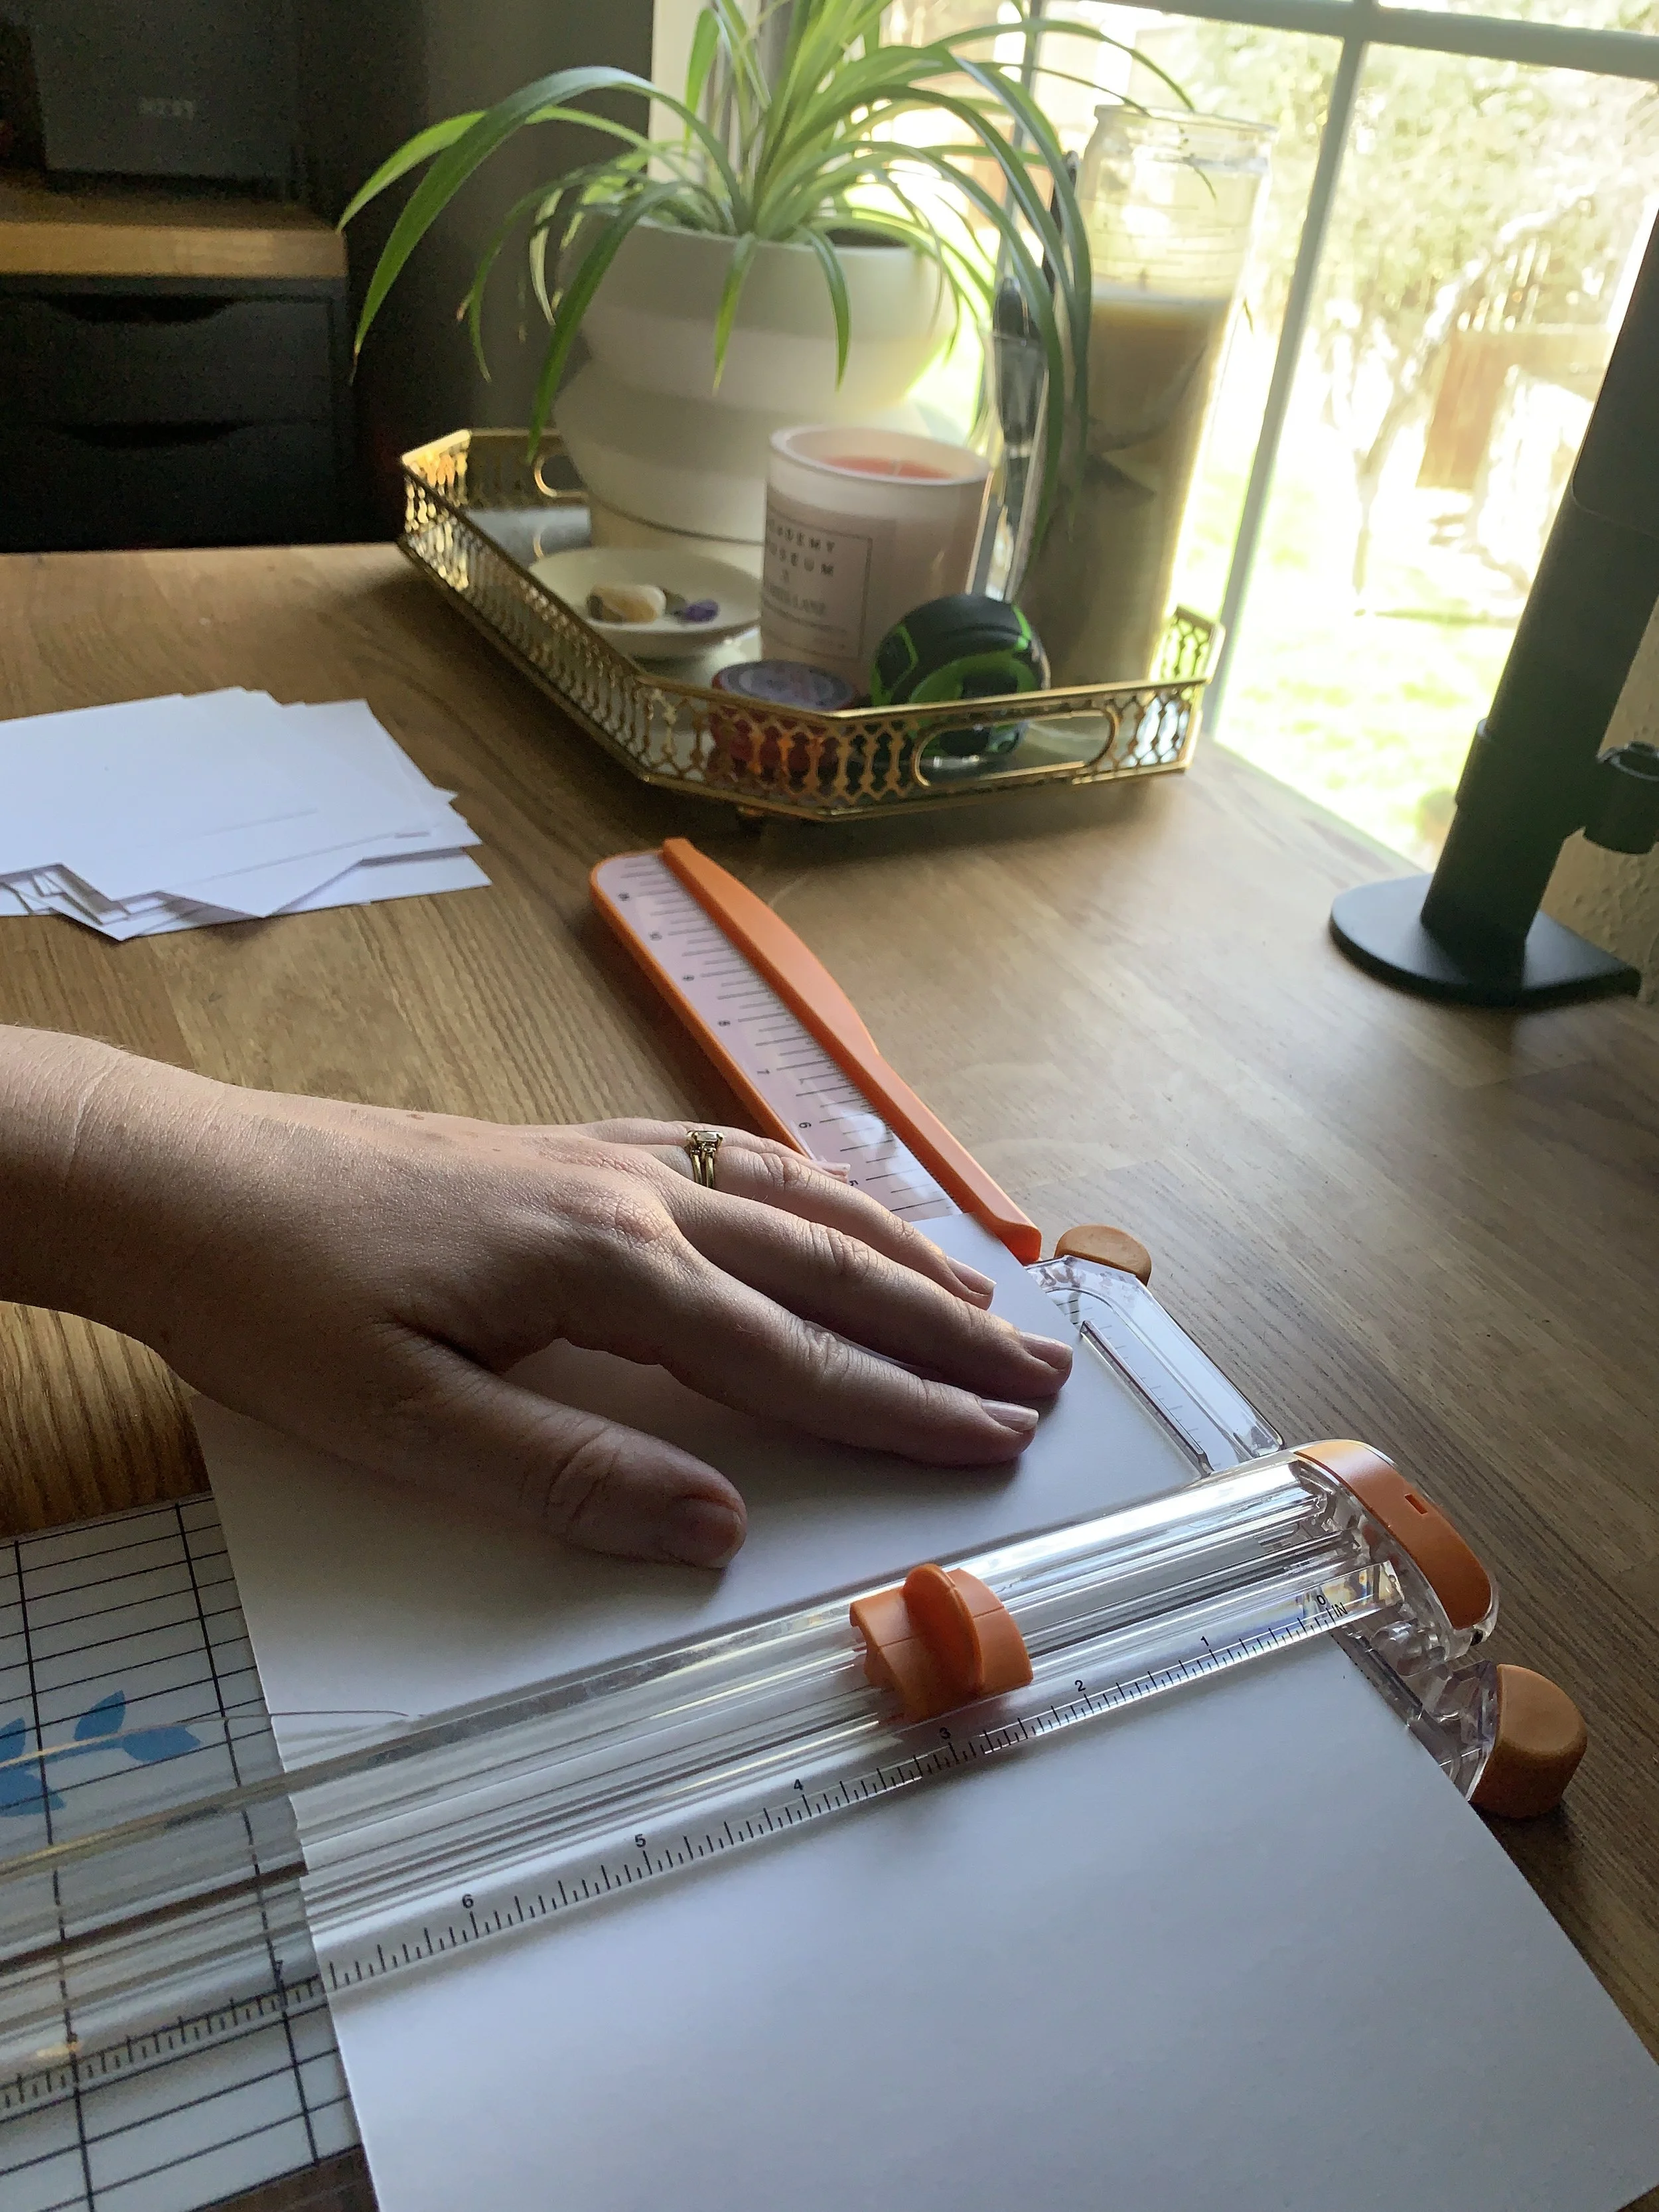
Use regular printer paper and cut out 4.25” squares. You’ll need about 200 in total to cover the blanket. I was able to fit four squares per piece of paper. This part took the longest!
Step 2:
Lay the Ingrun blanket out on a flat surface. You may want to put a drop cloth down first to protect your floors. Arrange the paper squares on the blanket in a checkerboard pattern. I found that the hardest part about this was the blanket edges weren’t perfectly straight, which affected the straightness of the check-pattern. It took a couple tries to get the paper squares lined up properly.
Step 3:
Gather rocks from outside to use as paperweights for each square. You’ll need about 200 rocks, corresponding with the 200 or so paper squares laid out on the blanket. Place one rock on top of each square. This will hold it in place during the spraying.
Step 4:
Lightly spray a layer of fabric spray directly onto the blanket. Hold the can about 6” away from the surface to avoid drips and paint dribbles. Keep a steady pressure on the spray nozzle to get an even paint layer. Remove the rocks and paper squares to reveal your checkerboard pattern. I was surprised at how well the rocks held the squares in place, and that there was little to no leakage underneath. Let the paint dry overnight.
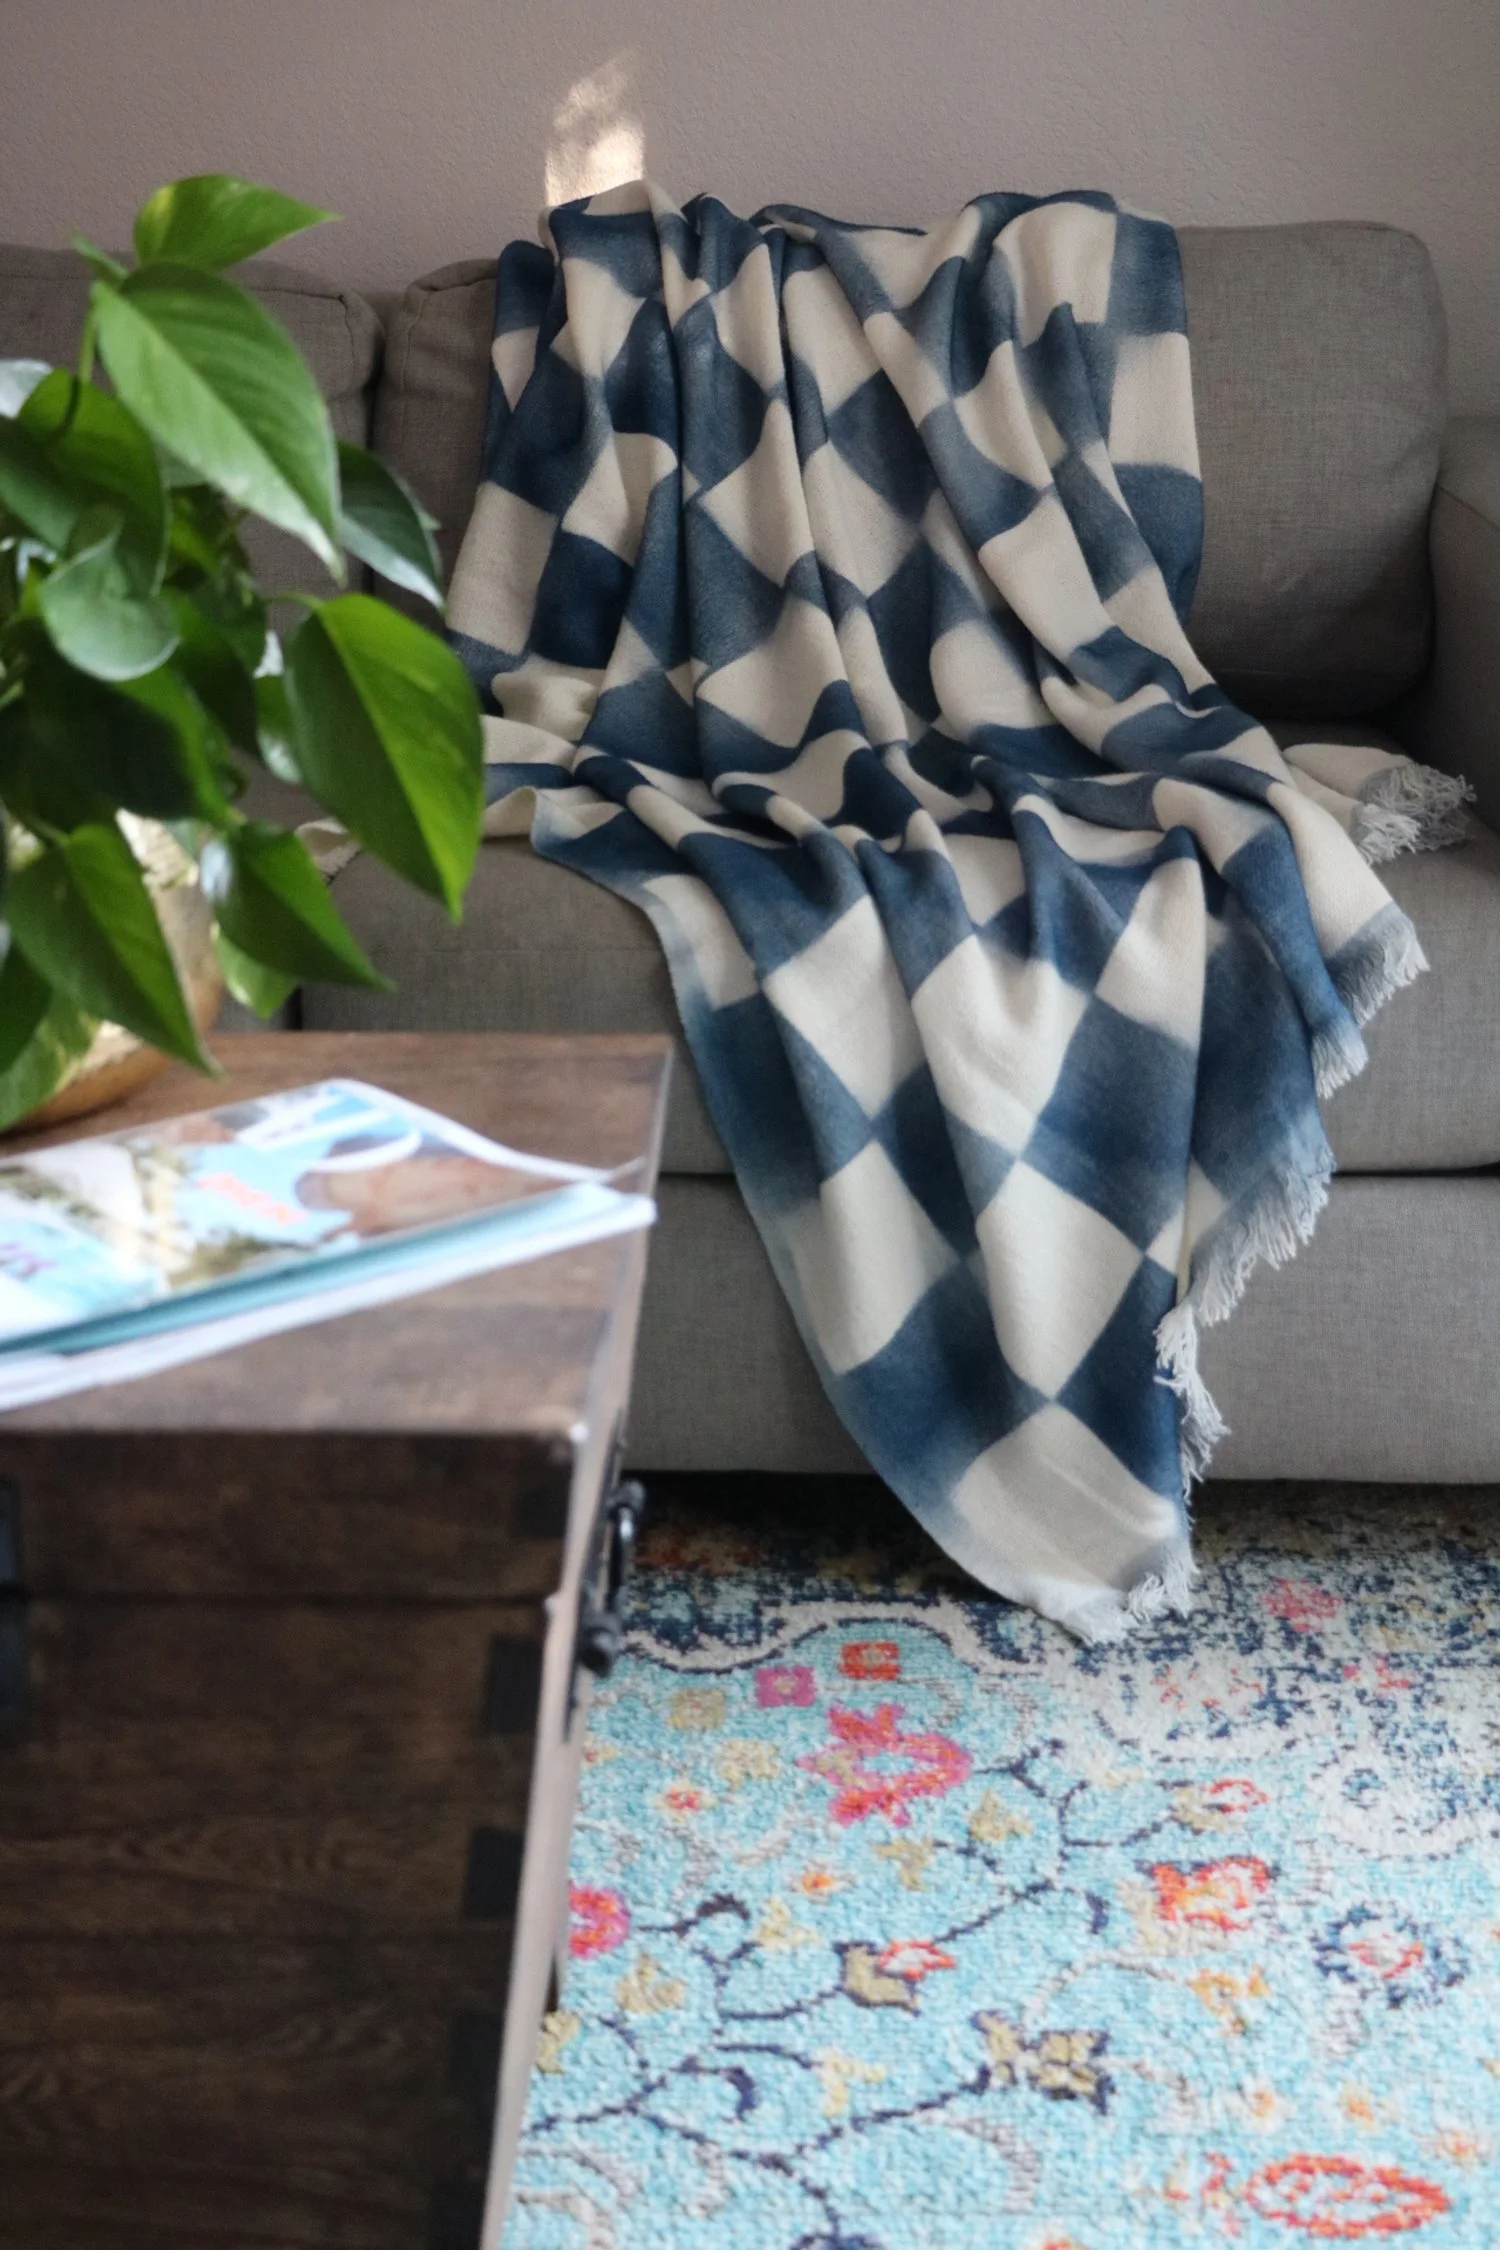
And there you have it! A trendy throw blanket for under $30. I was impressed with the softness of the blanket after spraying it. It did seem to stick a little bit together after being folded up for a few days, so I tossed it in the wash - cold water - to make it ever softer. There was zero pattern-bleed and it fixed the stickage issue.
This would be a fun afternoon project for anyone wanting to dip their toes into the checkerboard trend.


