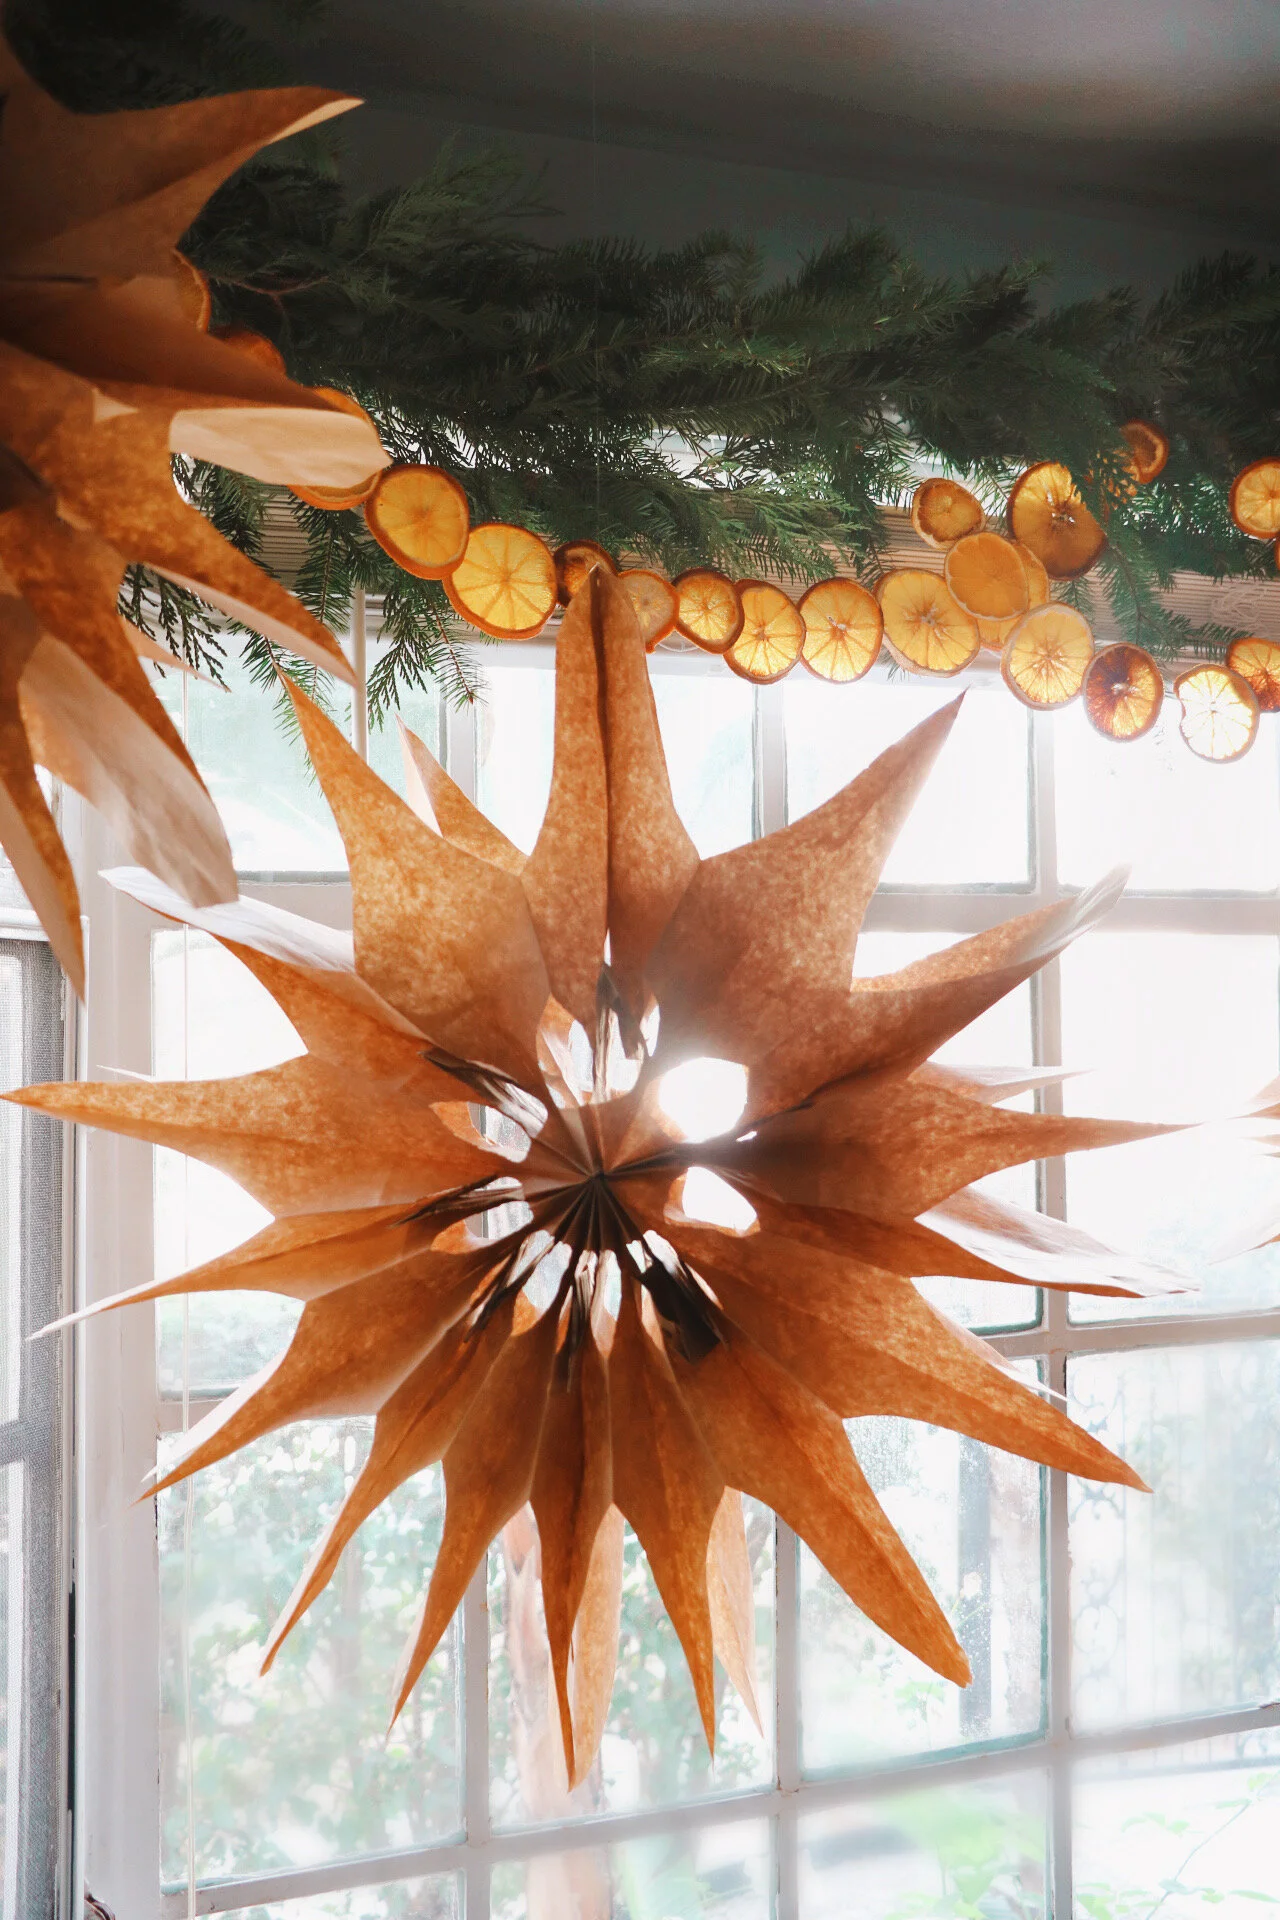
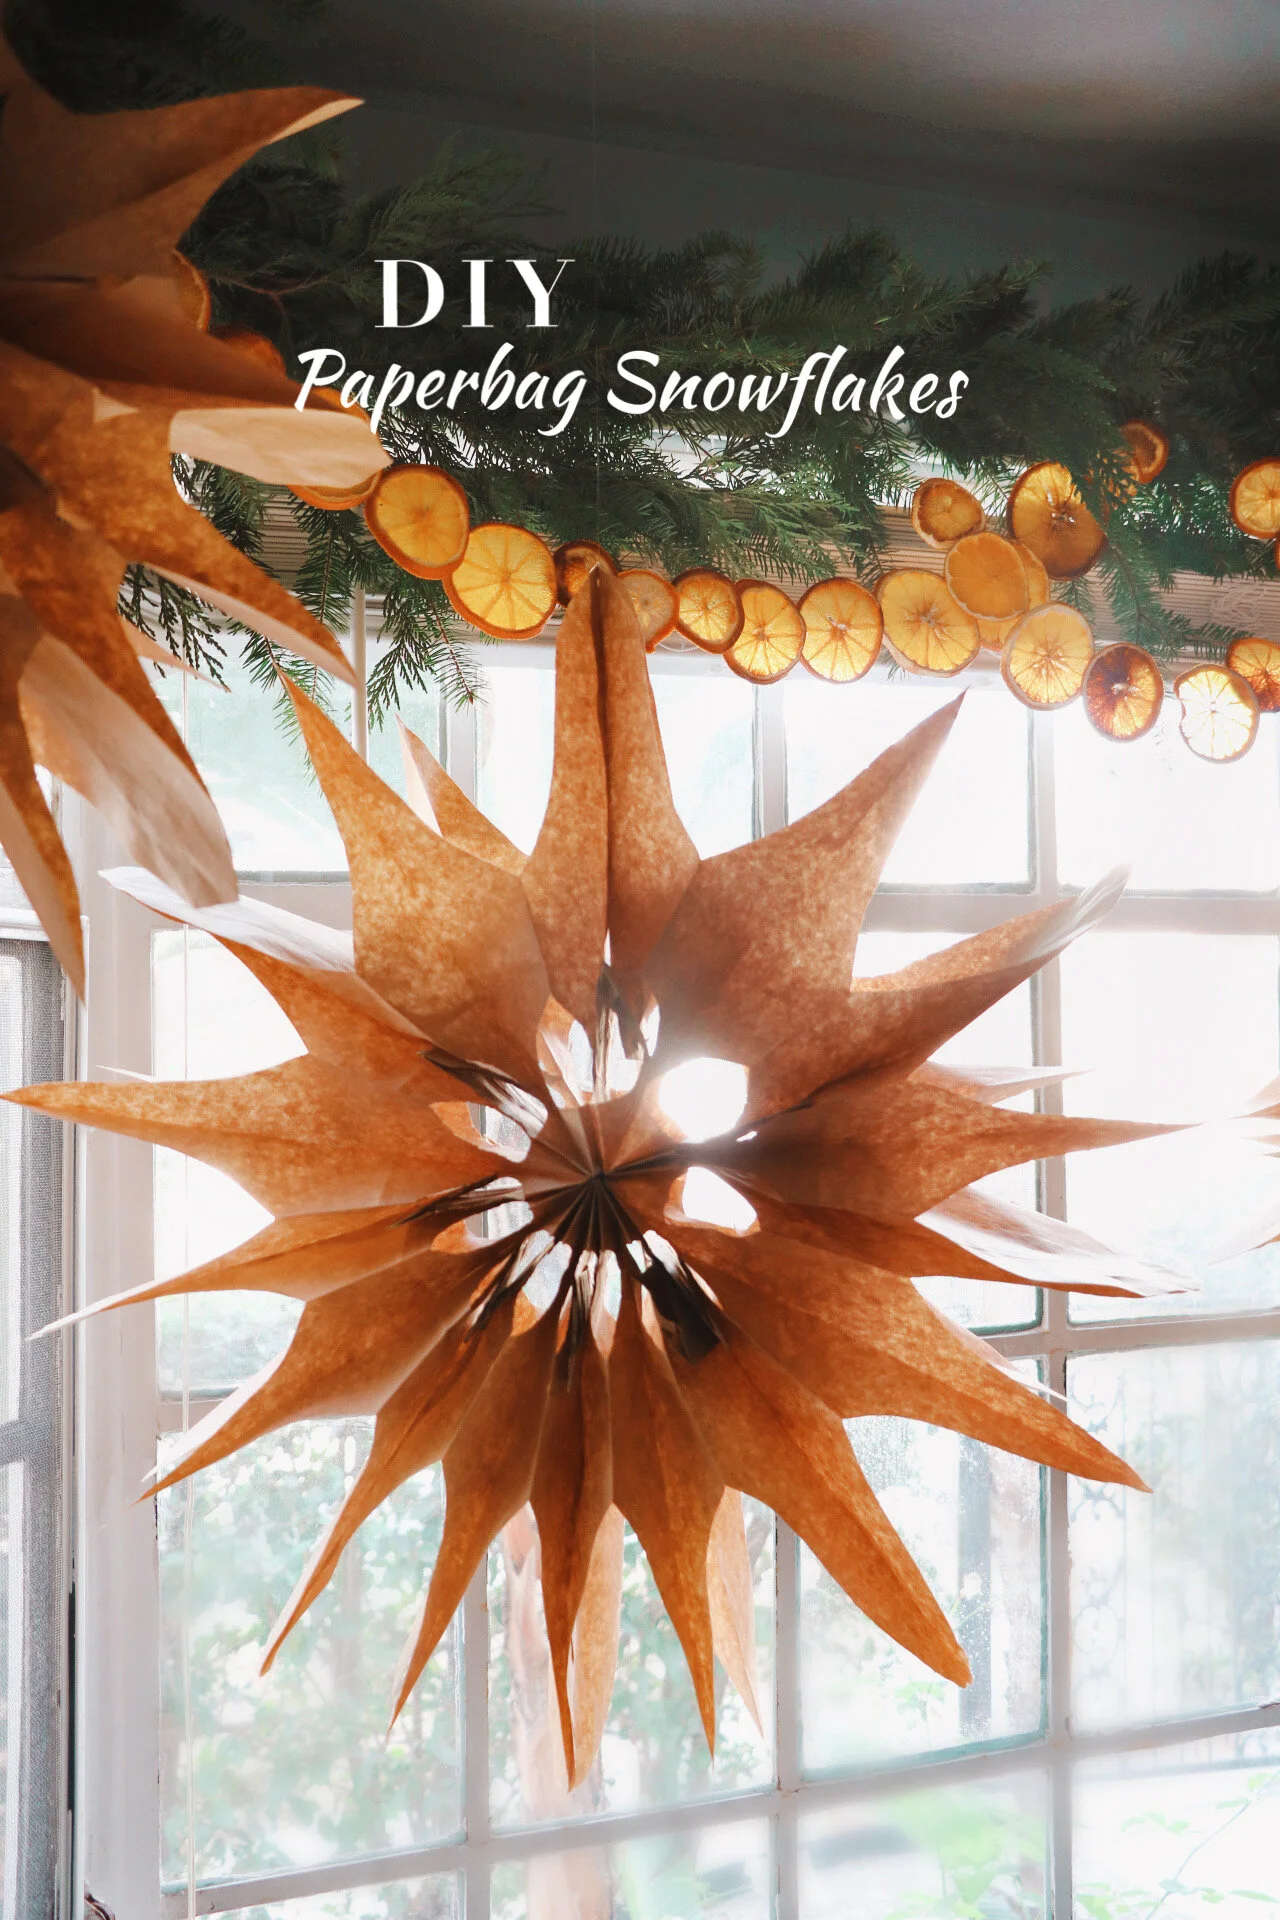
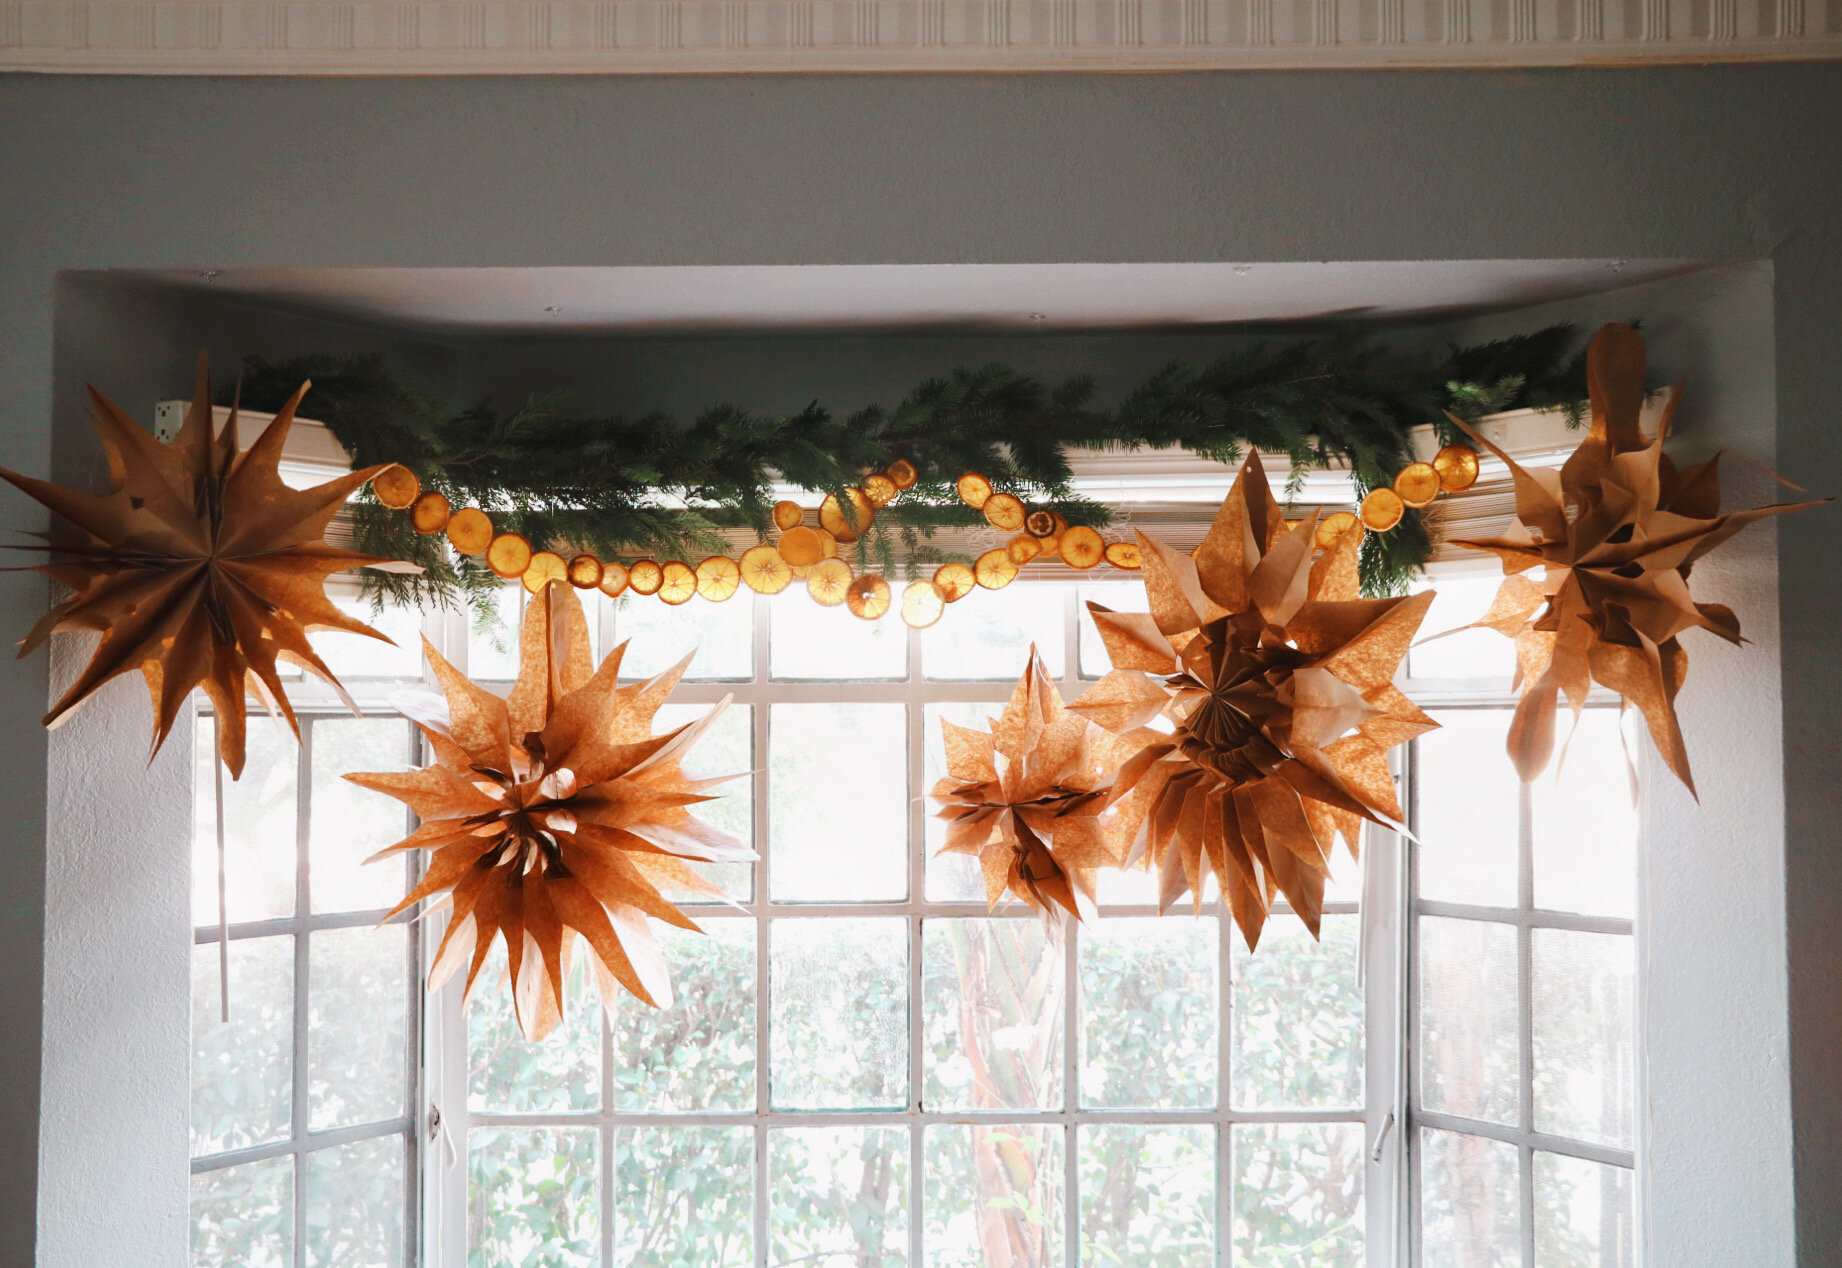
Brown Paper Bag Snowflakes
After being slow to the party with my holiday decor, I decided to stop the comparison game, and just have fun with a few DIY projects to show that Christmas can look whatever way you want! I think the biggest thing I’ve learned in 2020 (what a year) is that imperfections are beautiful, and we should all embrace ourselves, cracks and all. Show up and be yourself, and that alone will bring you far in life.
Nothing says Christmas 2020 to me like homemade decor, and for that reason, these brown paper bag snowflakes are the perfect thing to make. If you don’t have extra lunch sacks lying around, they’re sold at most grocery stores for about $2. That pretty much sums up the cost of the project! As a grown adult, I loved doing this project, but I would image it would be a great craft with kiddos.
Materials:
Brown paper bags
Hot Glue
Scissors
Pencil
Clear thread (or ribbon) for hanging
Step 1:
Using your hot glue gun, glue a T-shape and press the next bag on top. For the best, most luscious snowflakes, I recommend using 7-9 bags per snowflake.
Step 2:
Trace out the shape you want with a pencil (you can totally free-hand this) and then cut out the shape. Avoid cutting too close to the seam at the bottom, and remember to not cut into the seam at all, otherwise your snowflake will fall apart when you open it up.
Step 3:
Unfold your snowflake and use hot glue to secure the open seams. Tie clear thread somewhere on the snowflake and hang. Frolic through your Winter Wonderland.
It’s seriously THAT easy. Three steps and under $5 and you’ve transformed your house into a holiday spectacle! The novelty of opening up each snowflake never wore off. I really had a lot of fun with this one and definitely recommend it around Christmas-time.

