Wedding Flower Cones with Dried Flower Petals
This project was a labor of love and one of my favorite personal touches on our wedding day.
I say a labor of love because I spent TWO YEARS drying flowers to make it happen.
Totally worth it. Read on for how I dried flower petals to craft Wedding Flower Cones for our ceremony.
Here’s the backstory: Berto proposed in April 2019 and shortly thereafter I began an official wedding Pinterest board (I am a millennial woman after all). One of the first ideas that caught my eye was to have flower cones for the guests to toss during the ceremony. It started shaping the adjectives I’d come to describe our wedding aesthetic - ROMANTIC, COLORFUL, MODERN.
I decided to take it a step further and dry the petals of all the flowers Berto gave to me from proposal until the wedding, and use those to fill the cones.
And so the process began. The drying technique I found that worked best was:
Remove petals from the flower right at the point that they’d begin to fall off or dry naturally.
Spread them out on one layer on a paper towel and place in the microwave. Add a paper towel on top.
Microwave for 30 second intervals until the petals are flat and dry.
Store in a sealed plastic gallon baggie in a dark and dry place. Repeat until you have enough flowers (I don’t have the exact number of bouquets it took, but I ended up needing about 5 gallon bags full.)

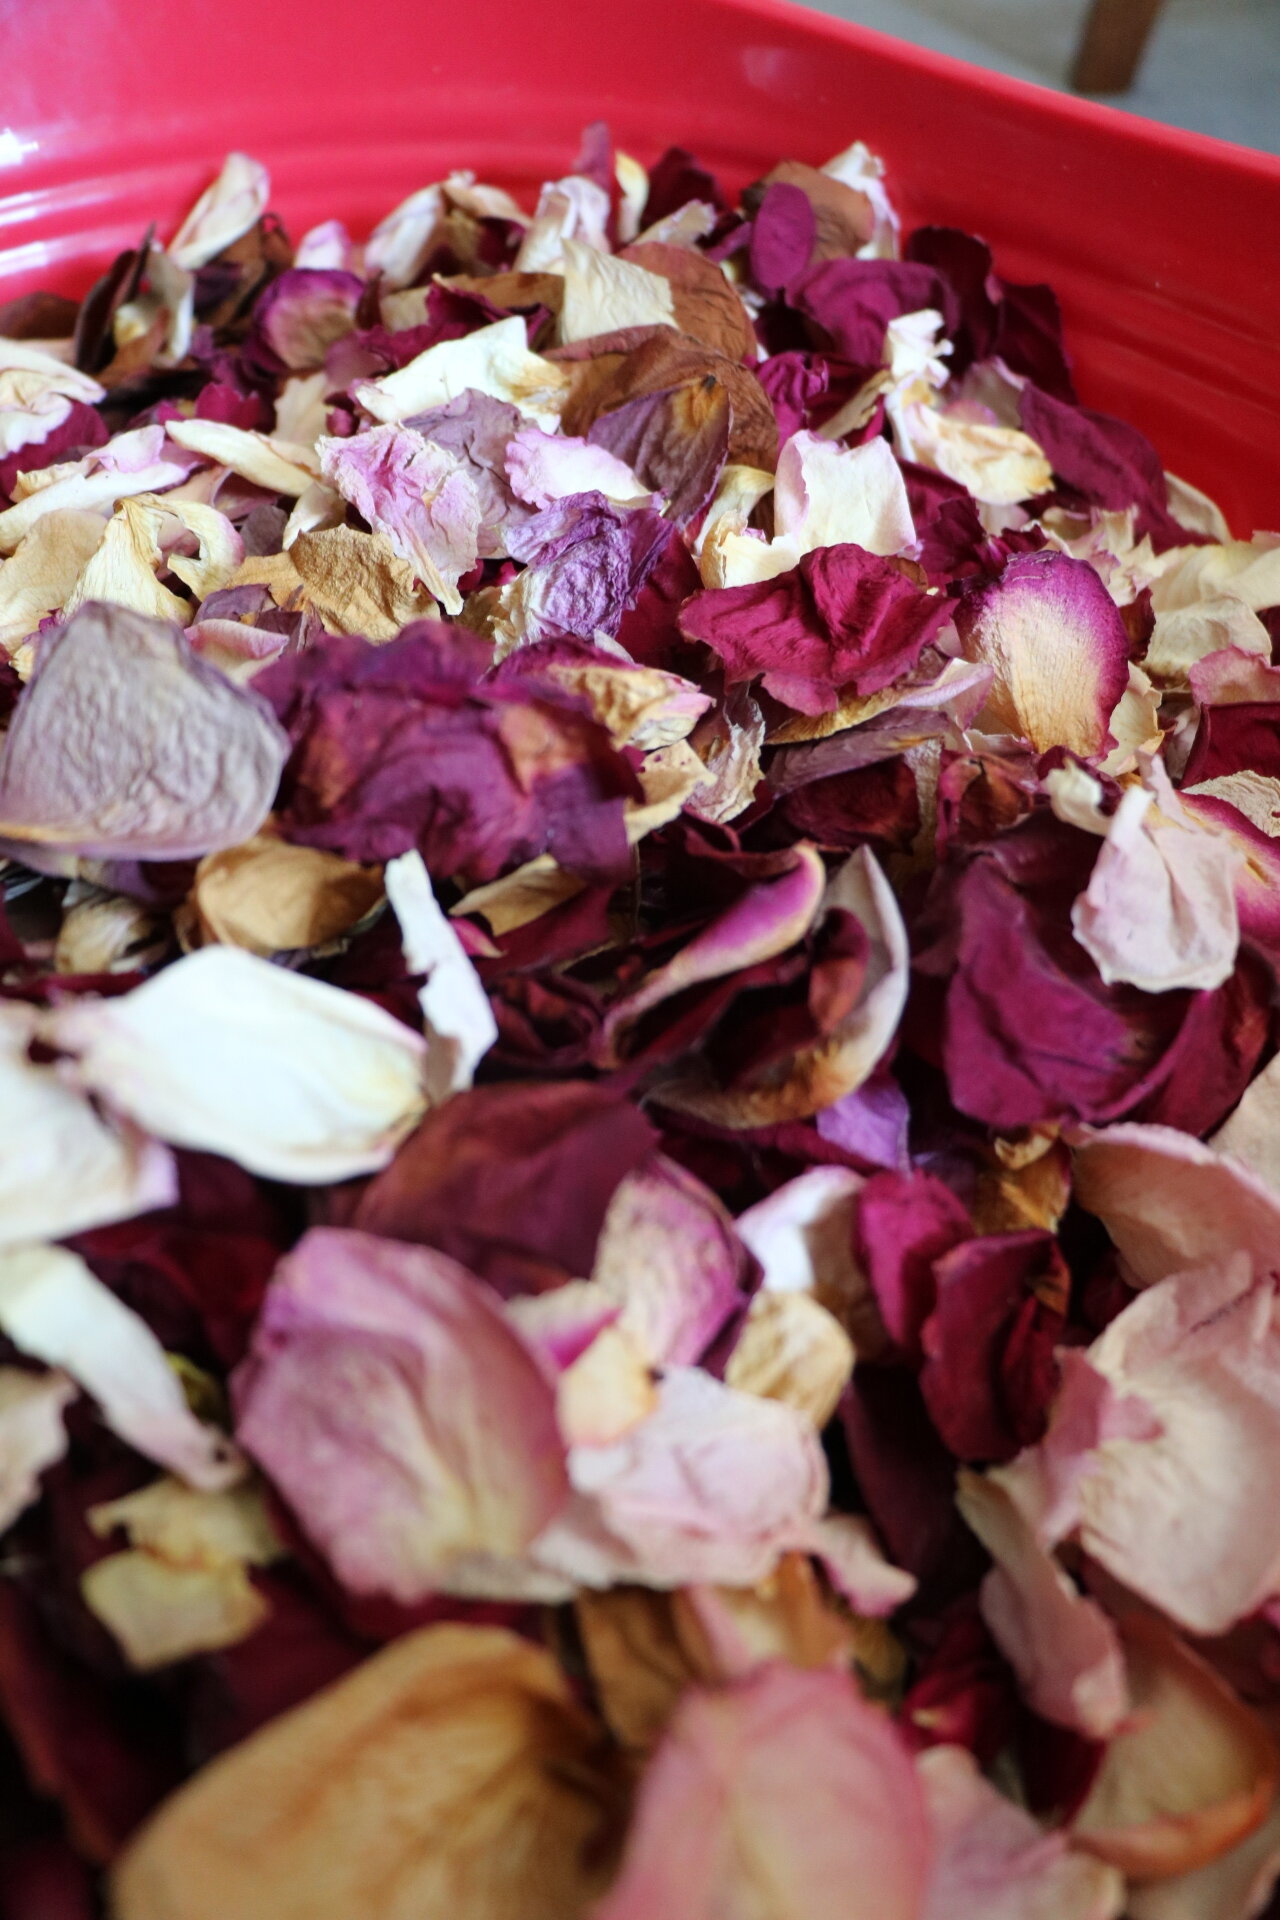
The microwave technique was definitely the way to go to maintain the color of the petals. I tried the upside-down drying technique at first, but found that it would mold the inside of the flower bud and thus ruin a fair number of petals per flower - and I wanted to yield as many as possible. Roses worked best in terms of drying, and luckily came in a variety of colors.
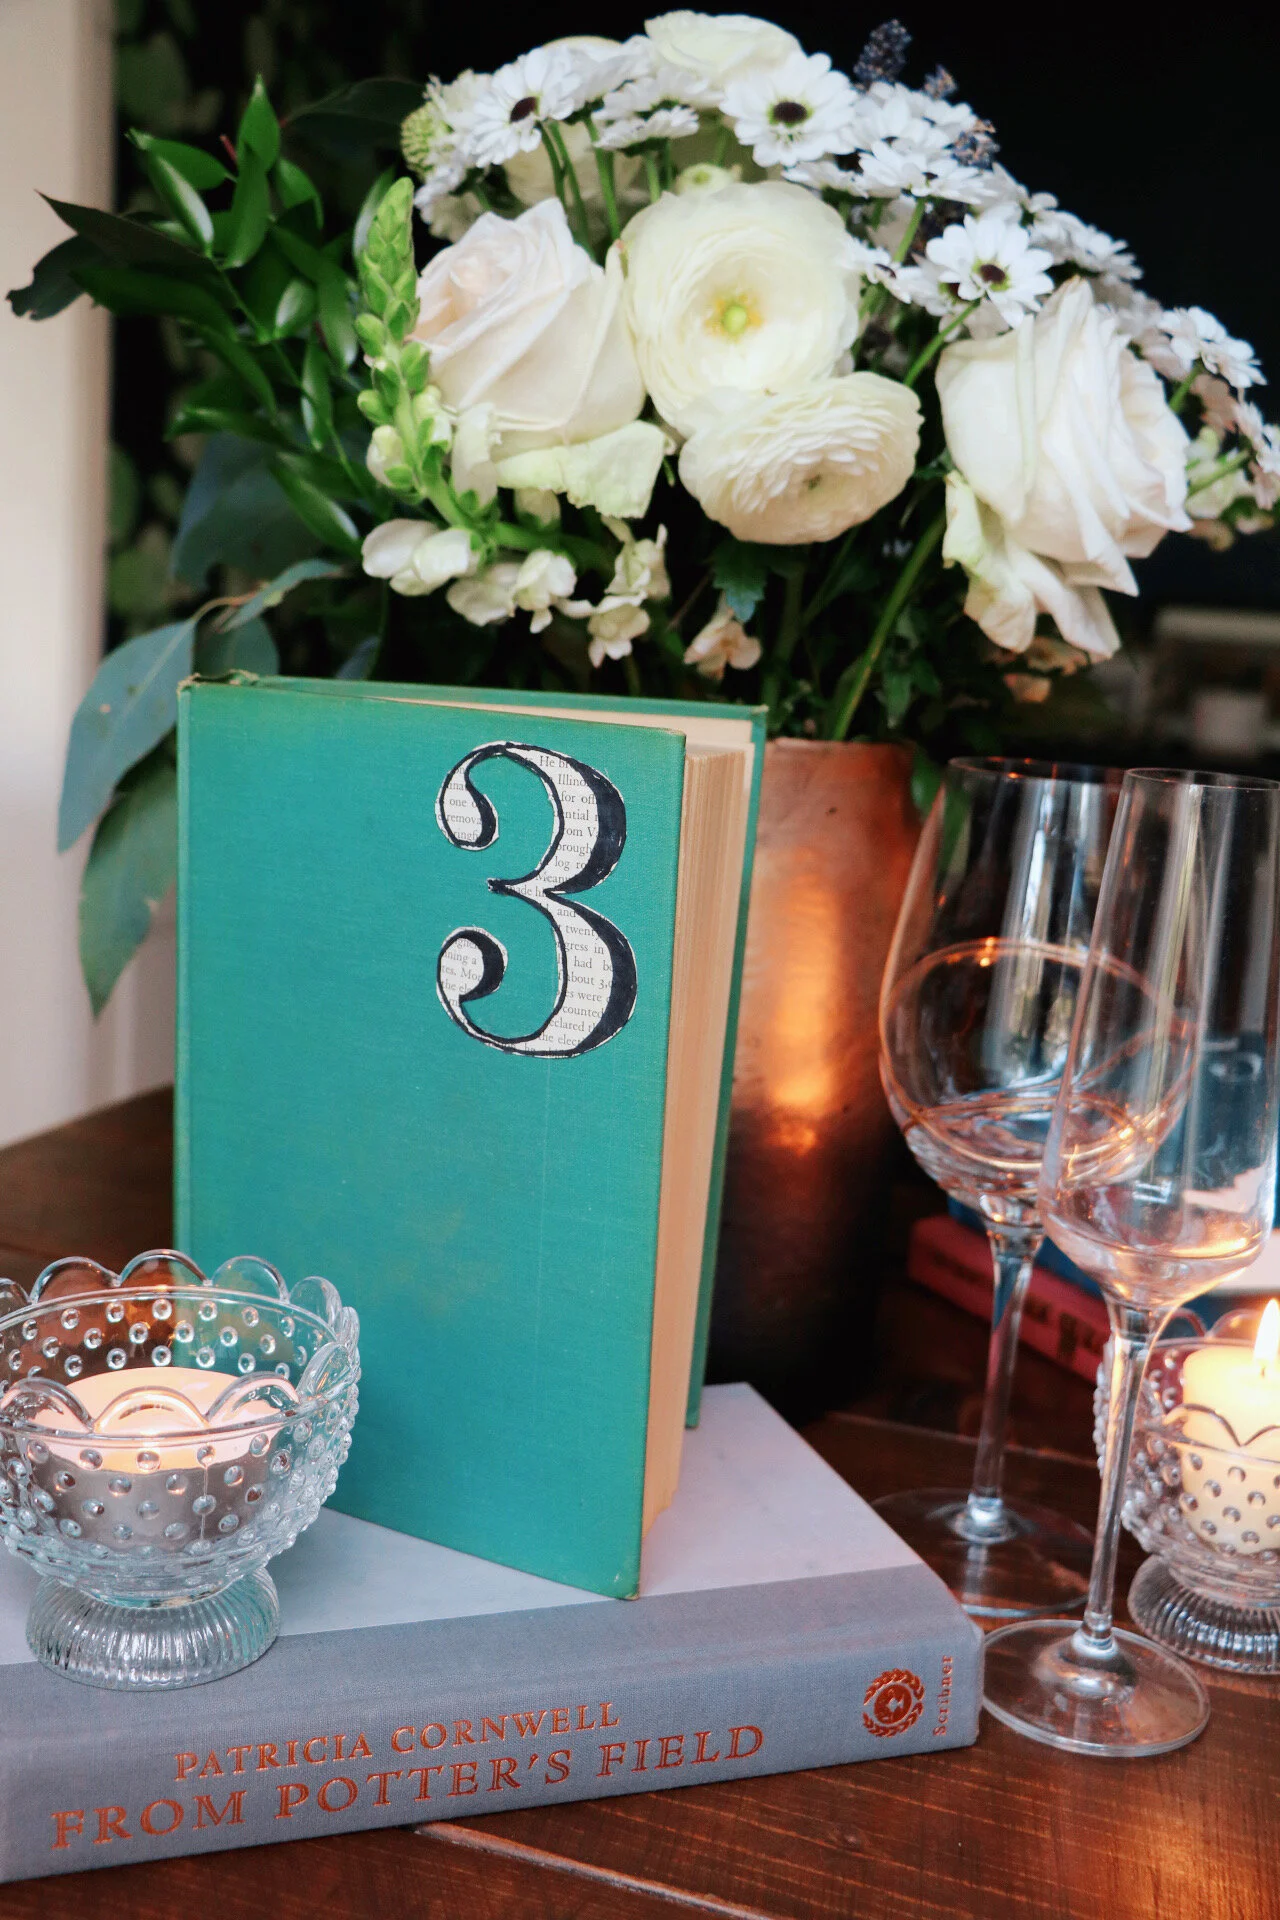
Next up was to decide on what paper to use for the cones. You could literally use anything, but Harry Potter holds a special spot in my heart, and since books were used throughout the wedding decor, I thought it would be a nice tie-in. I thought it would be a fun Easter-egg for the guests to discover what book their cone paper came from, but no one’s mentioned it to me so far so I guess that will just be a little nugget that I hold dear to my heart.

Cut the pages into 5.5” x 5.5” squares. You’ll need as many pages as you have guests, so for us that meant around 100 total.
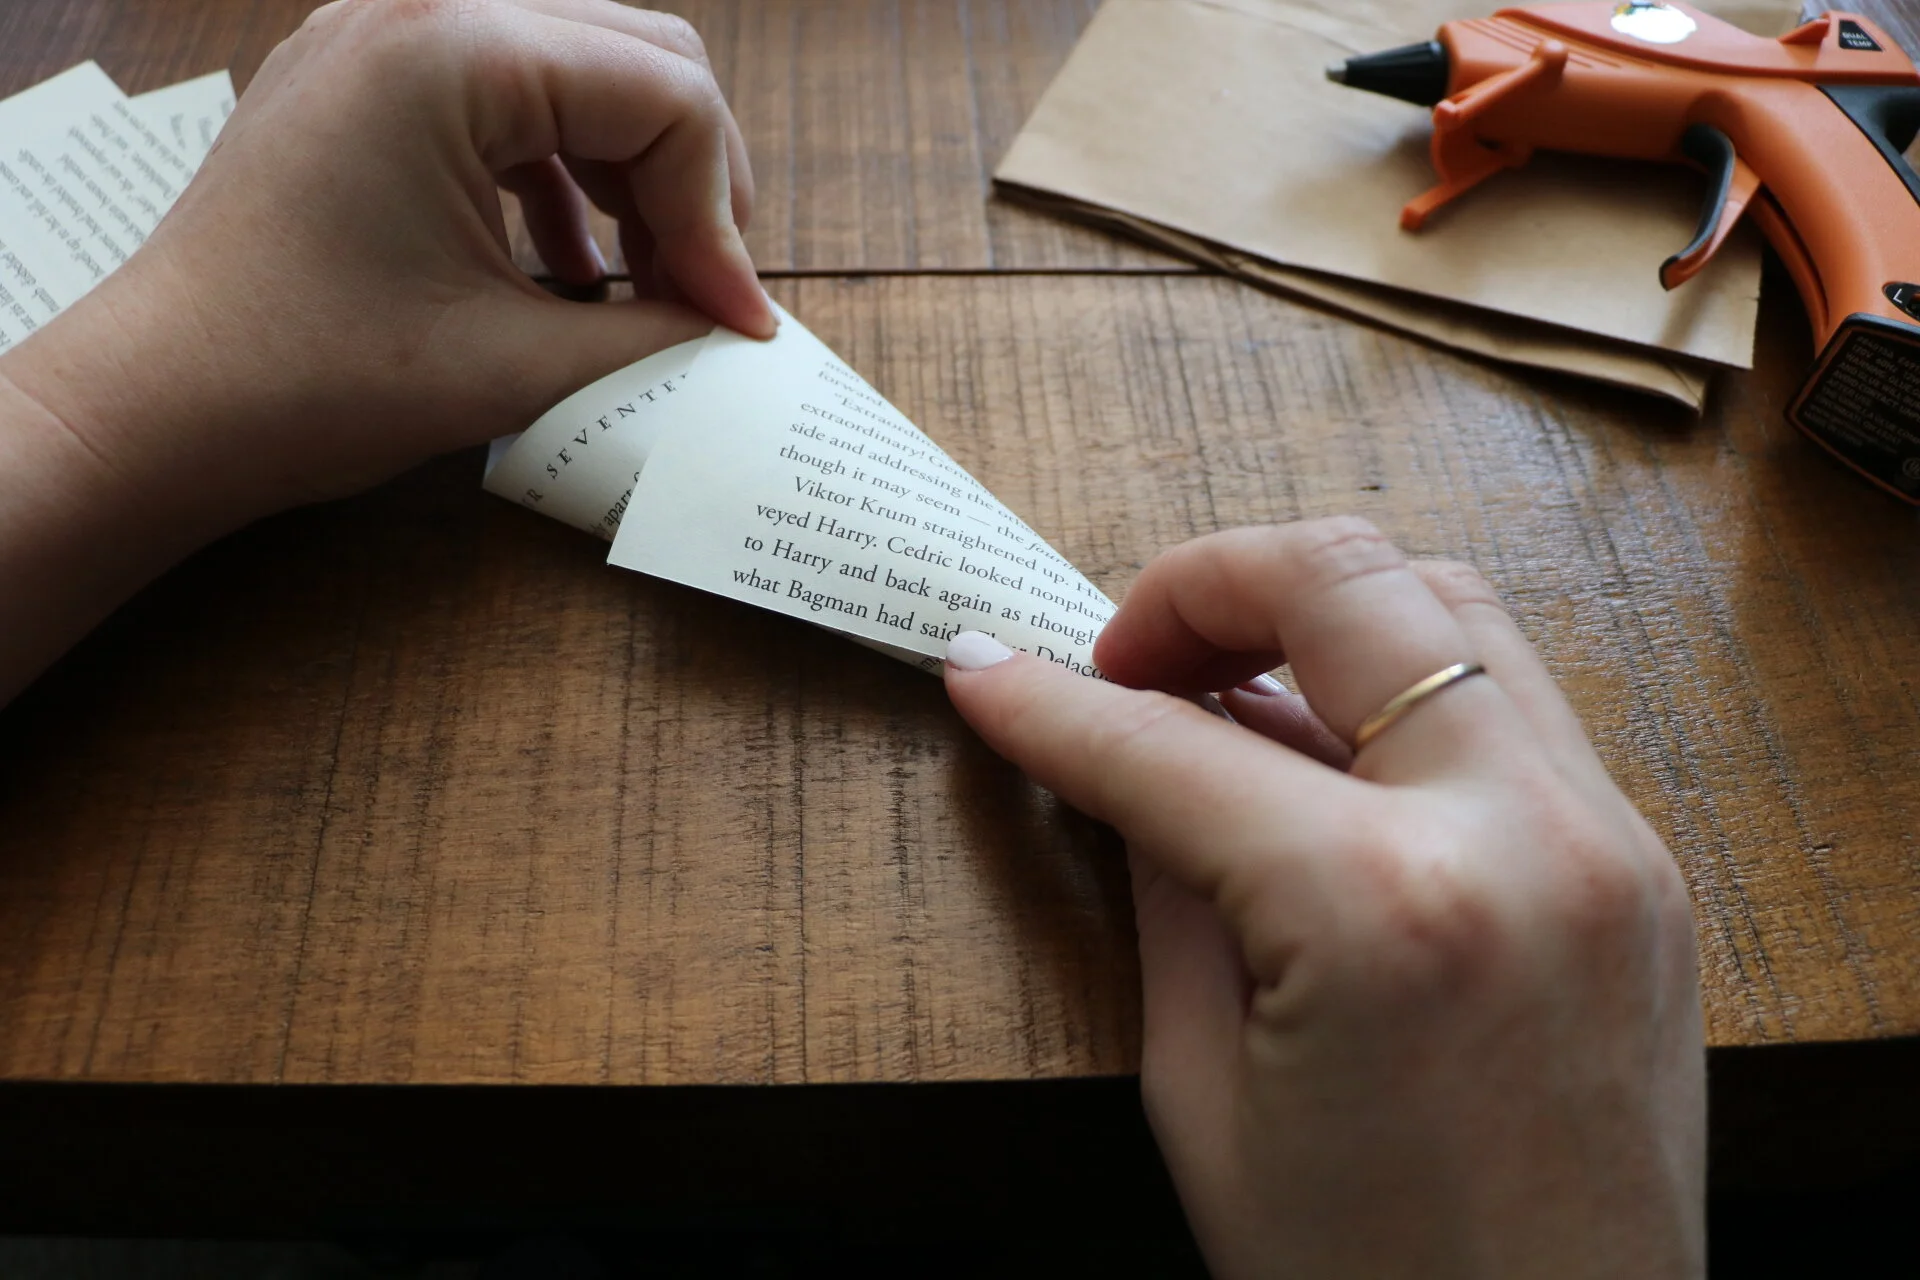
Here’s how to make the cones:
Lay the paper on a flat surface. Heat up your hot glue (I love Gorilla Hot Glue).
Fold one corner towards the middle of the page, creating a nice point at the bottom.
Wrap the opposite corner in to meet it. There should be a decent overlap.
Hot glue down the seam.
Press and hold for a few seconds to secure.
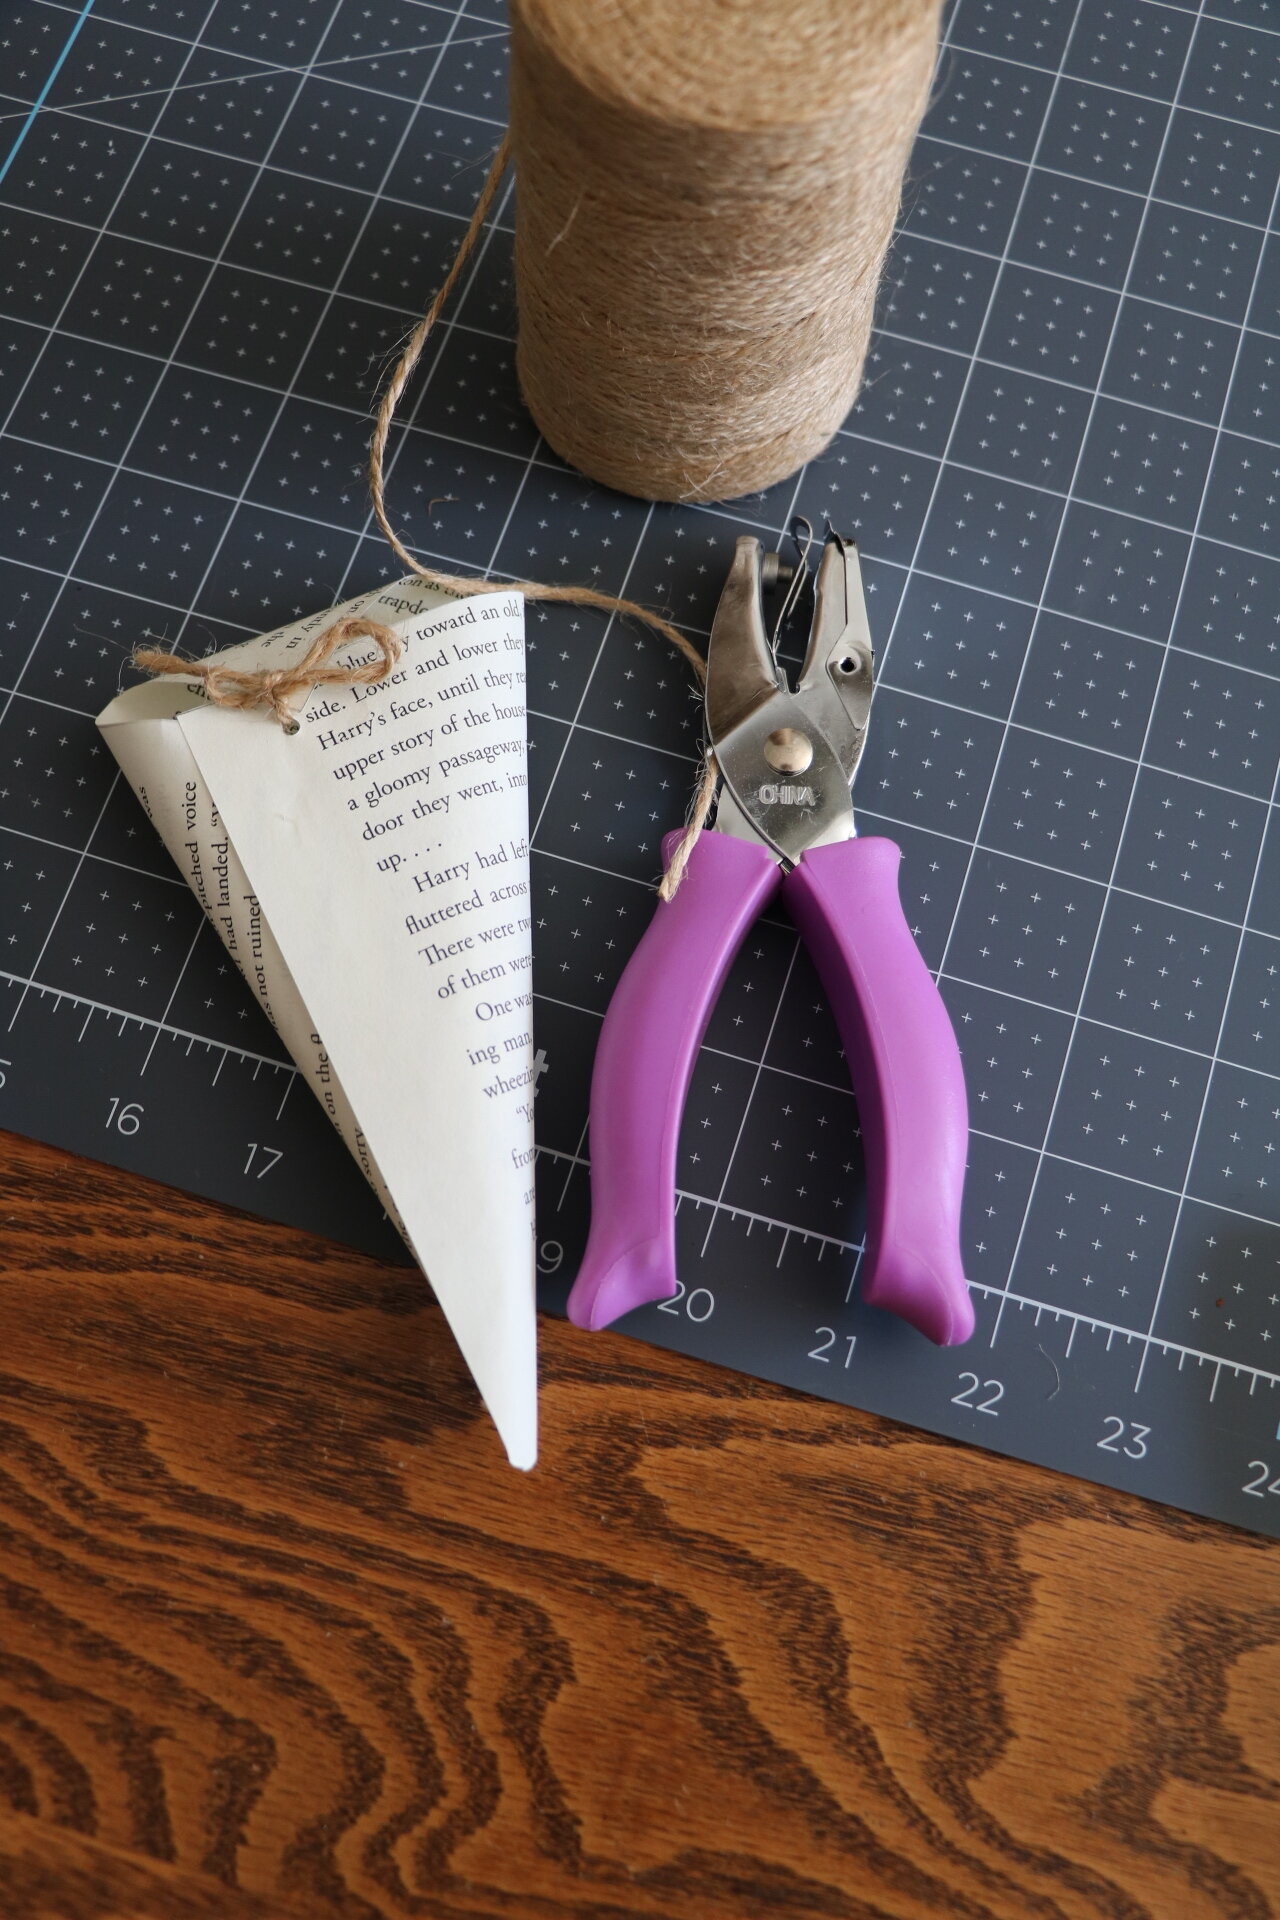
Book pages | Hole punch | Twine | Paper cutter | Self-healing cutting mat | Hot glue gun
Disclosure: My content is reader-supported, which means that when you purchase through links on my site, I may earn an affiliate commission. Learn more here.

Step One.

Step Two.
Step Three.

Step Four.

Step Five.
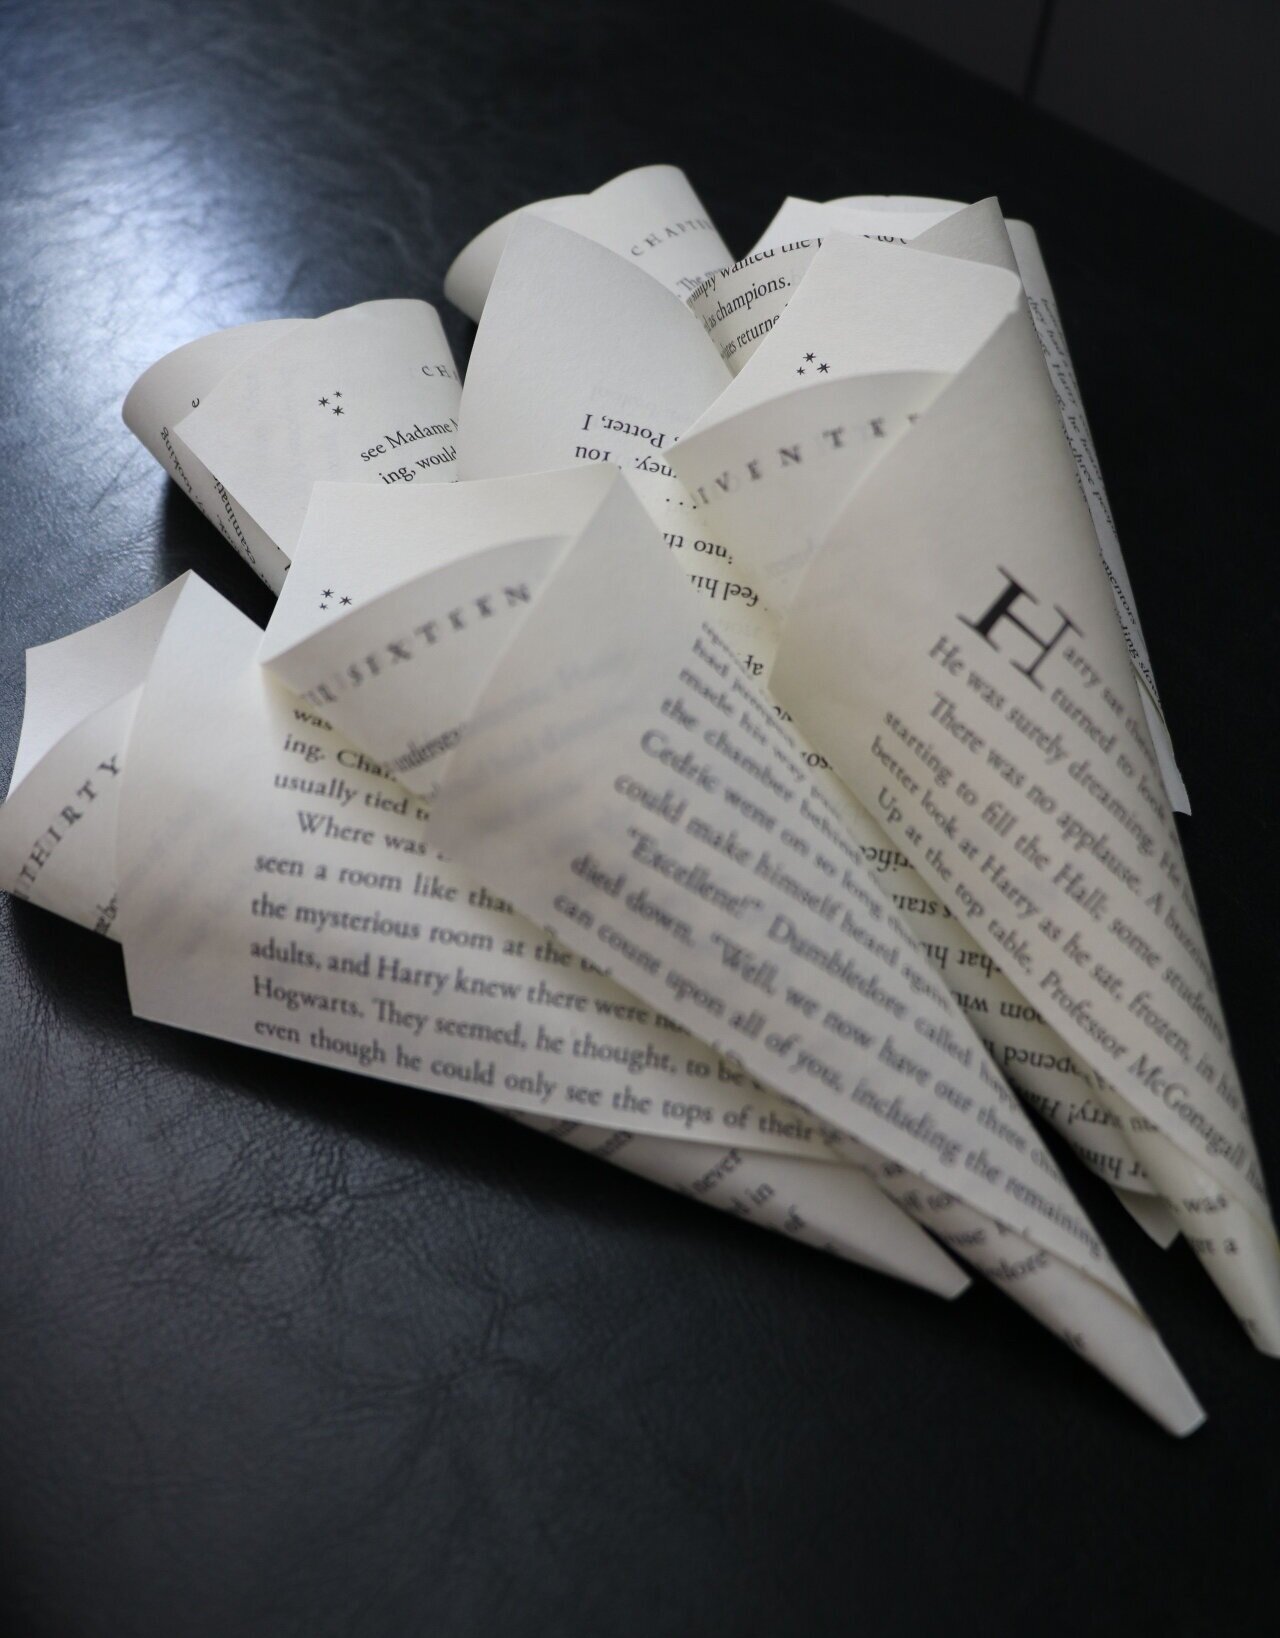
Paper cones for days!
Next, you’ll want to use a tiny hole punch to thread the twine through to tie the cone shut. Even though it wasn’t completely sealed shut, having it mostly tied made transporting the cones to the venue a lot easier.

Next, fill up those babies with as many dried flowers as it can hold. We found that if you stuck a large petal at the bottom, and then filled the rest with more crushed up petals it would work best for tossing purposes.
Oh, I forgot to mention - my vision was for the guests to toss the flowers up in celebration as Berto and I walked up the aisle post-ceremony as Husband & Wife. So they needed to be able to be easily toss-able.
BTW, there was no way I would have been able to make 100 of these on my own, and I am eternally grateful for three of my bridesmaids helping me out. Gabi, Taylor and Fran - you da real MVPs!!
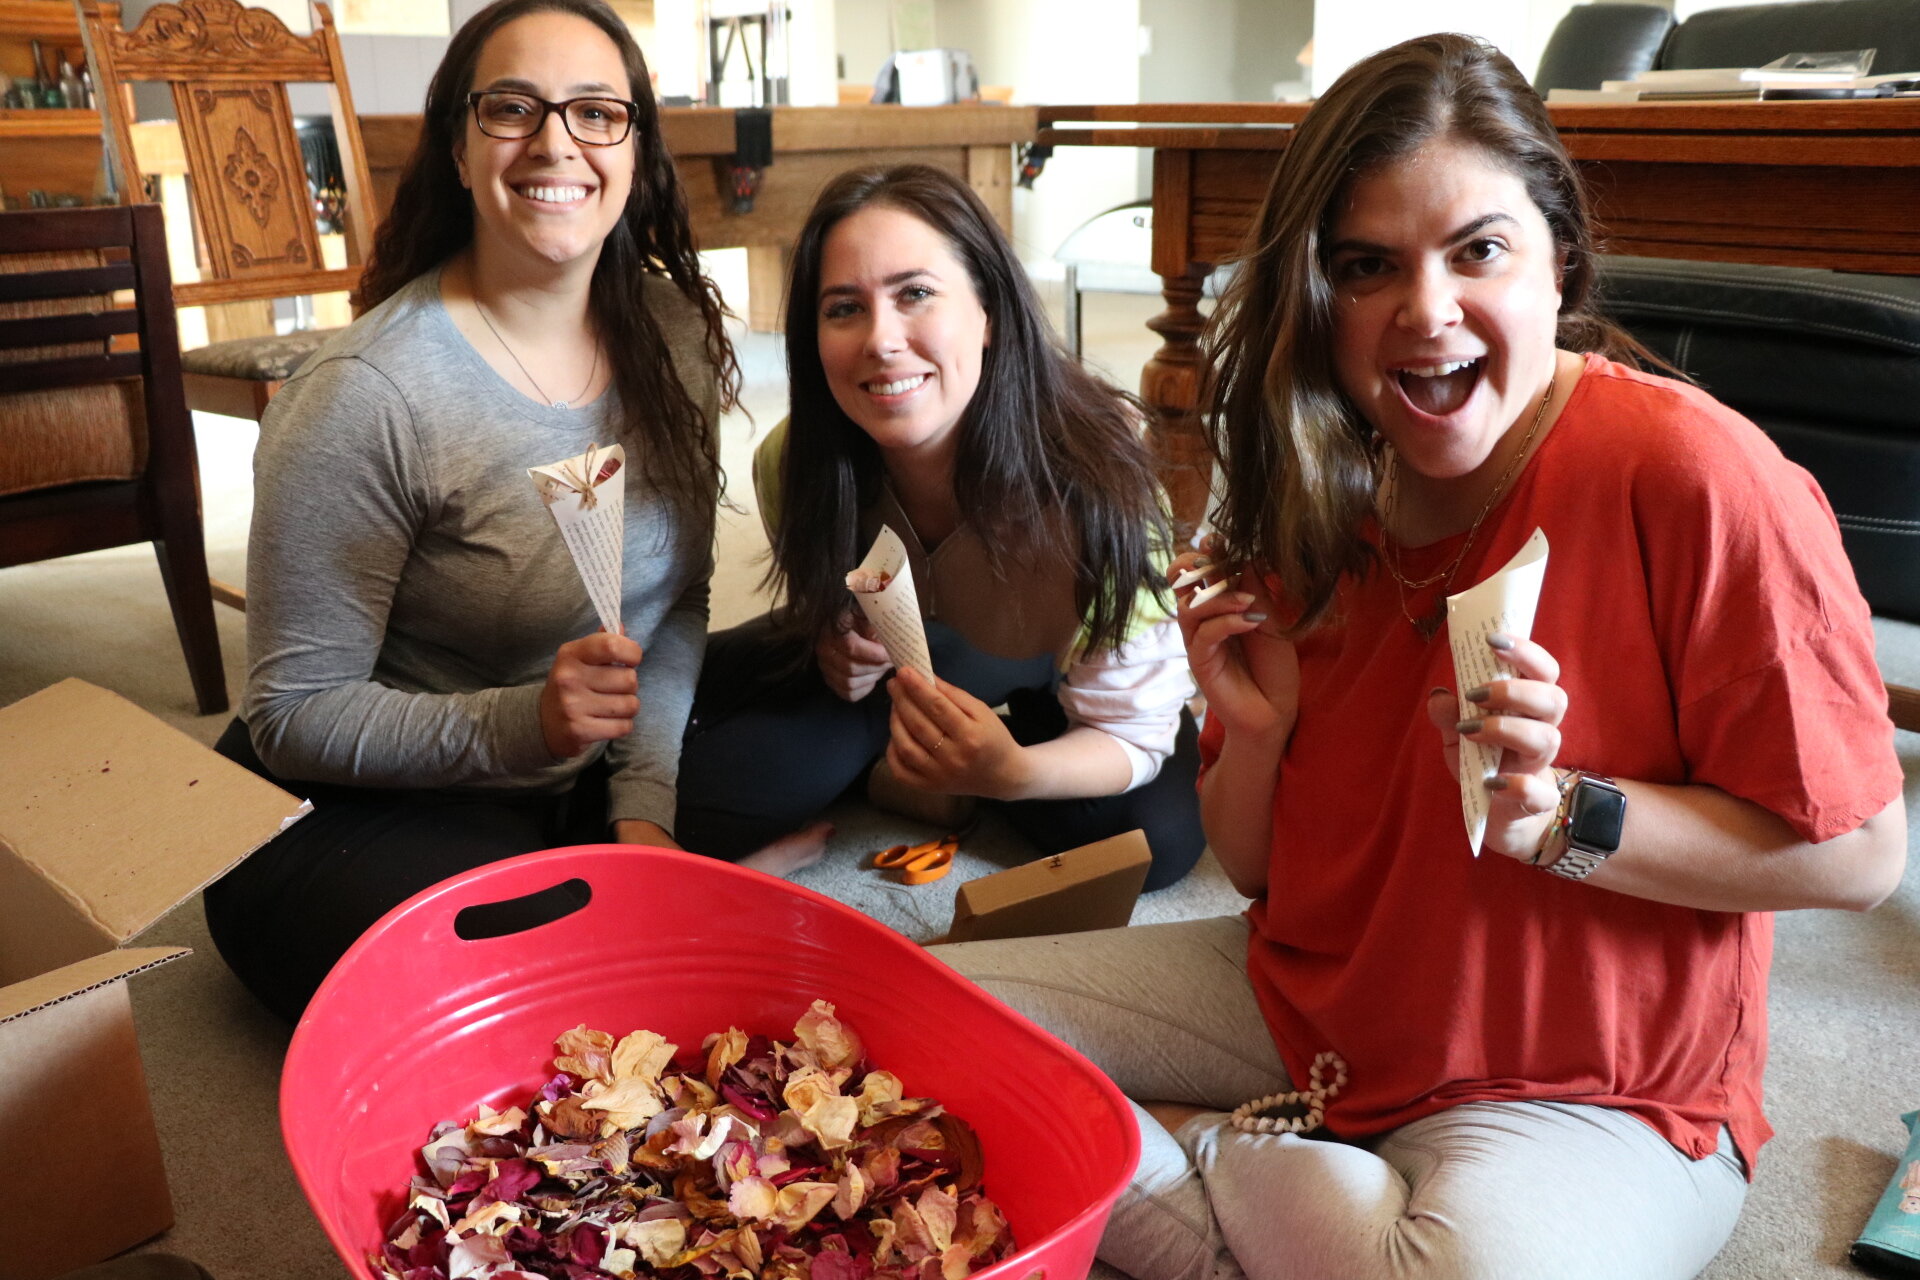
Aren’t they the cutest??
Now for the special photos by our fantastic wedding photographer, Gracie Marie Photo (go check her out and book for all your engagement/elopement/wedding photography needs!).

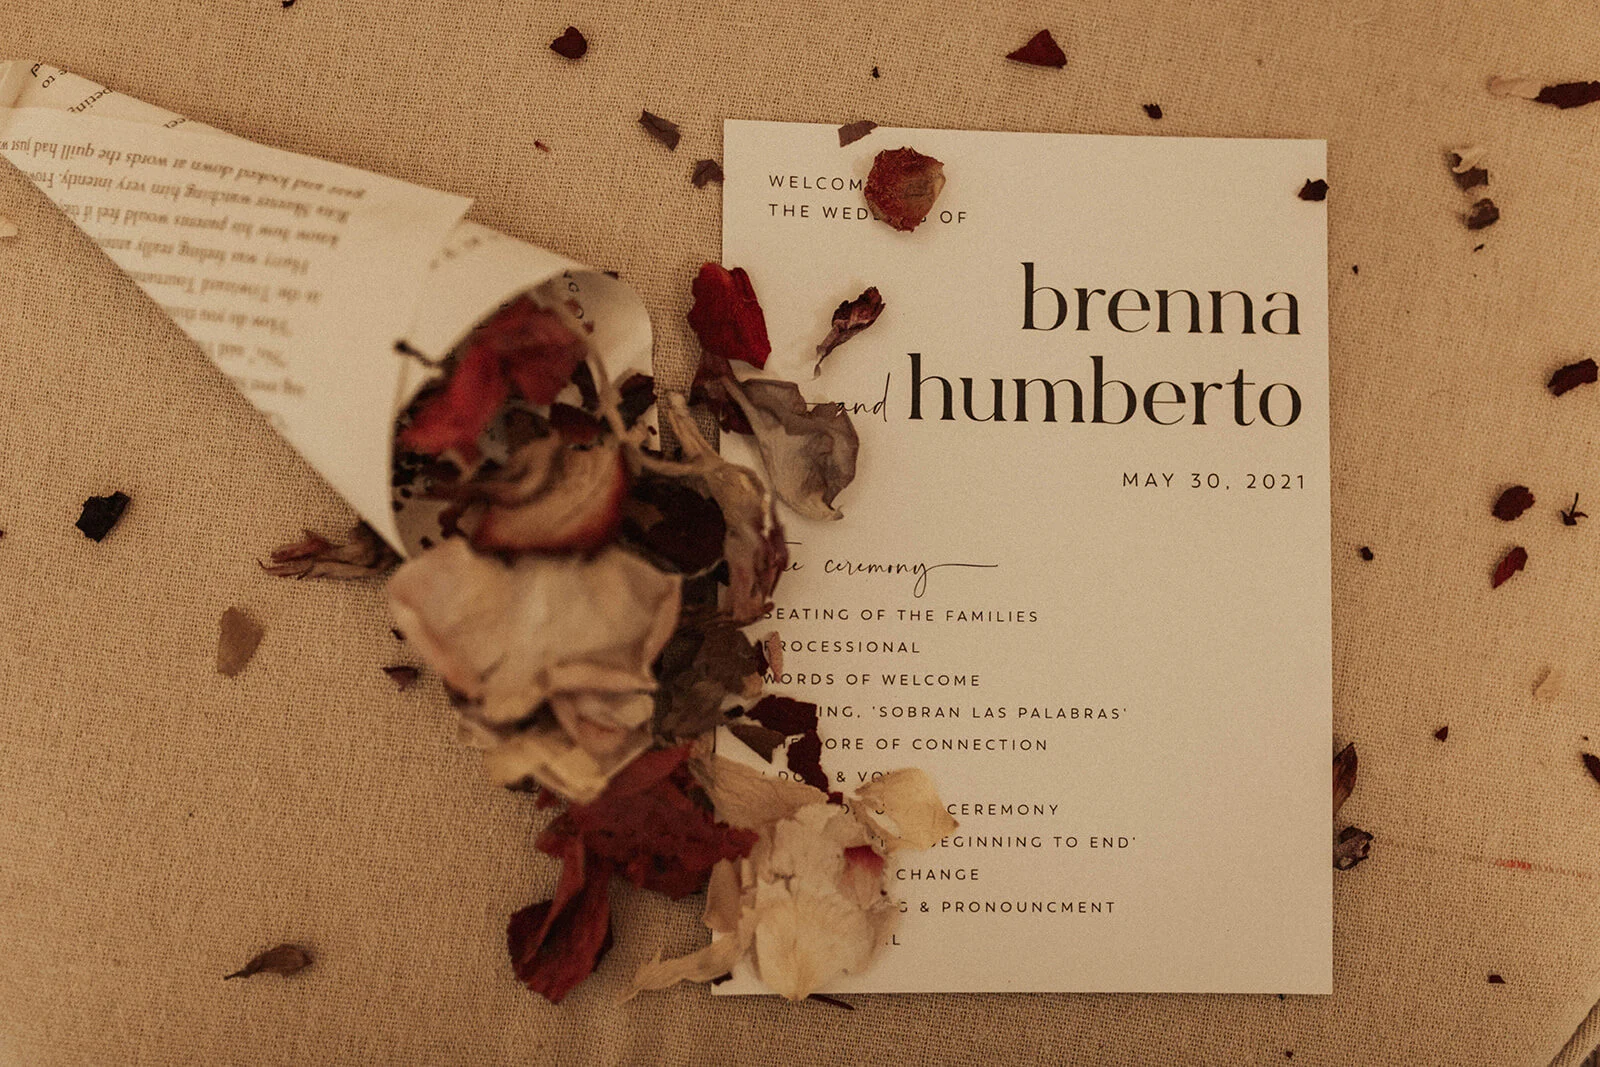
Swoon. I’m a happy lady. I love how these turned out!!! Definitely a DIY win! And perfect for our wedding day - these Wedding Flower Cones with Dried Flower Petals were a romantic and personalized touch right after we said “I do.”