Easy Pressed Flowers Art
Let’s talk PRESSED FLOWERS. I had this romantic vision of opening up an old dictionary and finding long lost flowers tucked in the weathered pages, ready to be displayed in all its vintage-loving glory. I had to make this happen.
My first attempt: about a month ago, I bought a bouquet of beautiful peonies (aka my favorite flower). I sacrificed a couple for the sake of my next project, pressed them between two sheets of paper into a book, and said a prayer. I continued on with the rest of the kitchen refresh projects (see these Roman shades), knowing this would be an easy one to end with.
BIG. MISTAKE. I’m still not sure if I left them in there for too long, or if peonies are a bad flower to press. Either way, I opened up the book this past week to find a yellowed, moldy flower. Ugh. My dreams were dashed.
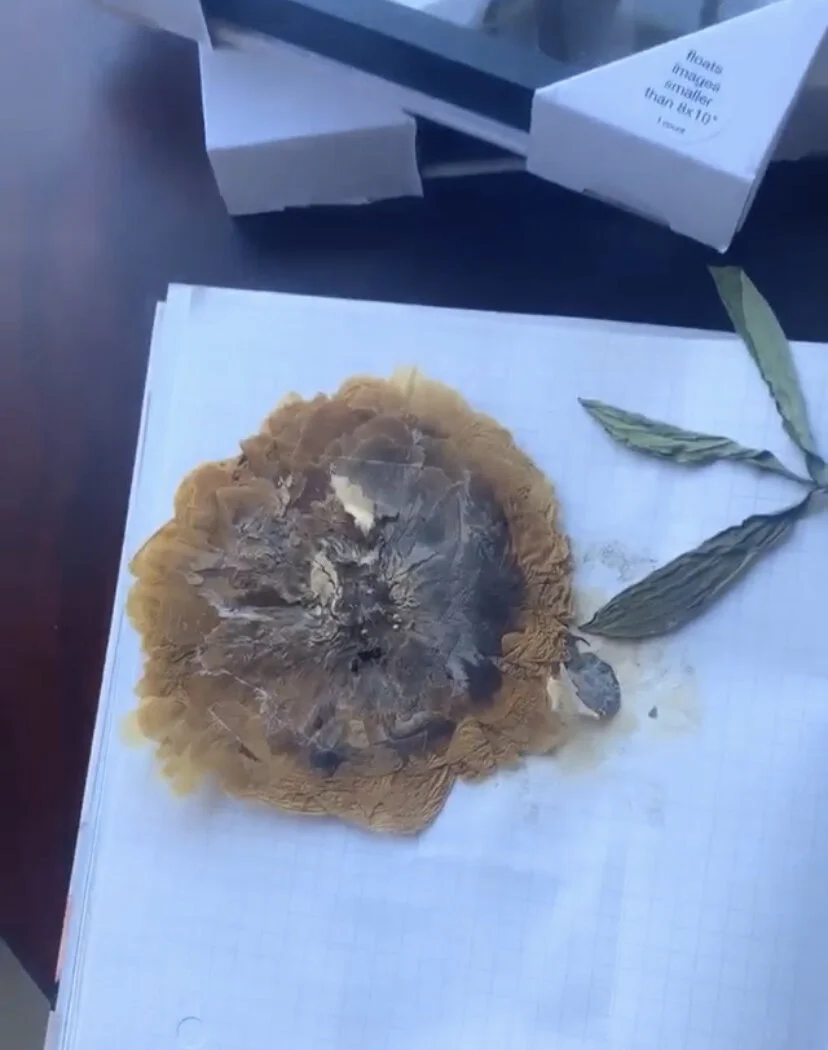
A moldy peony is not the look I was hoping for…
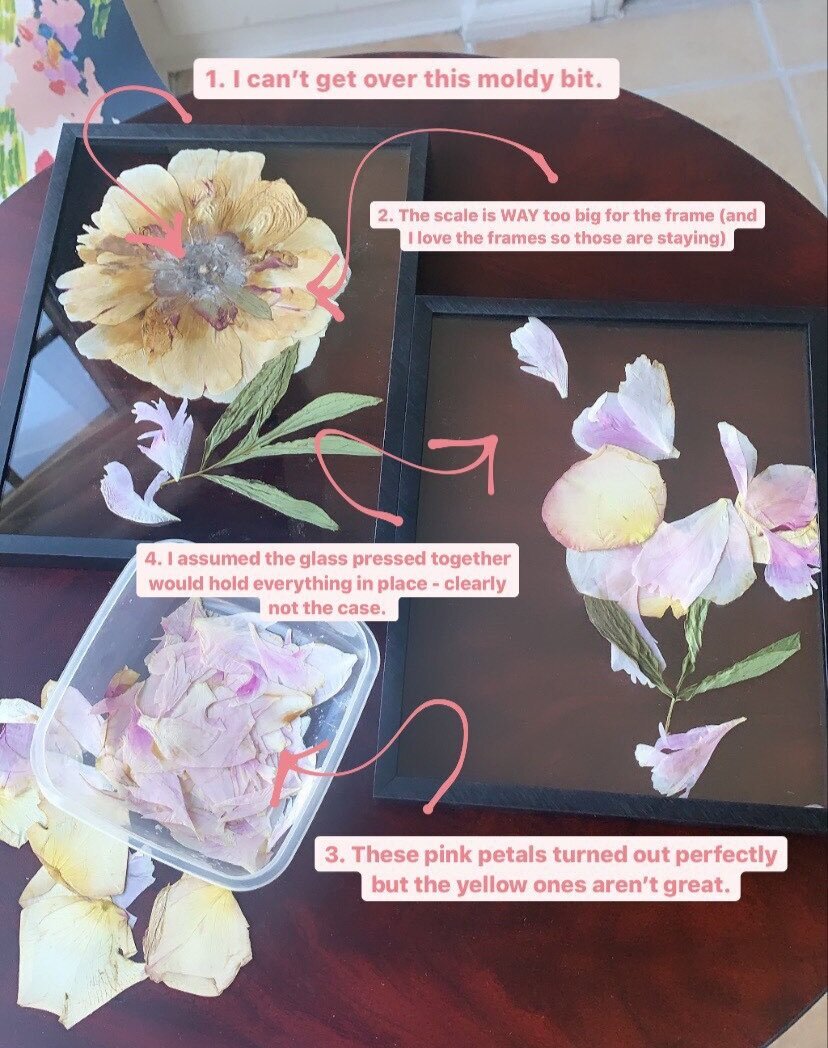
My attempt to salvage it the project… More than one thing wasn’t working here.
I had pressed a few petals separately and those turned out okay - they are the pale pink ones seen above. But there was no chance I was going to hang a partly moldy flower on my wall. I went back to the drawing board and between answers from the DIY Darling community and Google, I found another technique I hoped would work. Keep reading to see if pressed flowers in the microwave really worked (hint - it did!)
Materials:
Flowers & greenery
Wax paper
Paper towels
Microwave
Heavy microwave-safe plate or dish

To start, find flowers that are on the flatter side, like these Gerber daises, and greenery to provide texture and fill out the vignette. I also recommend choosing bright colors. I didn’t try white flowers because I’d read that they tend to turn yellow. Remember - the color will be a tad more muted when it’s dried out.

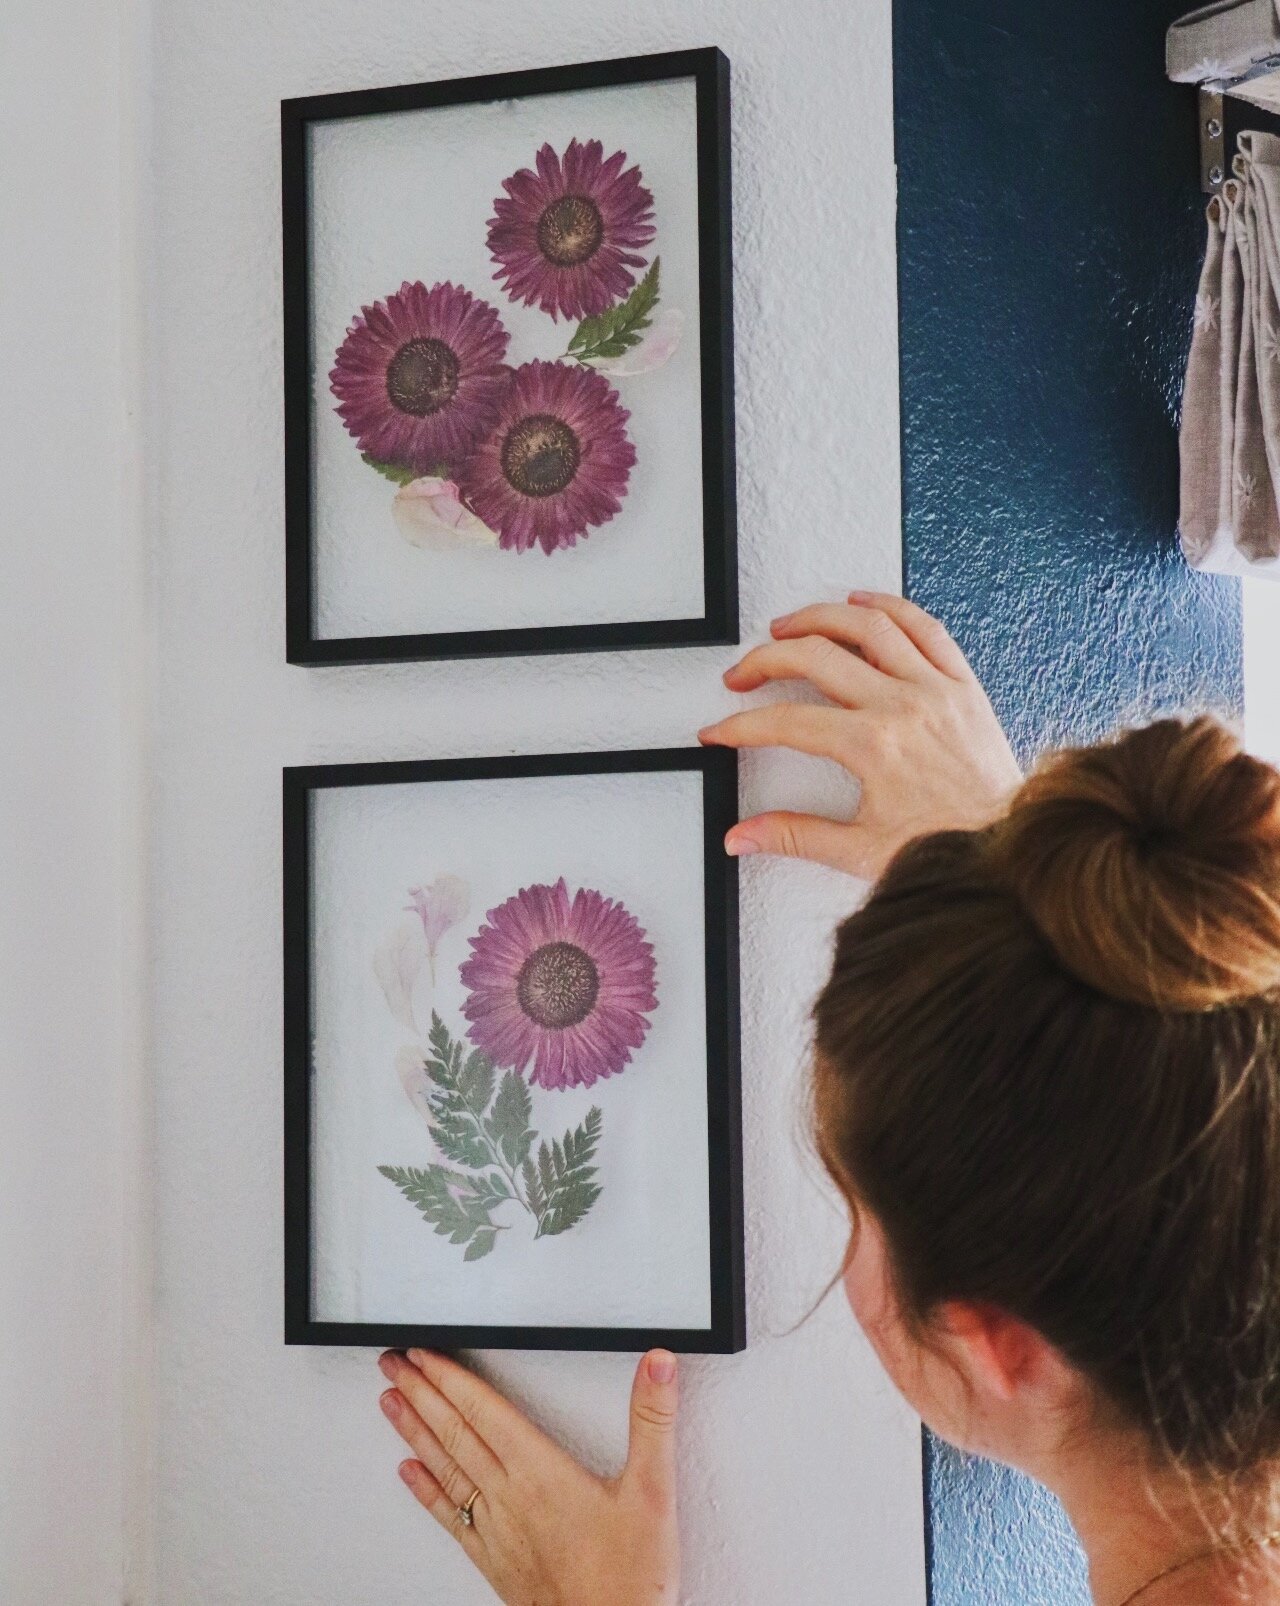
These floating frames from Target were a great price and the perfect size for my wall. I wanted the flowers to sit in the middle of the frame (rather than fill it all out) so I pre-cut a piece of wax paper to size and used that as a guide for the flower arranging.

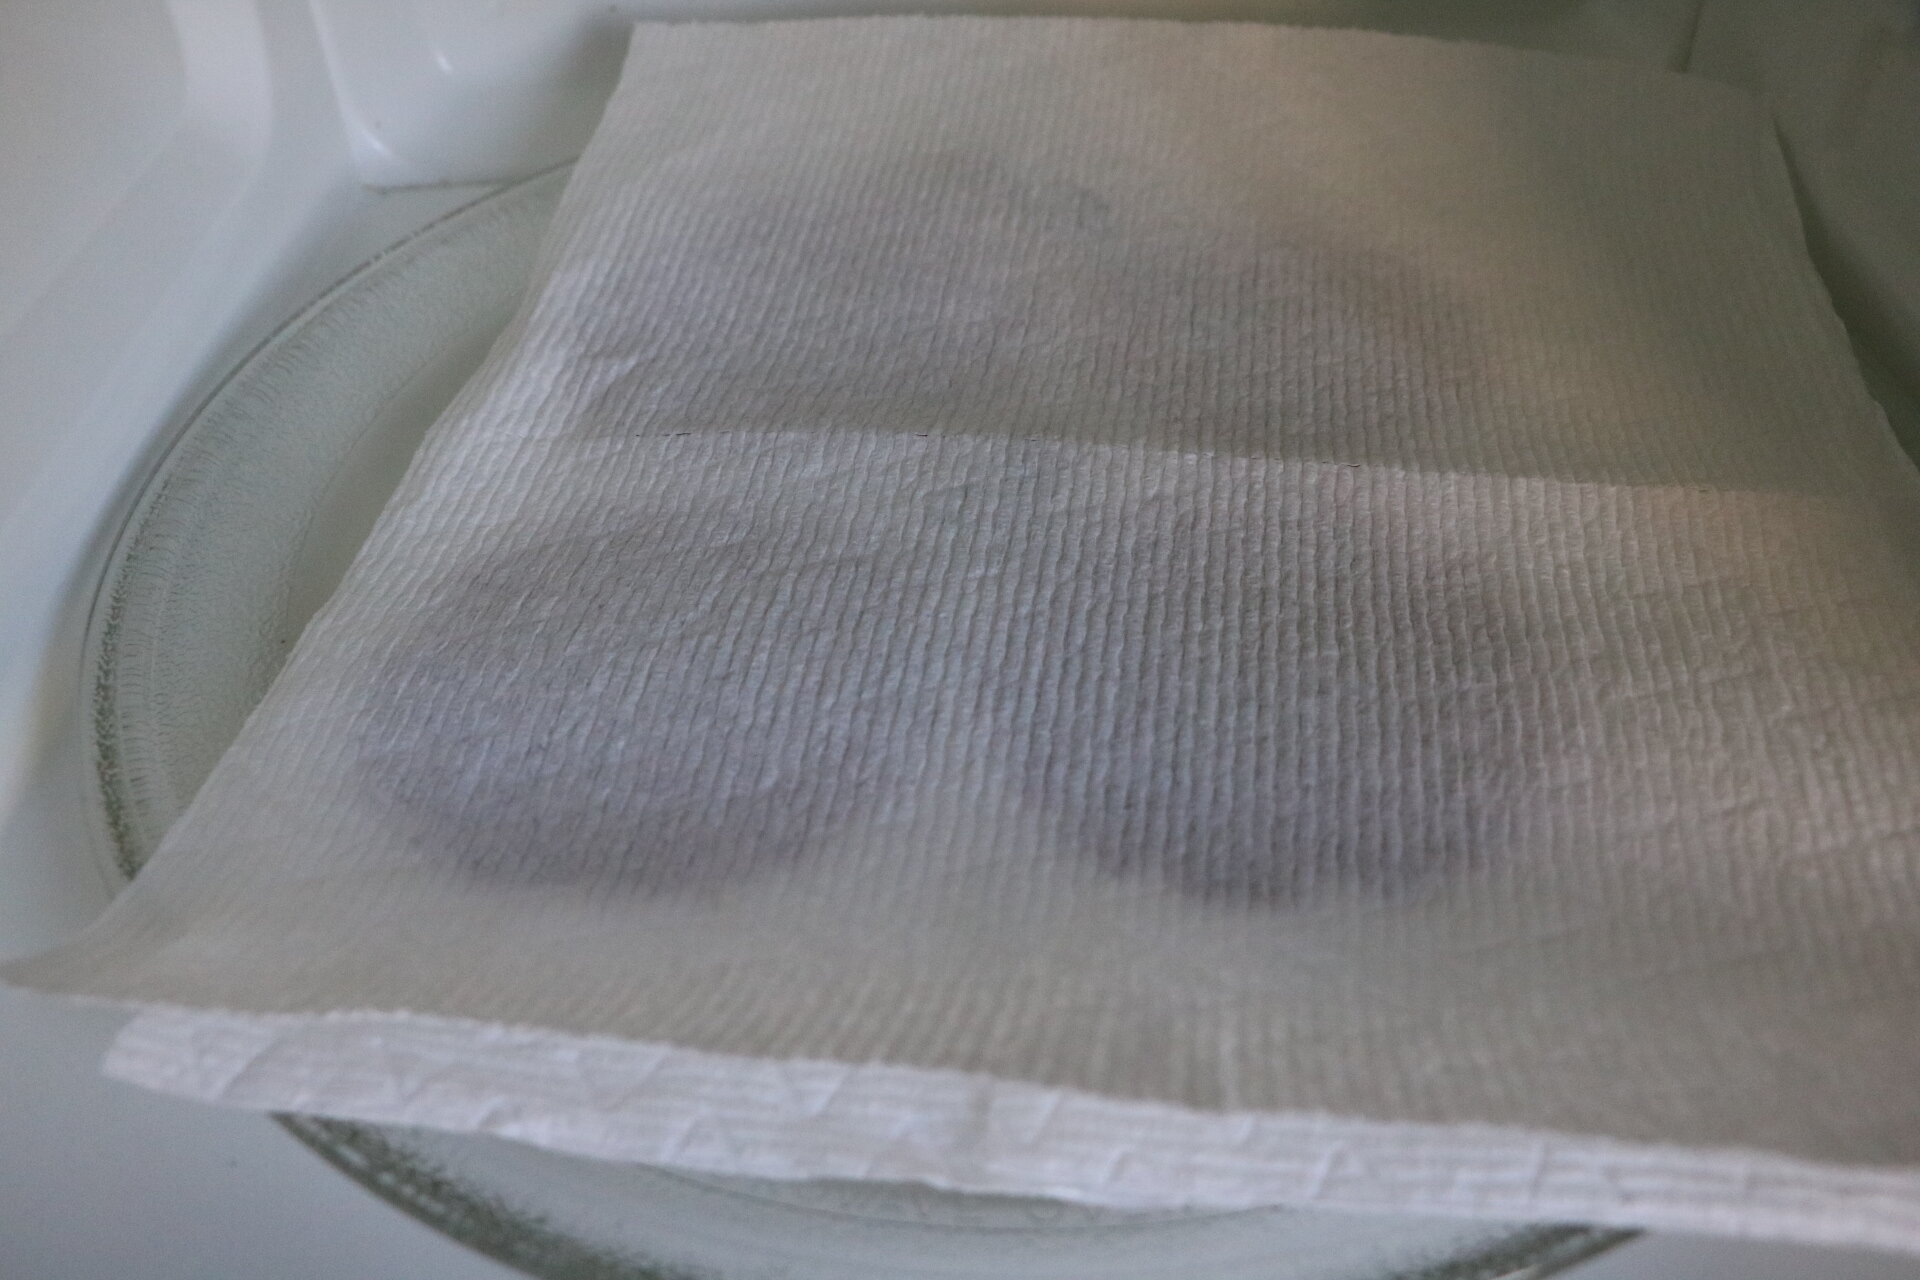
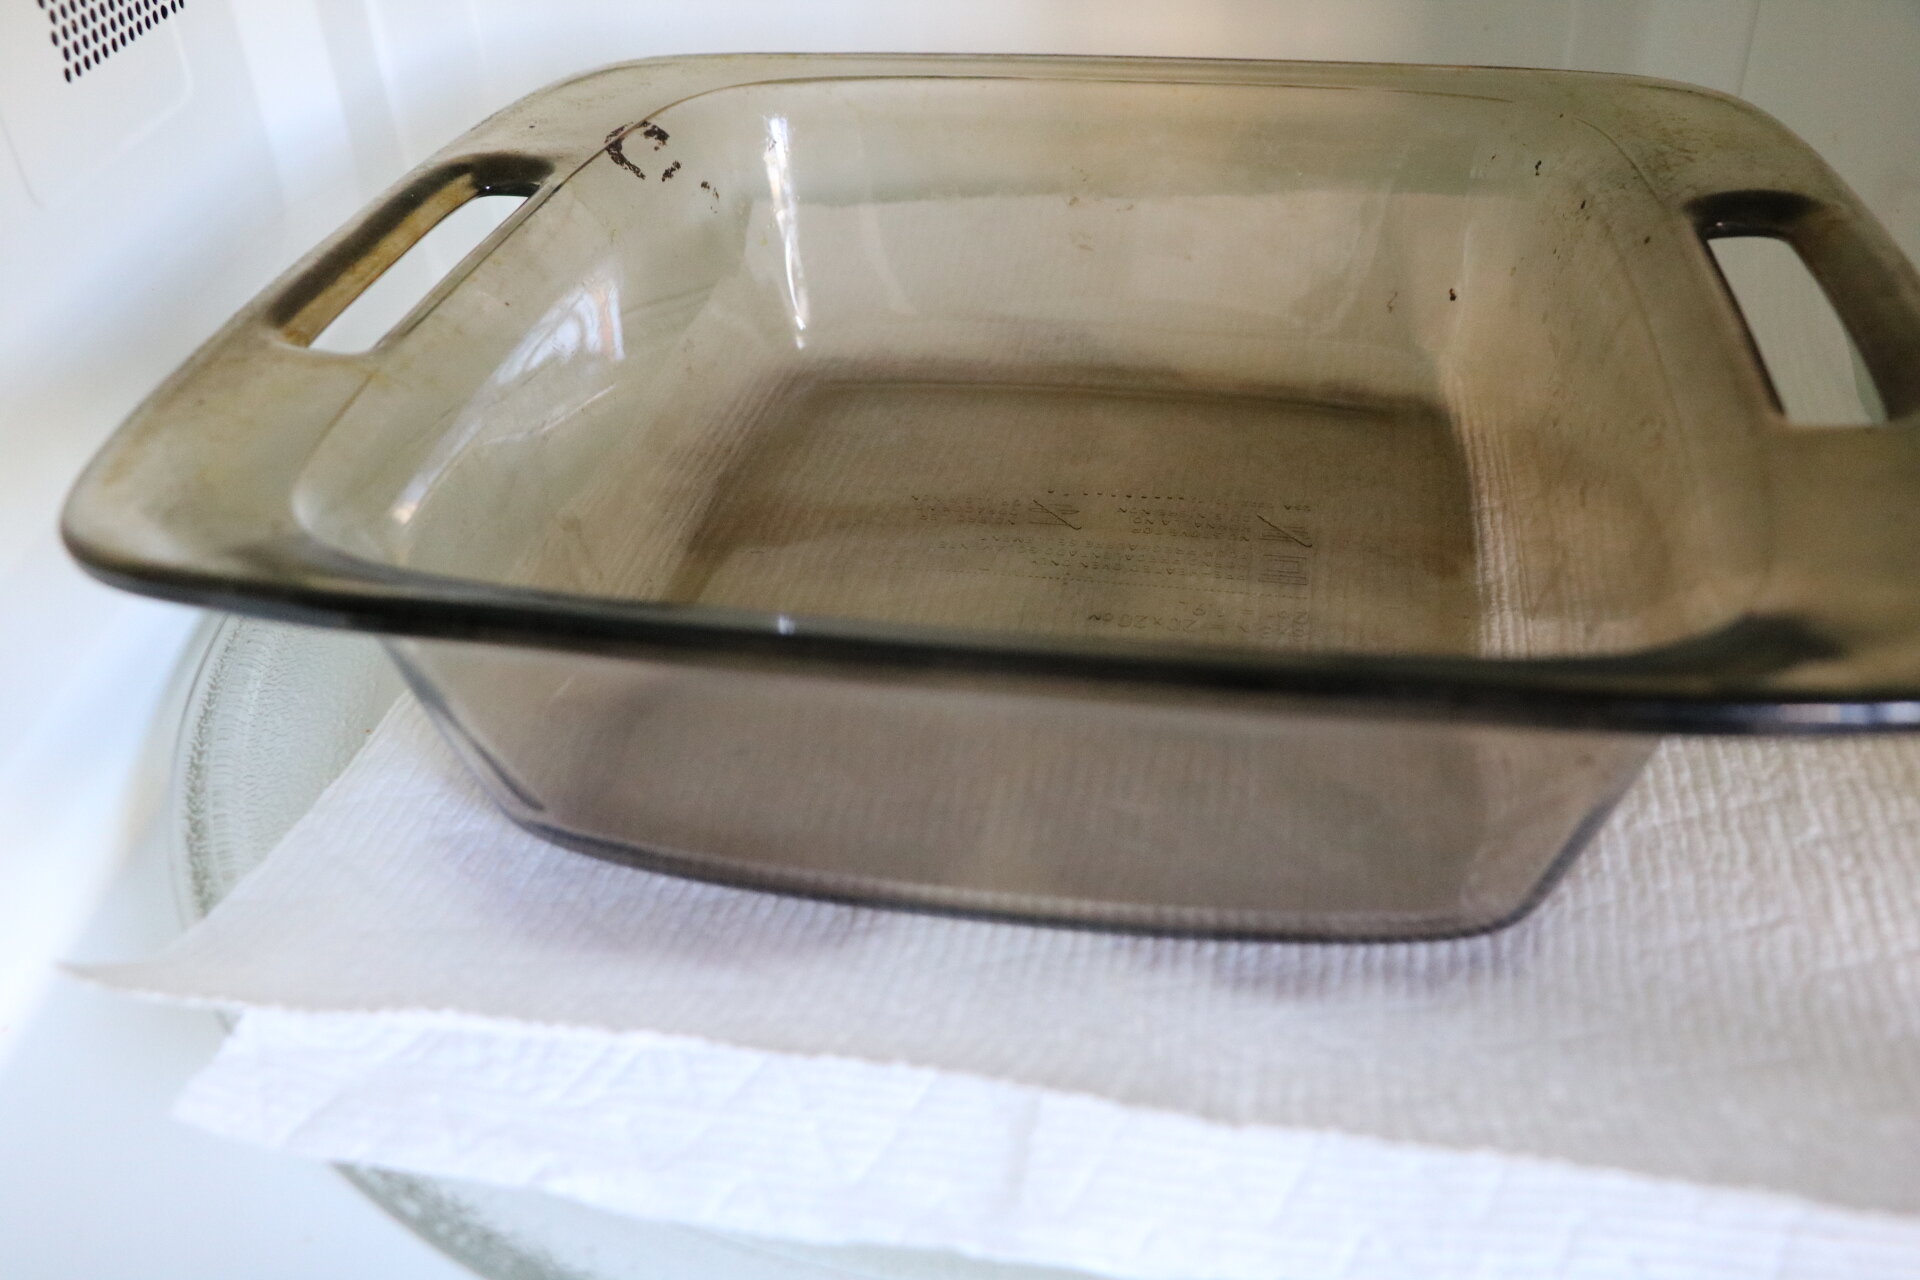
Set your wax paper + paper towel directly in the microwave. Place flowers and greenery on top, making sure nothing is touching. Cover with another wax paper + paper towel combo. Set a heavy microwave-safe dish on top. Microwave in 30 second intervals, making sure to check in between each round. The greenery will probably dry out quicker than the flowers (less moisture), so pull those out as soon as they are flat and feel dry.

It took about 4 or 5 rounds in the microwave to fully flatten and dry out the Gerber daises. I had to change the paper towels a few times to continue to soak up the moisture. But look at the difference! I love how muted the colors turned out, and my mind was truly blown that in less than 5 minutes, I had fully dried out, fully pressed flowers.
Now the fun part - arranging them on your floating frames. Once you have them arranged how you like, lightly spray an adhesive to the backs of the flowers before attaching the back piece of glass from the frame. This is especially helpful to keep the individual petals in place. Don’t skip this step!
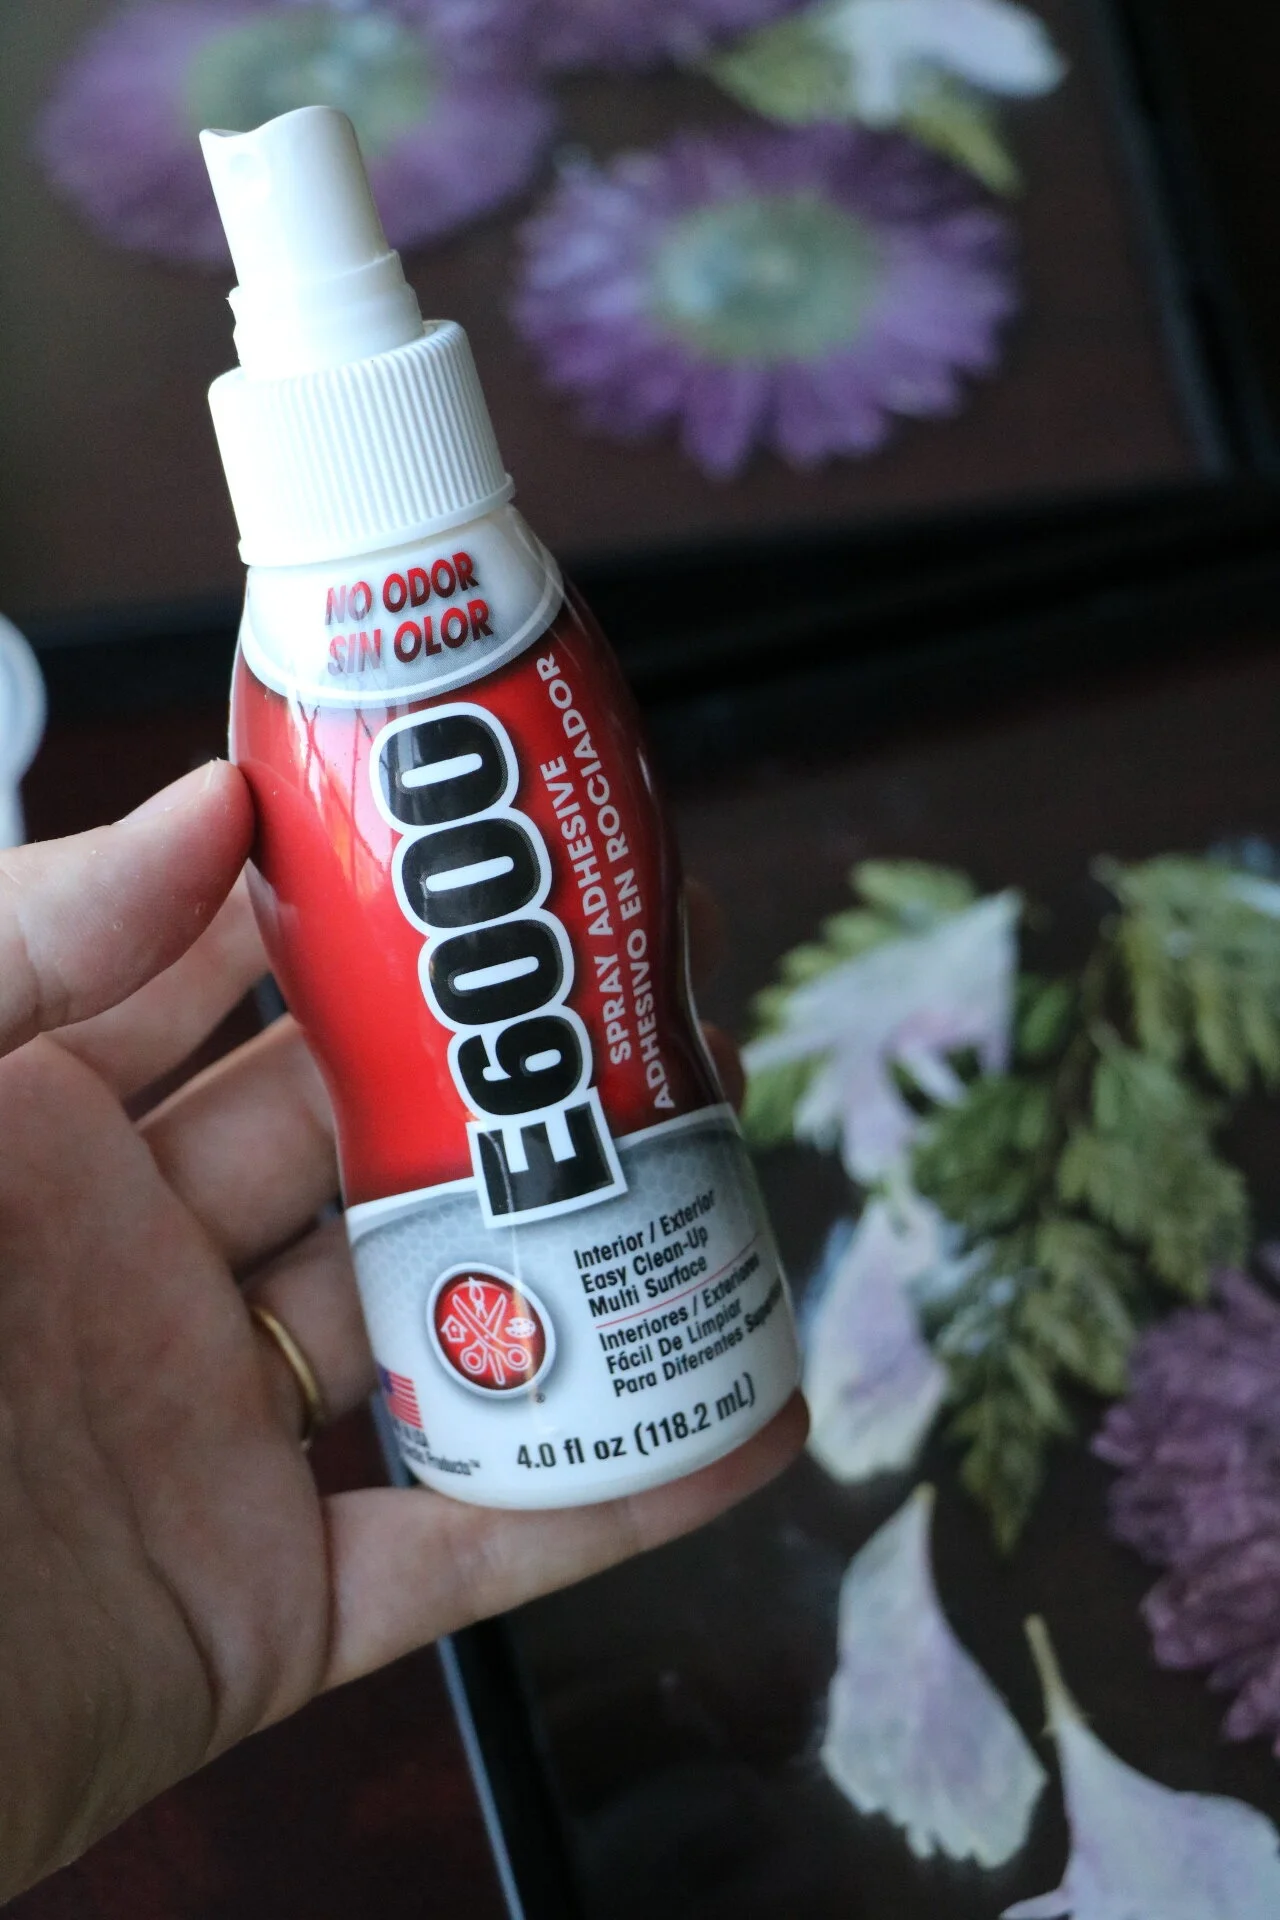
Don’t worry - it dries clear.
Give it about 10 minutes of drying time before hanging on the wall. And then you’re done!

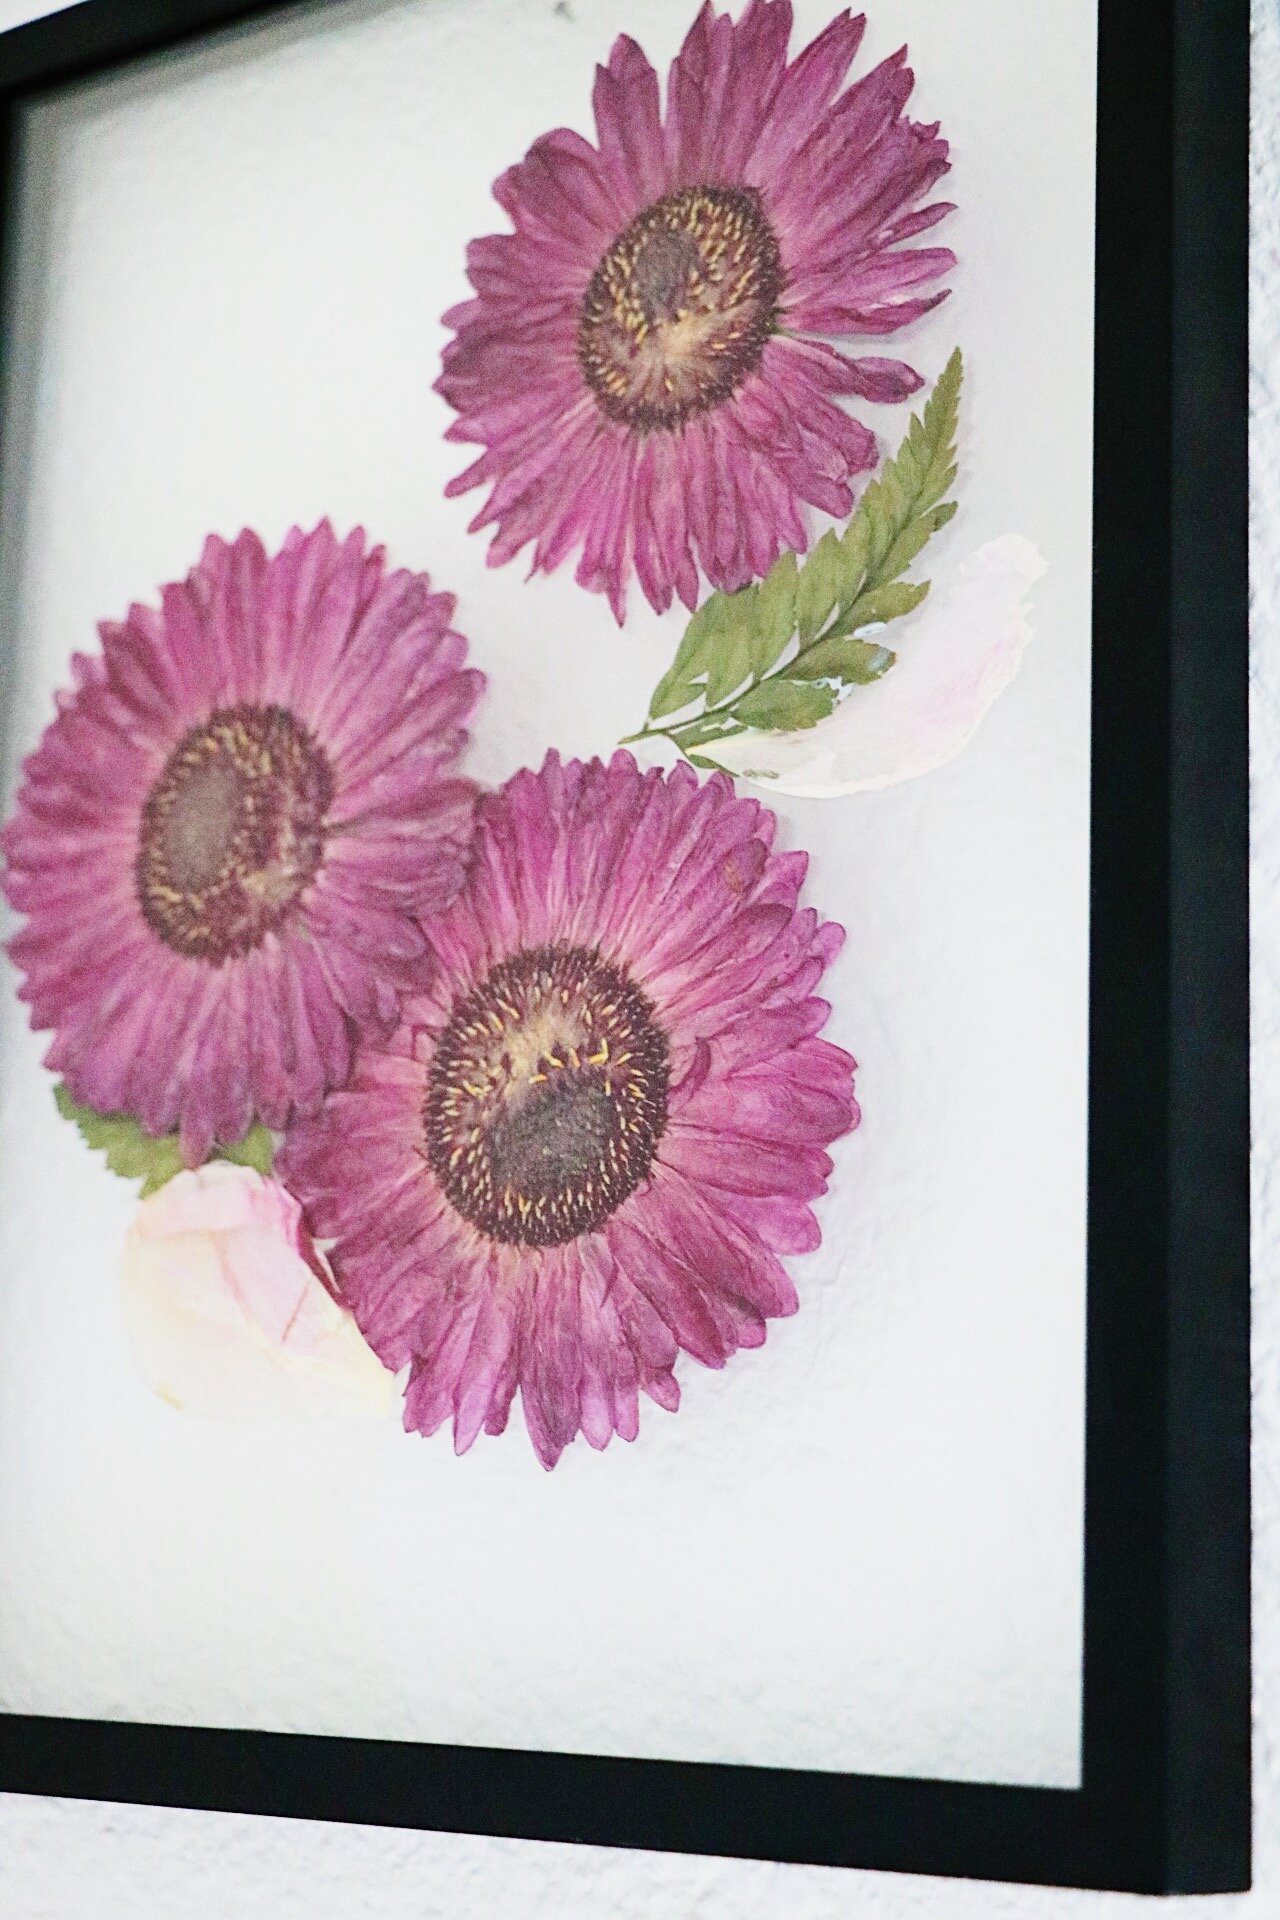
I am really happy with how this turned out. I was able to use a few of the pale pink peony petals, so the first attempt wasn’t a total loss. I imagine this would be a really cool way to save a bridal bouquet - perhaps I’ll attempt after my wedding in May…
Let me know if you give this a shot! I’d love to see how this technique works on different flowers.