DIY Roman Shades for a Bay Window
I have been having the best time doing my renter- and budget-friendly kitchen refresh. Have you been following along in Instagram Stories?
We’ve come a loooooong way from when we first moved in. Here’s a little refresher of what this kitchen nook looked like last year:
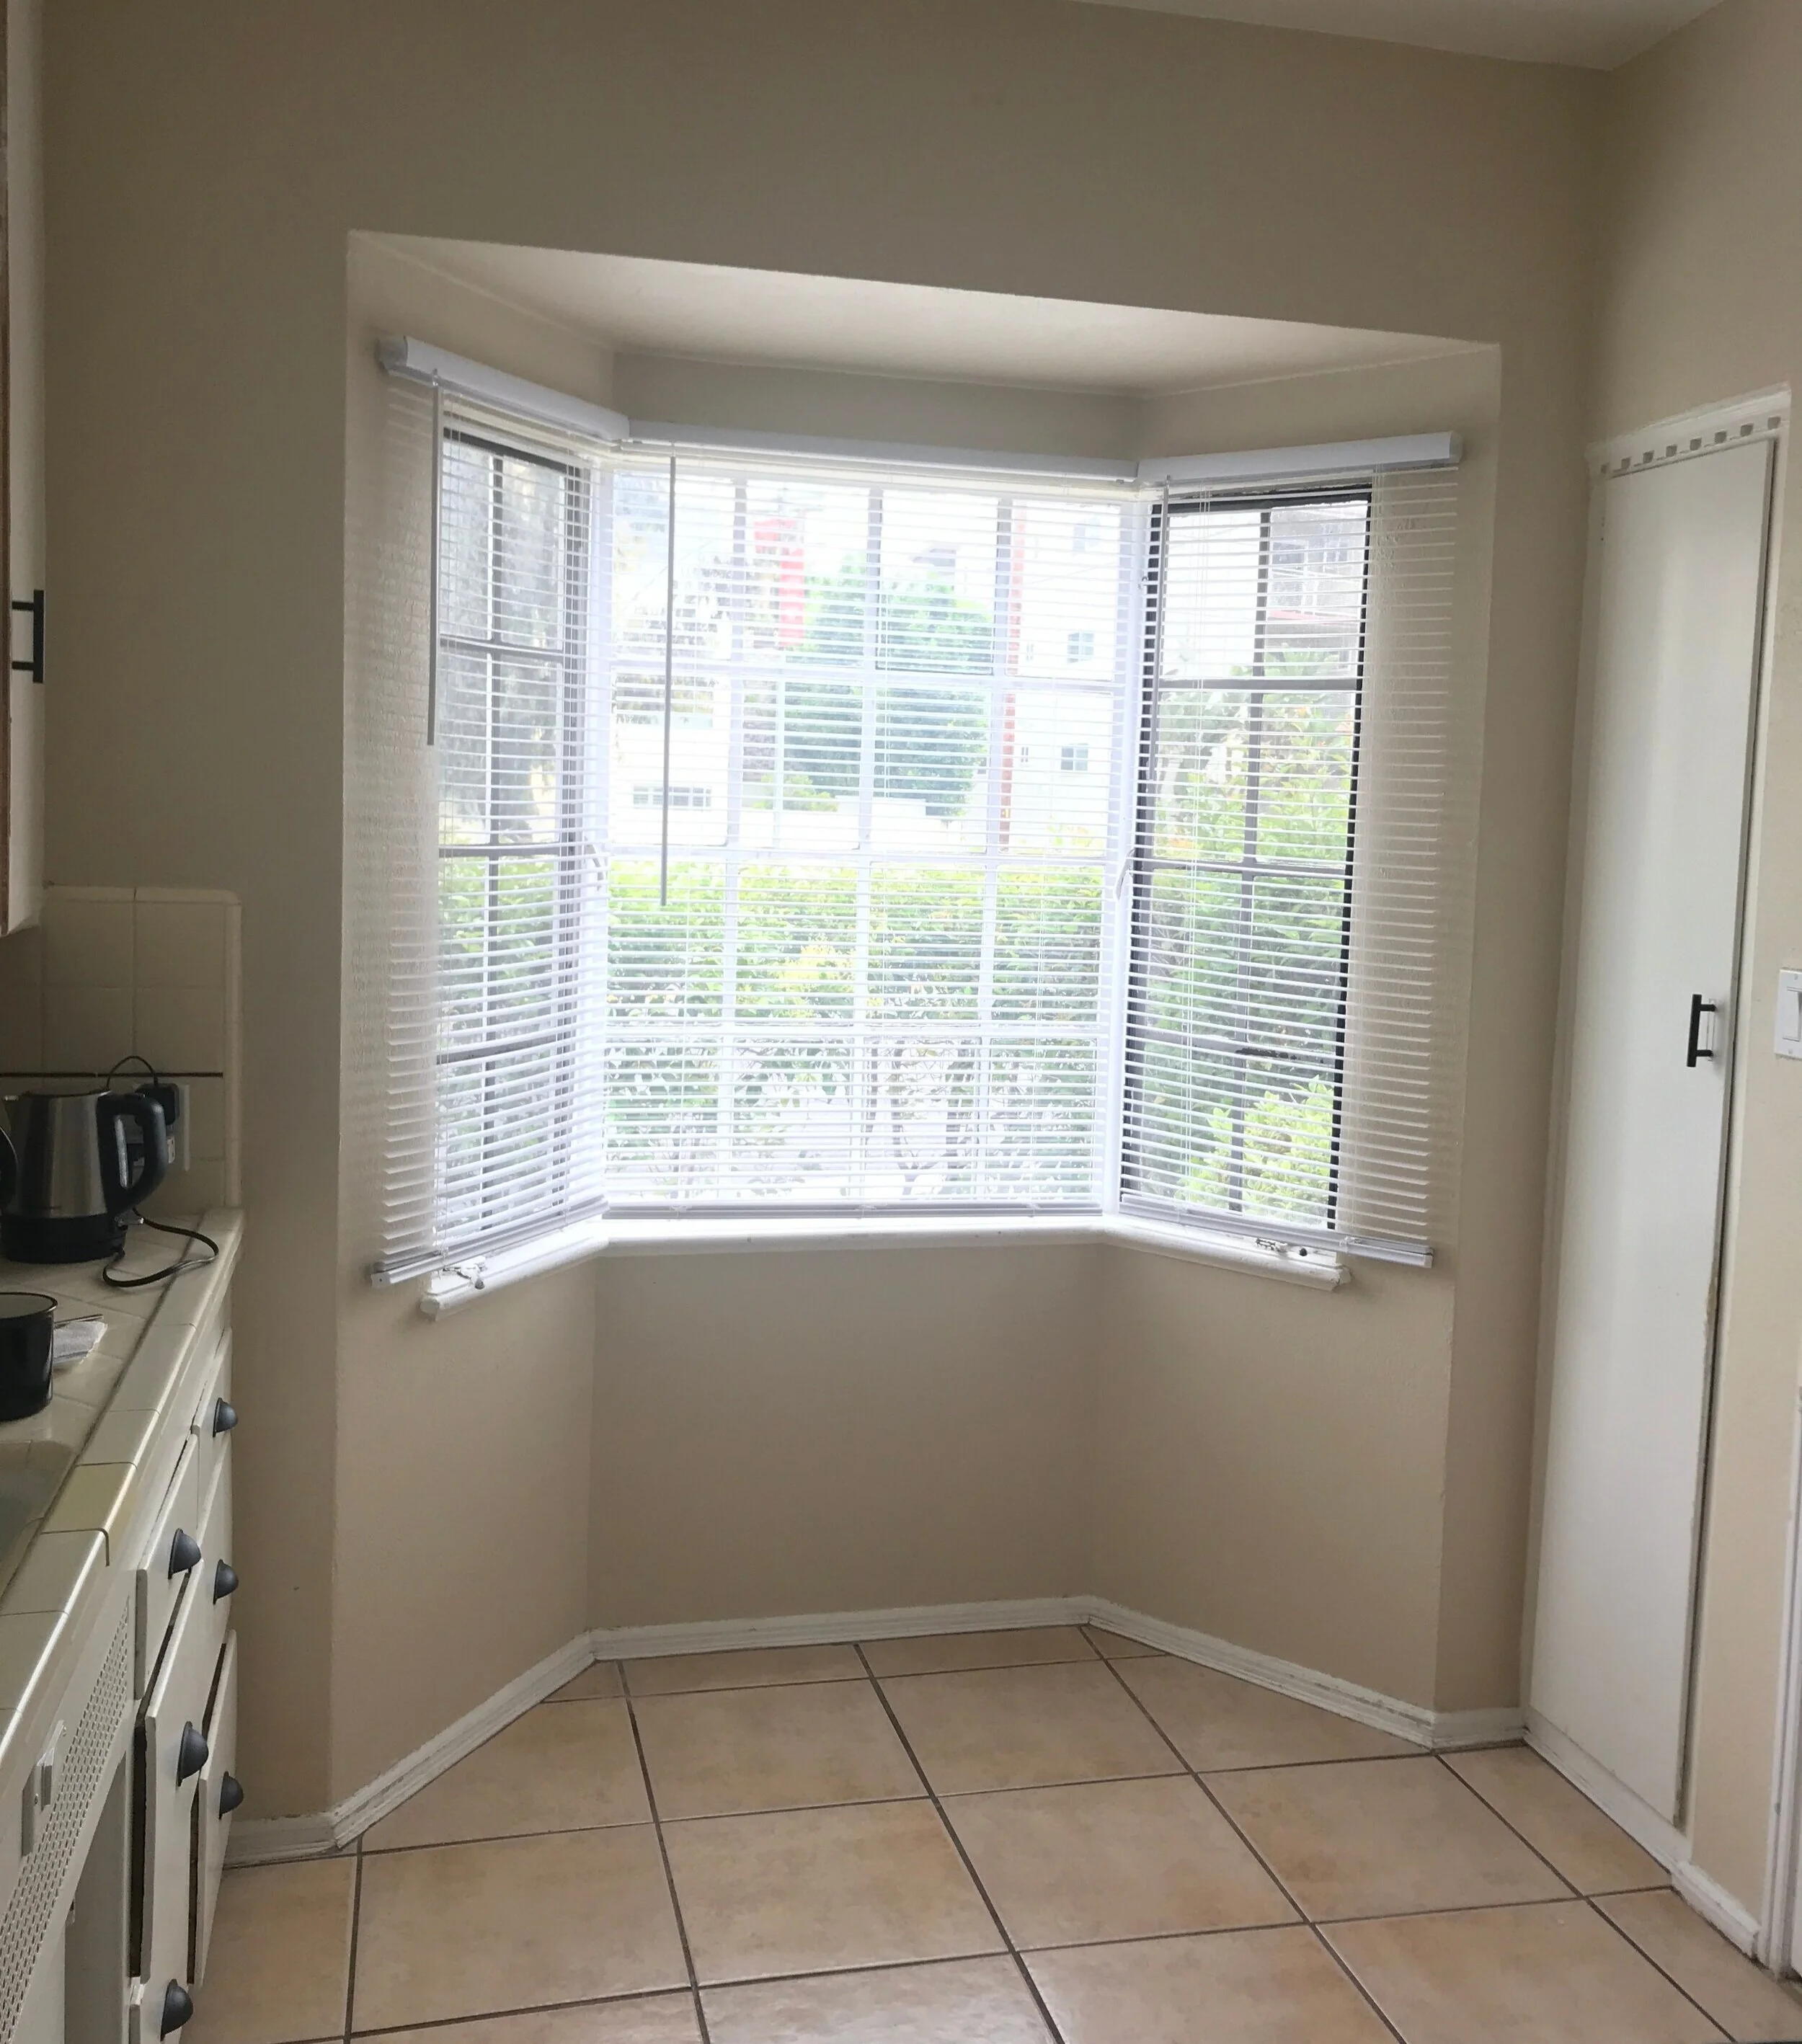
Do you ever just fixate on one thing? That’s how I was with the blinds on these bay windows. Notice how the two on the side smaller windows are too big. No fault to the landlord for installing them - I’m sure these were the smallest ones available without going custom! But it has bugged me since the day we moved in.
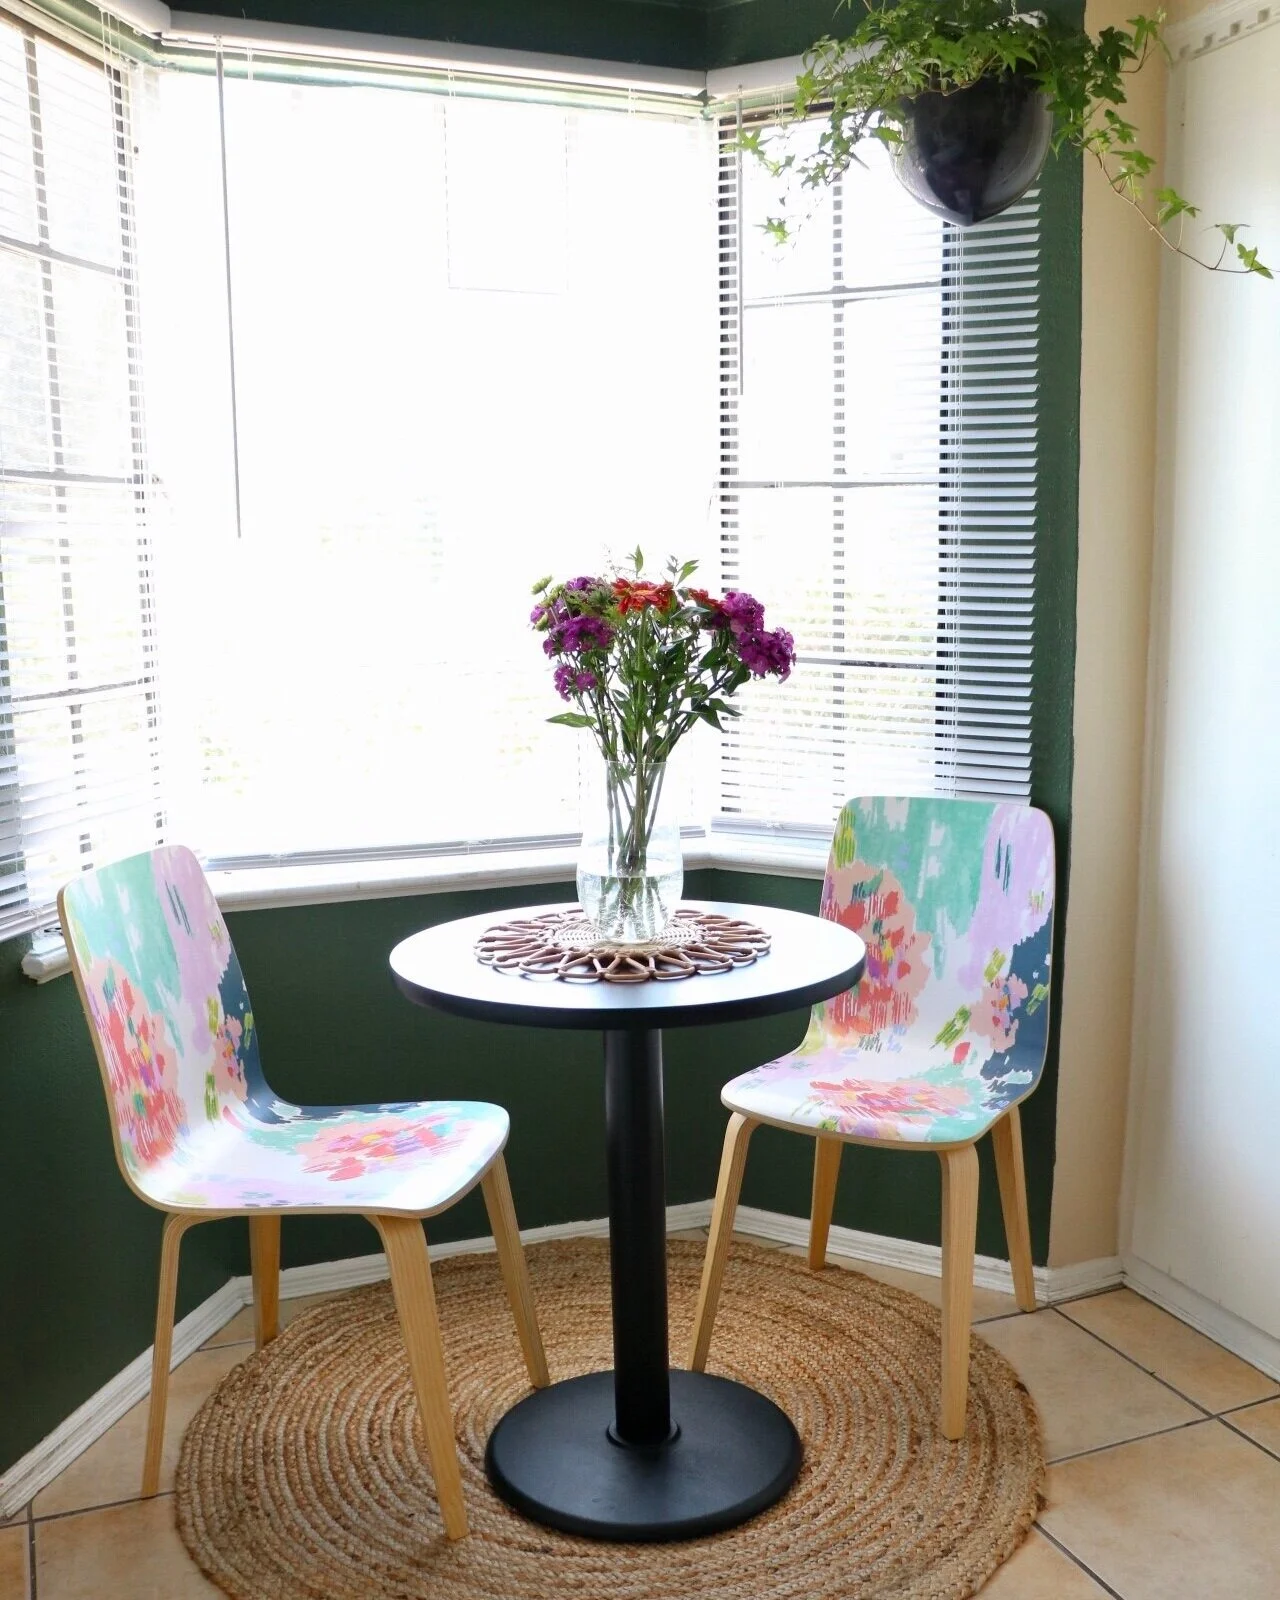
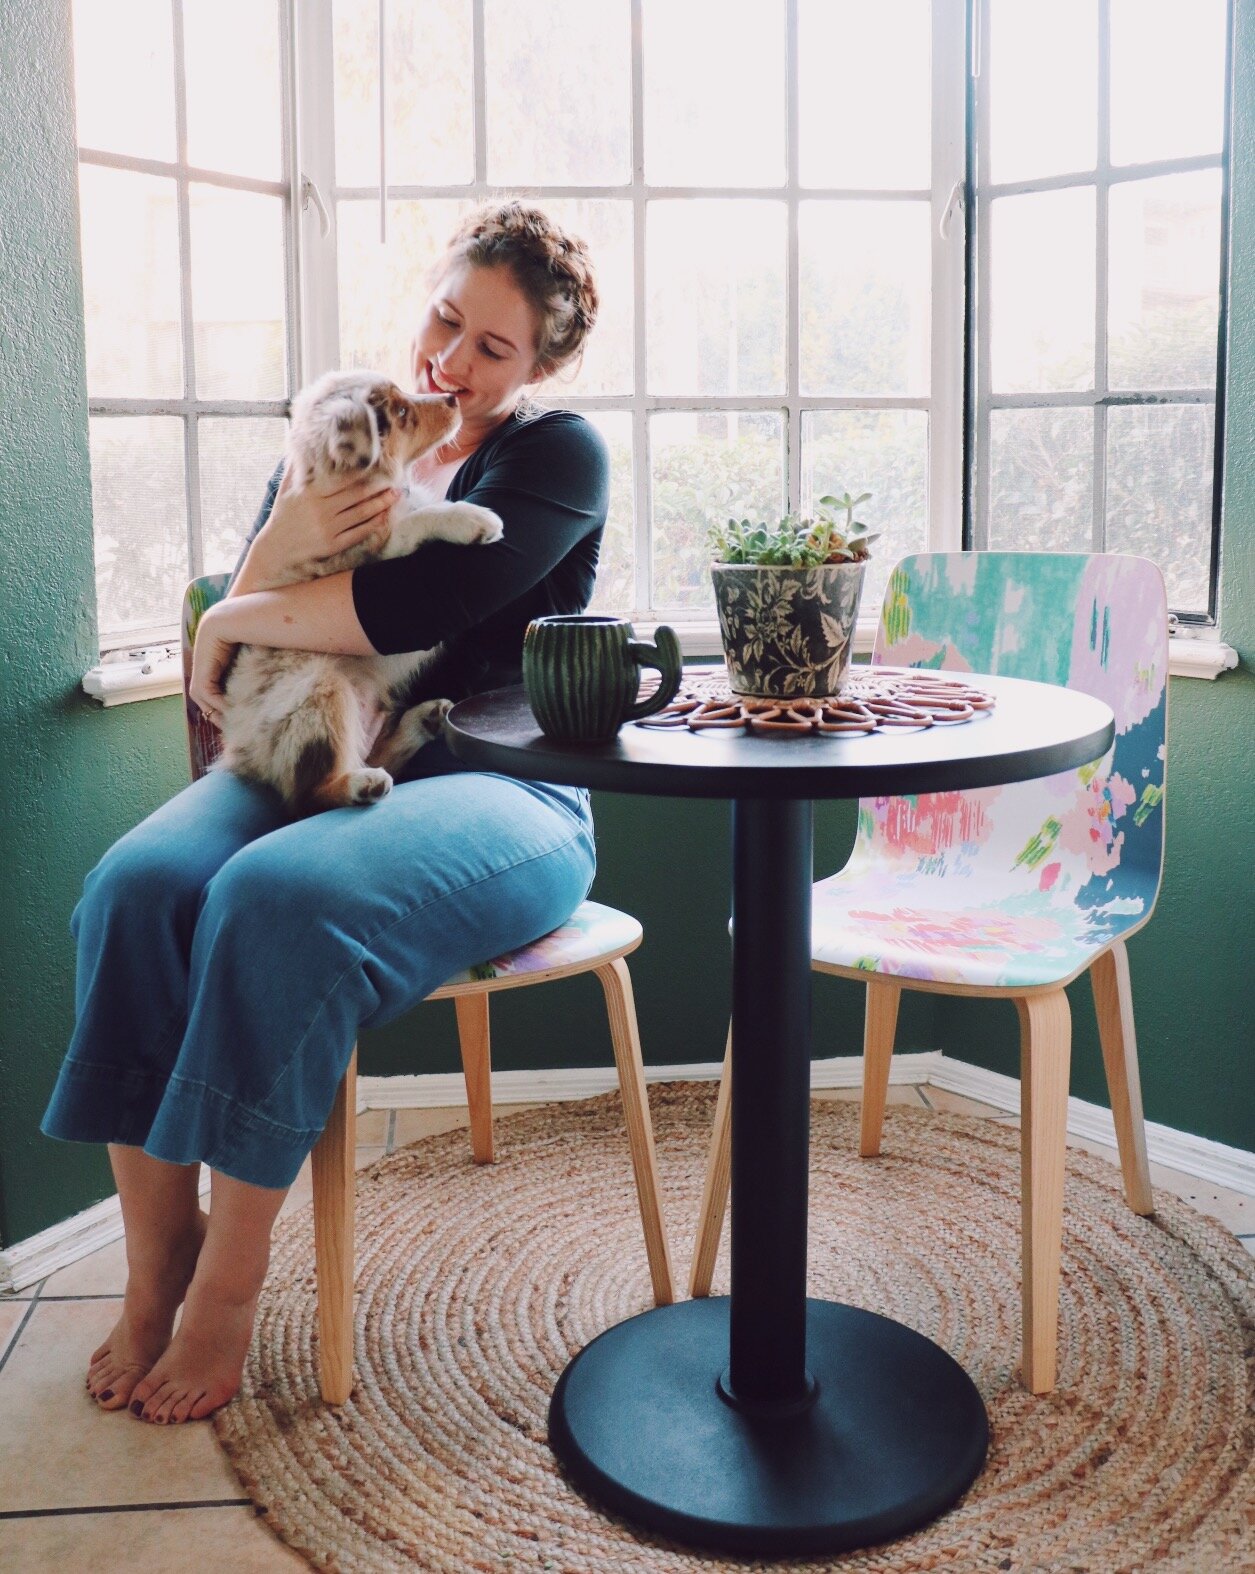
Then, through my job at Tastemade, I got to redo the kitchen nook for an IGTV episode! It was super exciting and was such an improvement. I mean, those hand painted Anthropologie chairs are to die for. And for a long time, I was super happy with the little nook space! It was like have a personal bistro in our home. But, slowly but surely, those too-large blinds started irking me….
So as I decided to start refreshing the kitchen, one of my first ideas was to replace the blinds with a window treatment that actually fit. I started searching Pinterest for ideas and came across a post by The DIY Mommy on how to sew your own Roman shades. BINGO. I’d been gifted a sewing machine for my birthday but was way too intimidated to actually attempt something… this was my chance. You know how sometimes you come up with an idea and it scares you a little? That’s when I knew I had to give it a shot.
“You know how sometimes you come up with an idea and it scares you a little? That’s when I knew I had to give it a shot.”
I left this particular project for the very end of my kitchen refresh journey. Here’s what the nook looked like pre-Roman shades:

I love the drama of the Navy Seawall paint by Sherwin Williams. It is the same color I used in our dining room, and I think changing the green to this makes the flow of the house more cohesive. I decided to get rid of the jute rug. Even though I like it on it’s own, it wasn’t really matching the new vibe of the kitchen, plus I had this fabulous runner I wanted to use.
MOVING ONTO THE ROMAN SHADES.
I followed this tutorial by The DIY Mommy for the majority of the instructions. The main differences I made were adding lining, cutting the wood at specific angles to fit together in the corners, and adjusting the pattern to accommodate my bay window.
NOTE: String/cord may be a choking hazard for small children or pets.
Materials:

4 yards decorator fabric
4 yards lining
8 wooden dowels, 1/4” in diameter & the width of your shade (You’ll need 4 per shade - I cut 4 in half for the small windows)
Wood, 1x2 as wide as your windows
6 brackets to mount the shade to the wall
6 screw eyes
Thin nylon cord
24 small plastic shade rings (8 per window)
3 window cleats
Wood staple gun
Sewing machine
Needle + thread
Circular saw (or mitre box)
Digital angle finder
Disclosure: My content is reader-supported, which means that when you purchase through links on my site, I may earn an affiliate commission. Learn more here.
Instructions:
Using your circular saw, cut your 1x2 wood the proper length per window. Then, using a digital angle finder, measure the inside angles of the bay window corners. Divide that number in HALF - that’s the angle to cut the corners of your wood so that they fit together.

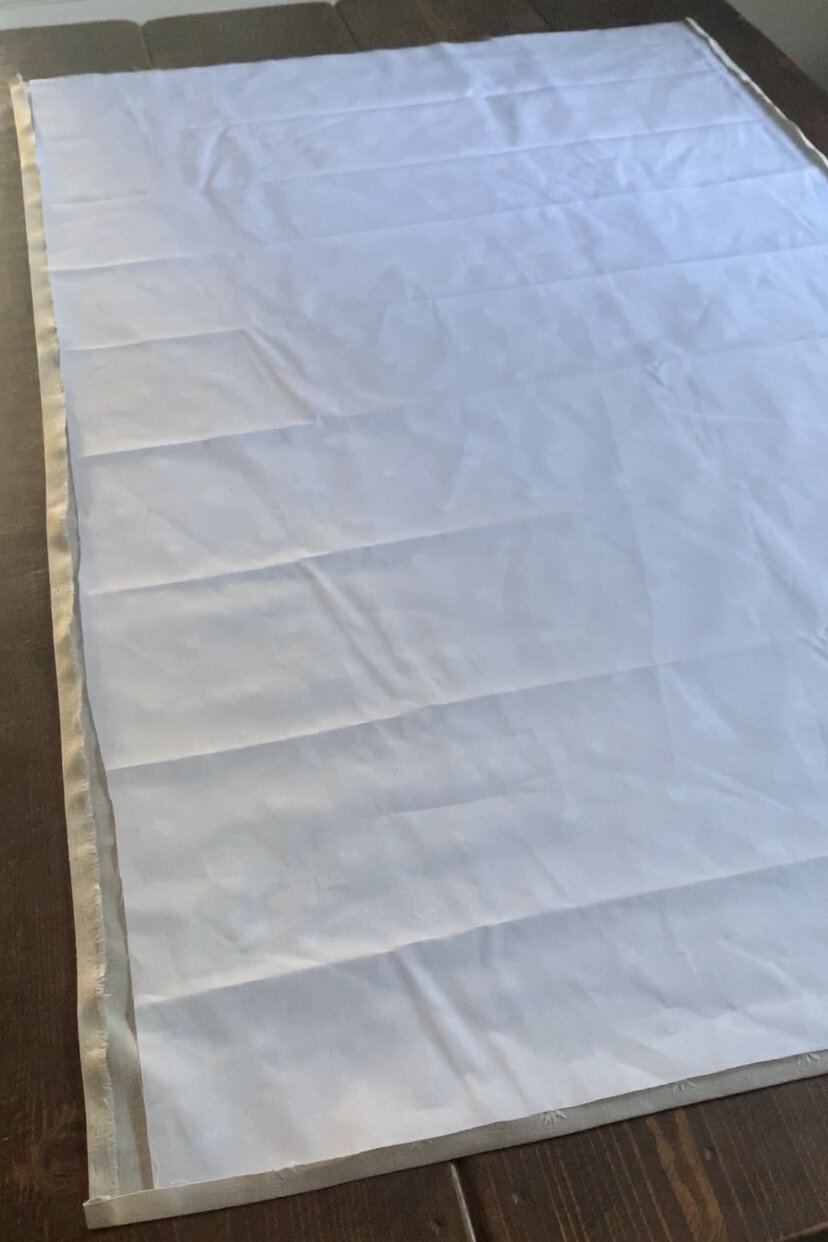
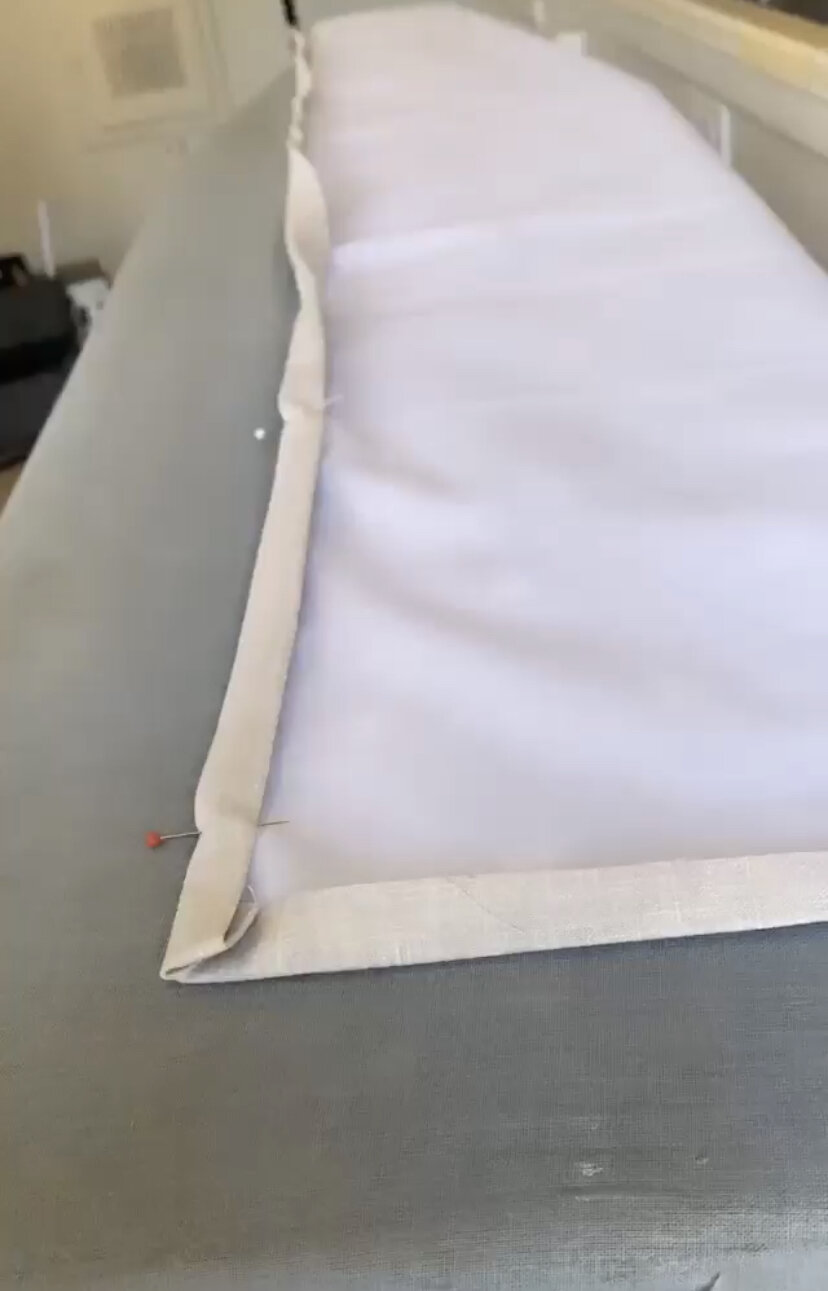
2. Cut your fabric 2” wider than you want your shade to be, and 7” longer.
3. Fold the sides and the bottom of the shade over 1/2” to the wrong side and iron.

4. Cut the lining so that it rests just inside the folded-in sides. Fold the decorative fabric another 1/2” and iron again, securing to the lining with pins. Sew these hems down with a sewing machine. Leave the two ends of the bottom hem open so that the dowel will slide through later.

5. Now it’s time to make the rest of the dowel casings. Subtracts 3” off the top of the fabric (this will be stapled to the wood), and divide the remaining amount of fabric by 4. The resulting number will be how far apart you want each dowel casing. Mine were 13” apart, starting from the bottom casing. Mark each casing with a pin.
6. Fold your fabric right side together at each mark/pin. Sew a 1/2” seam at each mark/pin and then insert a dowel into the casing.

7. Here comes the most tedious part. On each side of each dowel, mark 3” from the end. Hand sew the small plastic shade rings. Prepare yourself - this step takes the longest!

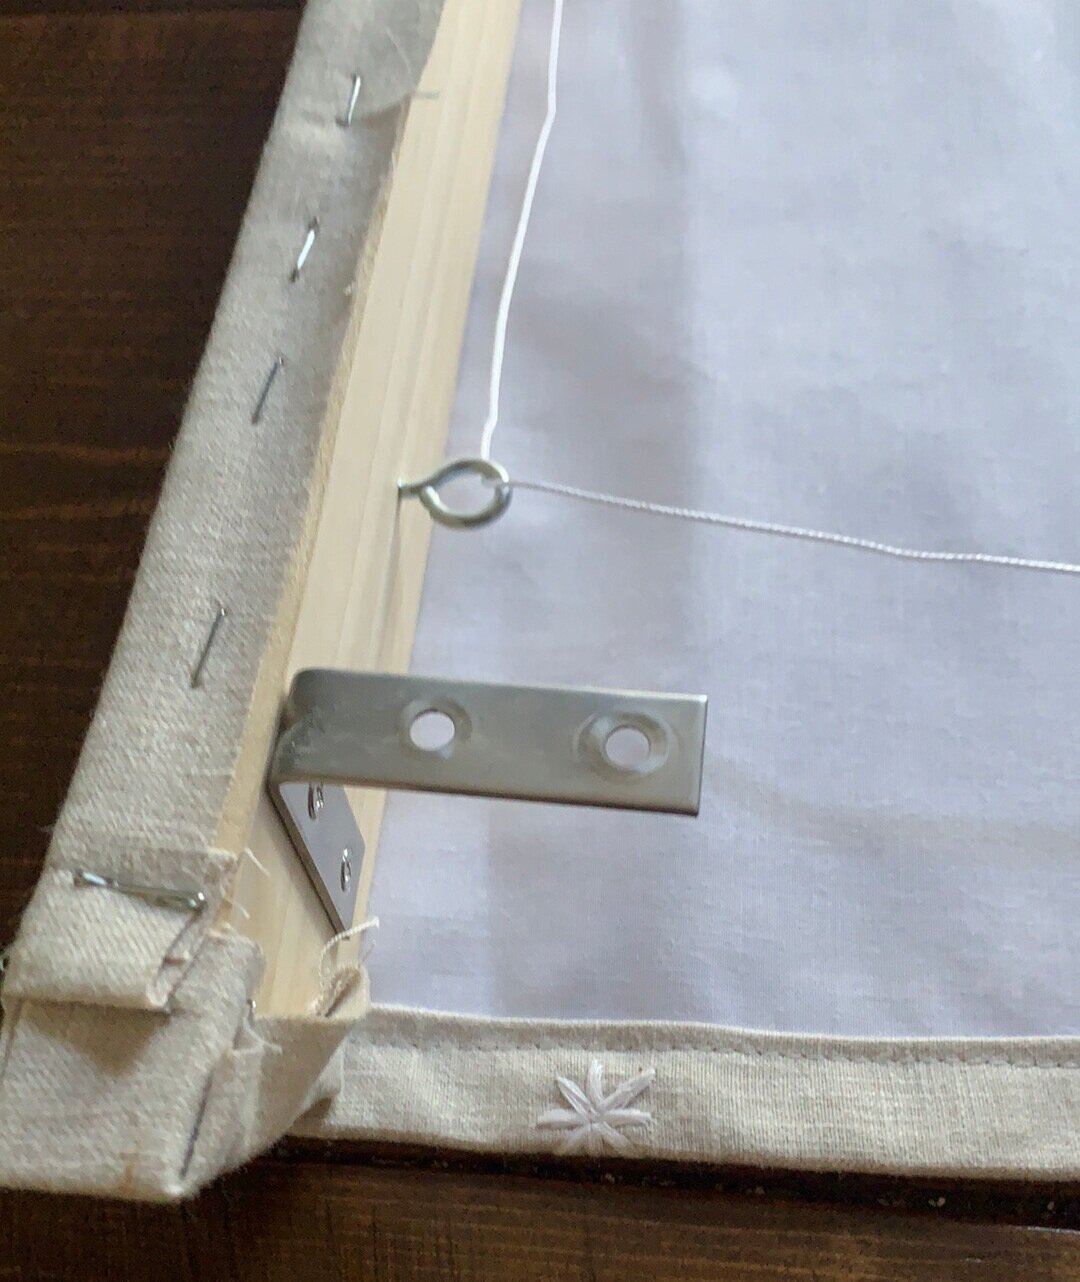
8. Now it’s time to finish the wooden pieces. Screw on brackets 1” from each end, and then screw the screw eyes about 3” in from each bracket.
9. In order to not have any wood showing once your shades are hung up, take a bit of scrap decorative fabric and cover the ends, securing with your staple gun.
10. Staple the fabric shade to the piece of wood by wrapping it over the thick side of the wood and secured onto the thin side closest to the bracket.
11. Lay your shade on a flat surface - it’s time to string it together using your nylon string that will pull the drape up and down. Tie one end of the string onto the bottom right ring. Thread it upwards and through each ring above, through the right screw eye, through the left screw eye, and down through all of the remaining rings on the left. leave about 6” of extra string and cut off the rest. DO NOT tie to the bottom left ring - just leave it hanging for now.

12. Tie a new piece of string to the bottom left ring. Thread it up and through each ring above, through and over the top left eye screw, and then back down through all the rest of the left rings again. Leave extra string and cut off the rest. Tie to the 6” extra string from step 11. Use solid square knots.
13. Mount your Roman shades above your window using the brackets. I recommend mounting the middle one first, then the two smaller ones on the side.
14. Install window cleats at the bottom side of the window to hold the extra string and wrap the string around to keep your shade in the desired position.


Let’s talk cost comparison. The total amount spent on materials was around $70 (I got really lucky and happened to pick out fabric that was on clearance at only $8 per yard!!). A quick search online shows custom Roman shades starting at $100 per window. So I saved a ton of money.
BUT. This took a lot longer than I expected. Like it blew my mind how time consuming and tedious it would be to hand sew those plastic rings. A factor to keep in mind was that this was my very first sewing project. I imagine if you have some previous experience, it would take a lot less time. It’s not to dissuade you from trying! I would absolutely recommend giving this DIY a shot. I only want to give a realistic impression of the time, energy, and skill of sewing your own Roman shades.

I’m really happy with how they turned out. Are they perfect? No. But I learned two new skills - wood angle cutting and sewing - so I am proud of myself. The fabric looks beautiful in the space, and provides privacy at night, exactly as I had been hoping.
Thinking about making your own Roman shades? Comment below with questions and send me photos of your finished window!