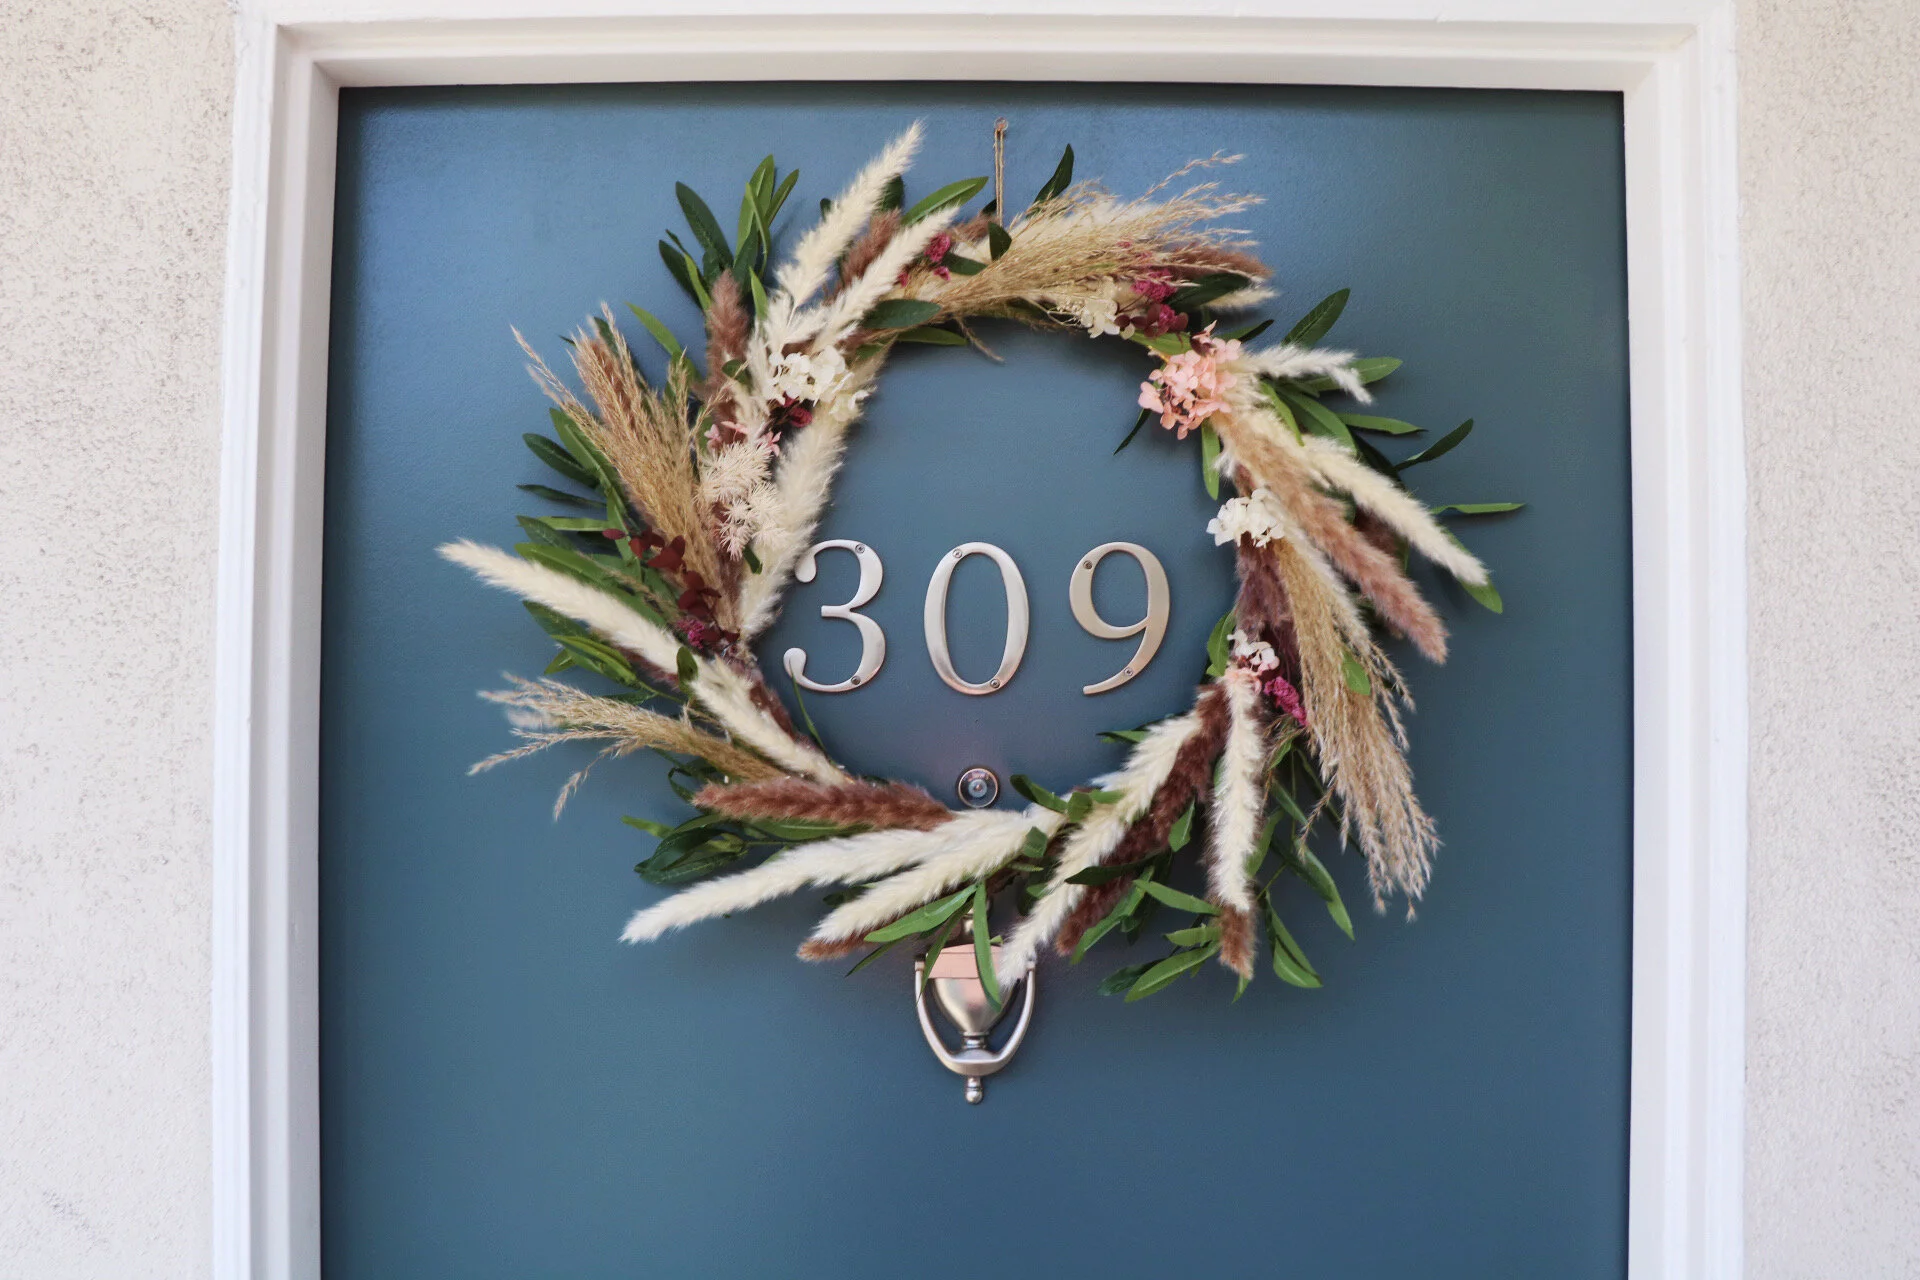
Make Your Own Holiday Gold Ring Wreath
In need of a holiday wreath for Christmas? Make your own Gold Ring Wreath in a few easy steps!
I’m pretty jazzed about how this project turned out. Inspired by this Make Joy & Pretty Things post and the wreaths I saw on Magnolia, I was determined to make my own. I like how modern and whimsical it looks. I used bright winter-white colors, greenery, and hints of sparkle to give it a Christmas feel, but you could certainly substitute the flowers to match any occasion.
Step 1:
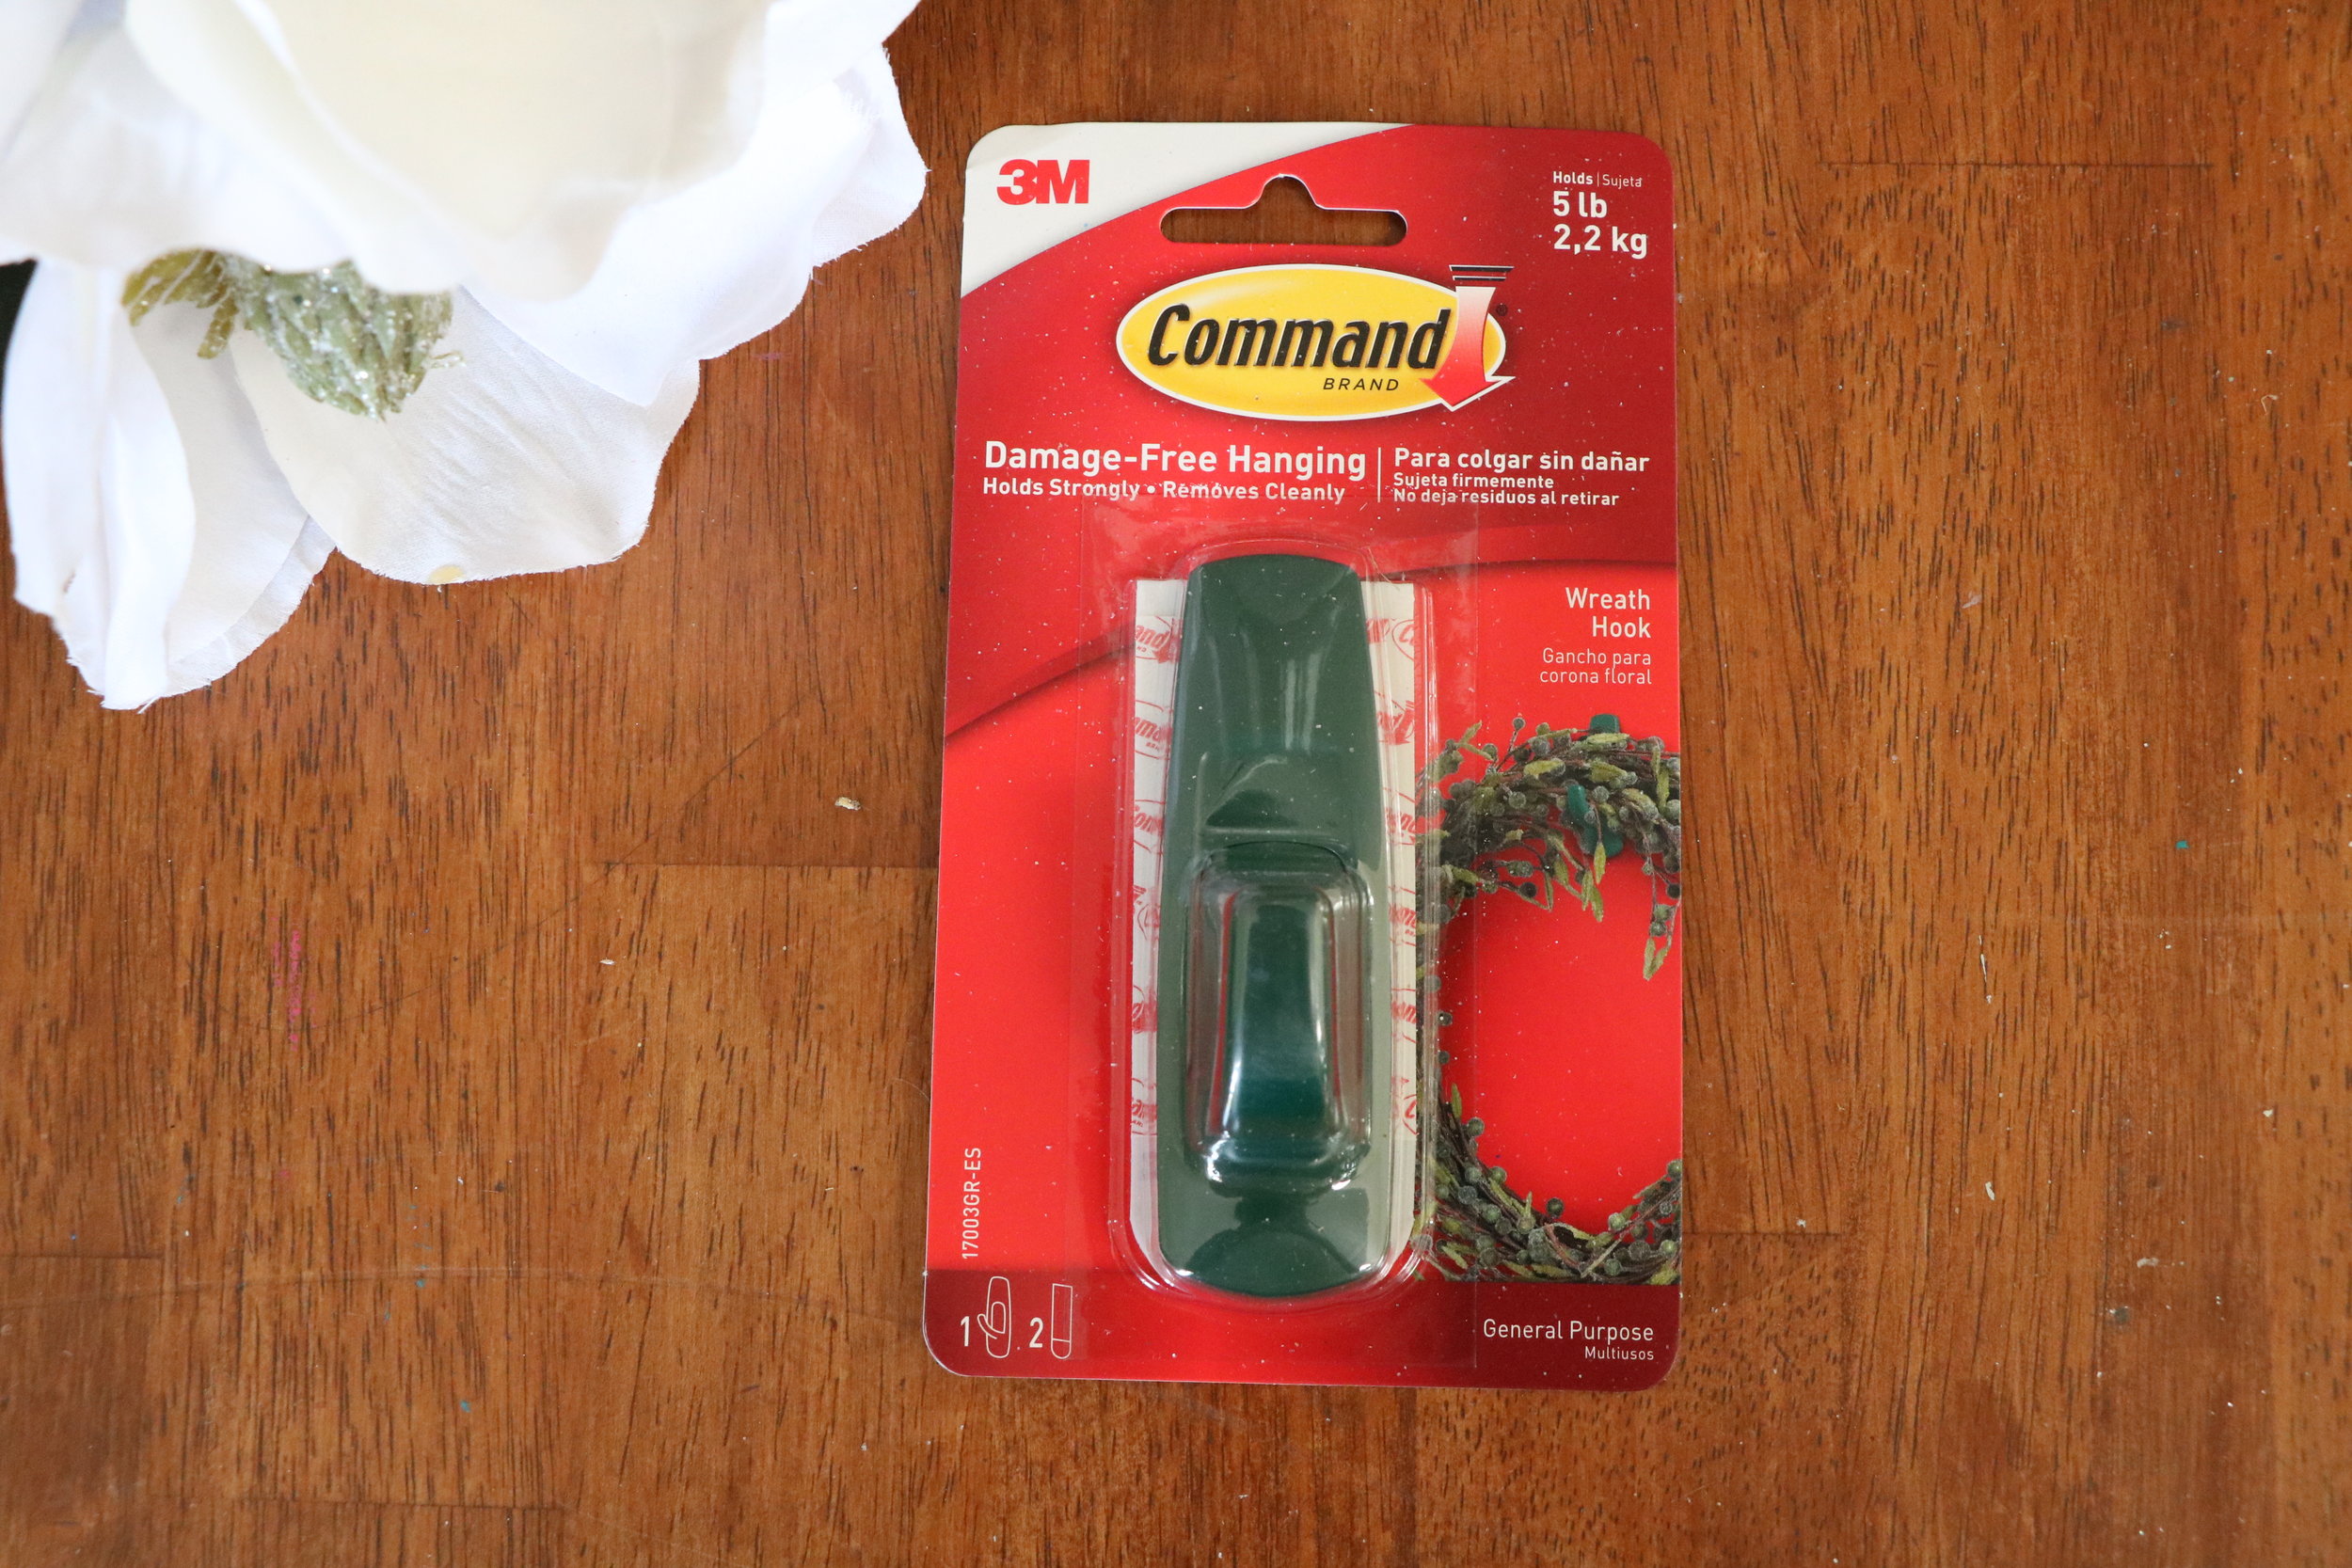
Gather your materials. I found everything at JoAnn’s. The florals and greenery were on sale (Pro-tip: I think there’s always a sale going on there, or a coupon you can find online, so it’s worth it to wait and save a few bucks). The gold birds were in the Christmas section, and the hoop was near the embroidery section. You’ll also need hot glue, wire, wire cutters, and twine. Oh, and a hook for your door.
The type of greenery you get is really important because you want to find stuff that looks as real as possible (unless you’re going for a Whoville, fantastical Christmas look - than you do you, boo). I loved the cute little birdies, but I debated using them. They just clip on, so I figured I’d just add them to my Christmas tree if I didn’t like the look of them on the wreath. Thus far, I’ve settled on liking them, but I reserve the right to change my mind. What do you think?
Step 2:
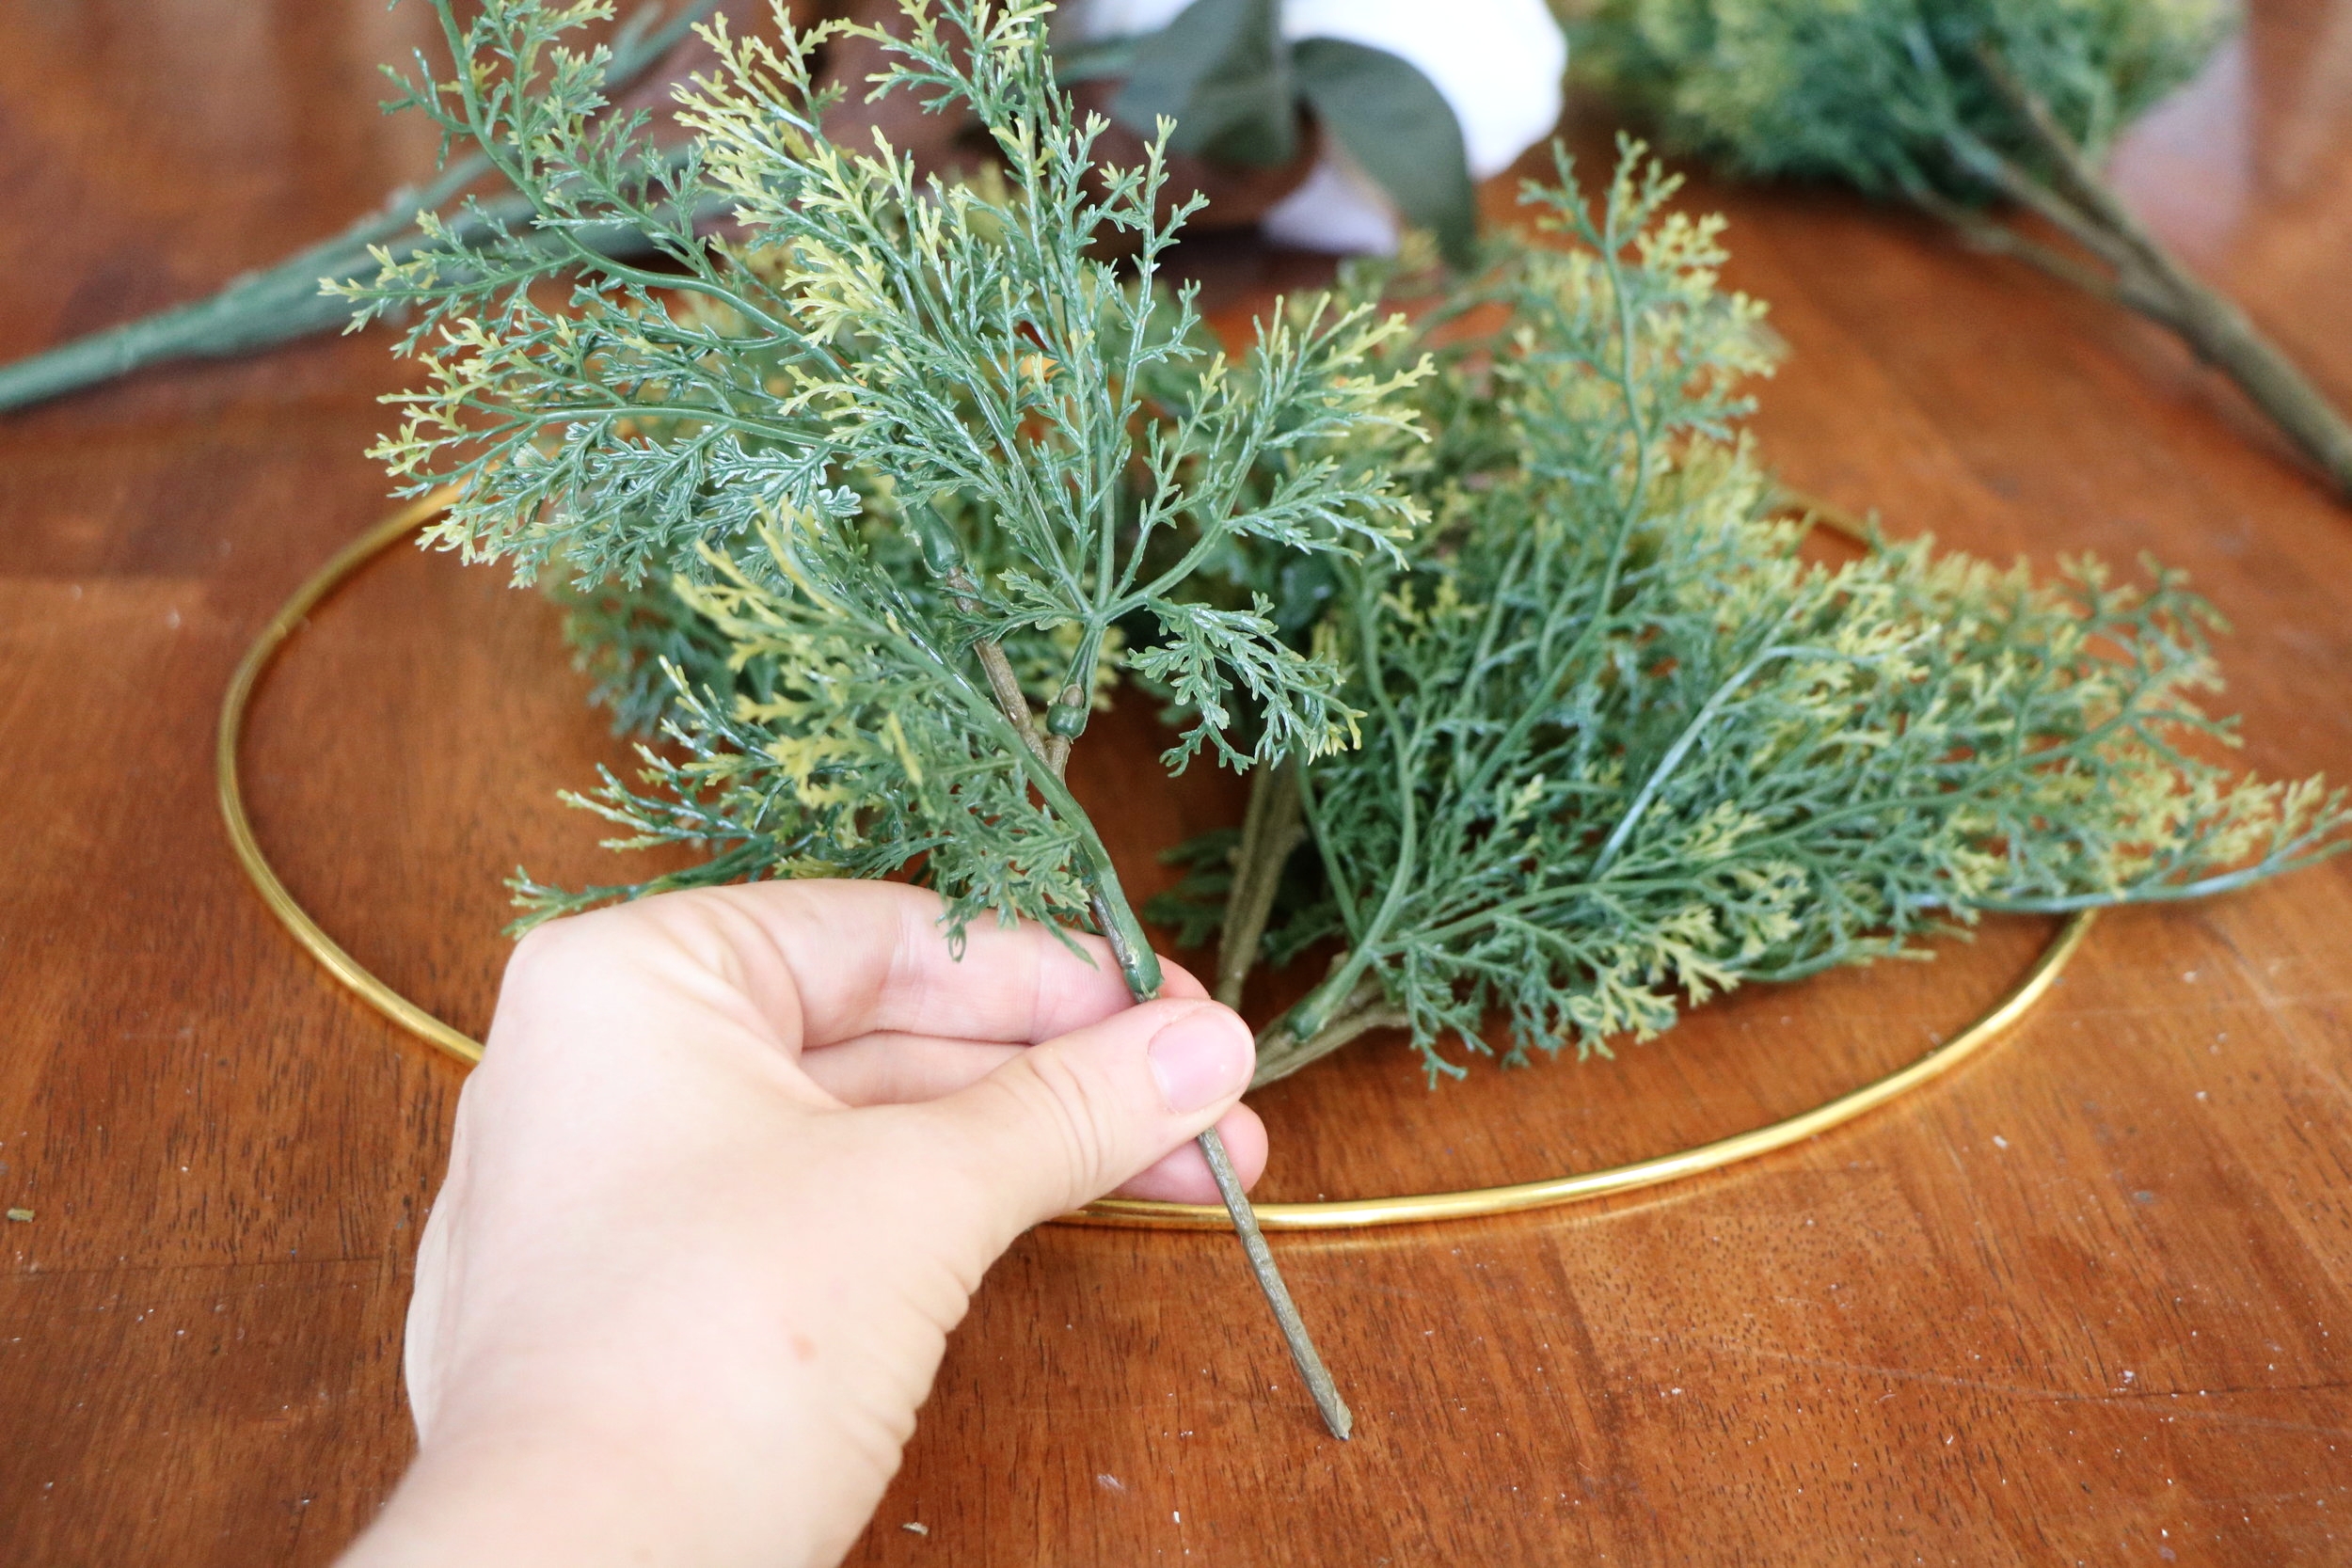
Separate the greenery bushels into individual strands. Cut the magnolia flowers all the way to their bases (this will make them lie flat when you hot glue them to the wreath) I incorporated some of the magnolia leaves into the wreath as well. Additionally, I added a few tree picks to give extra Christmas sparkle.
Step 3:
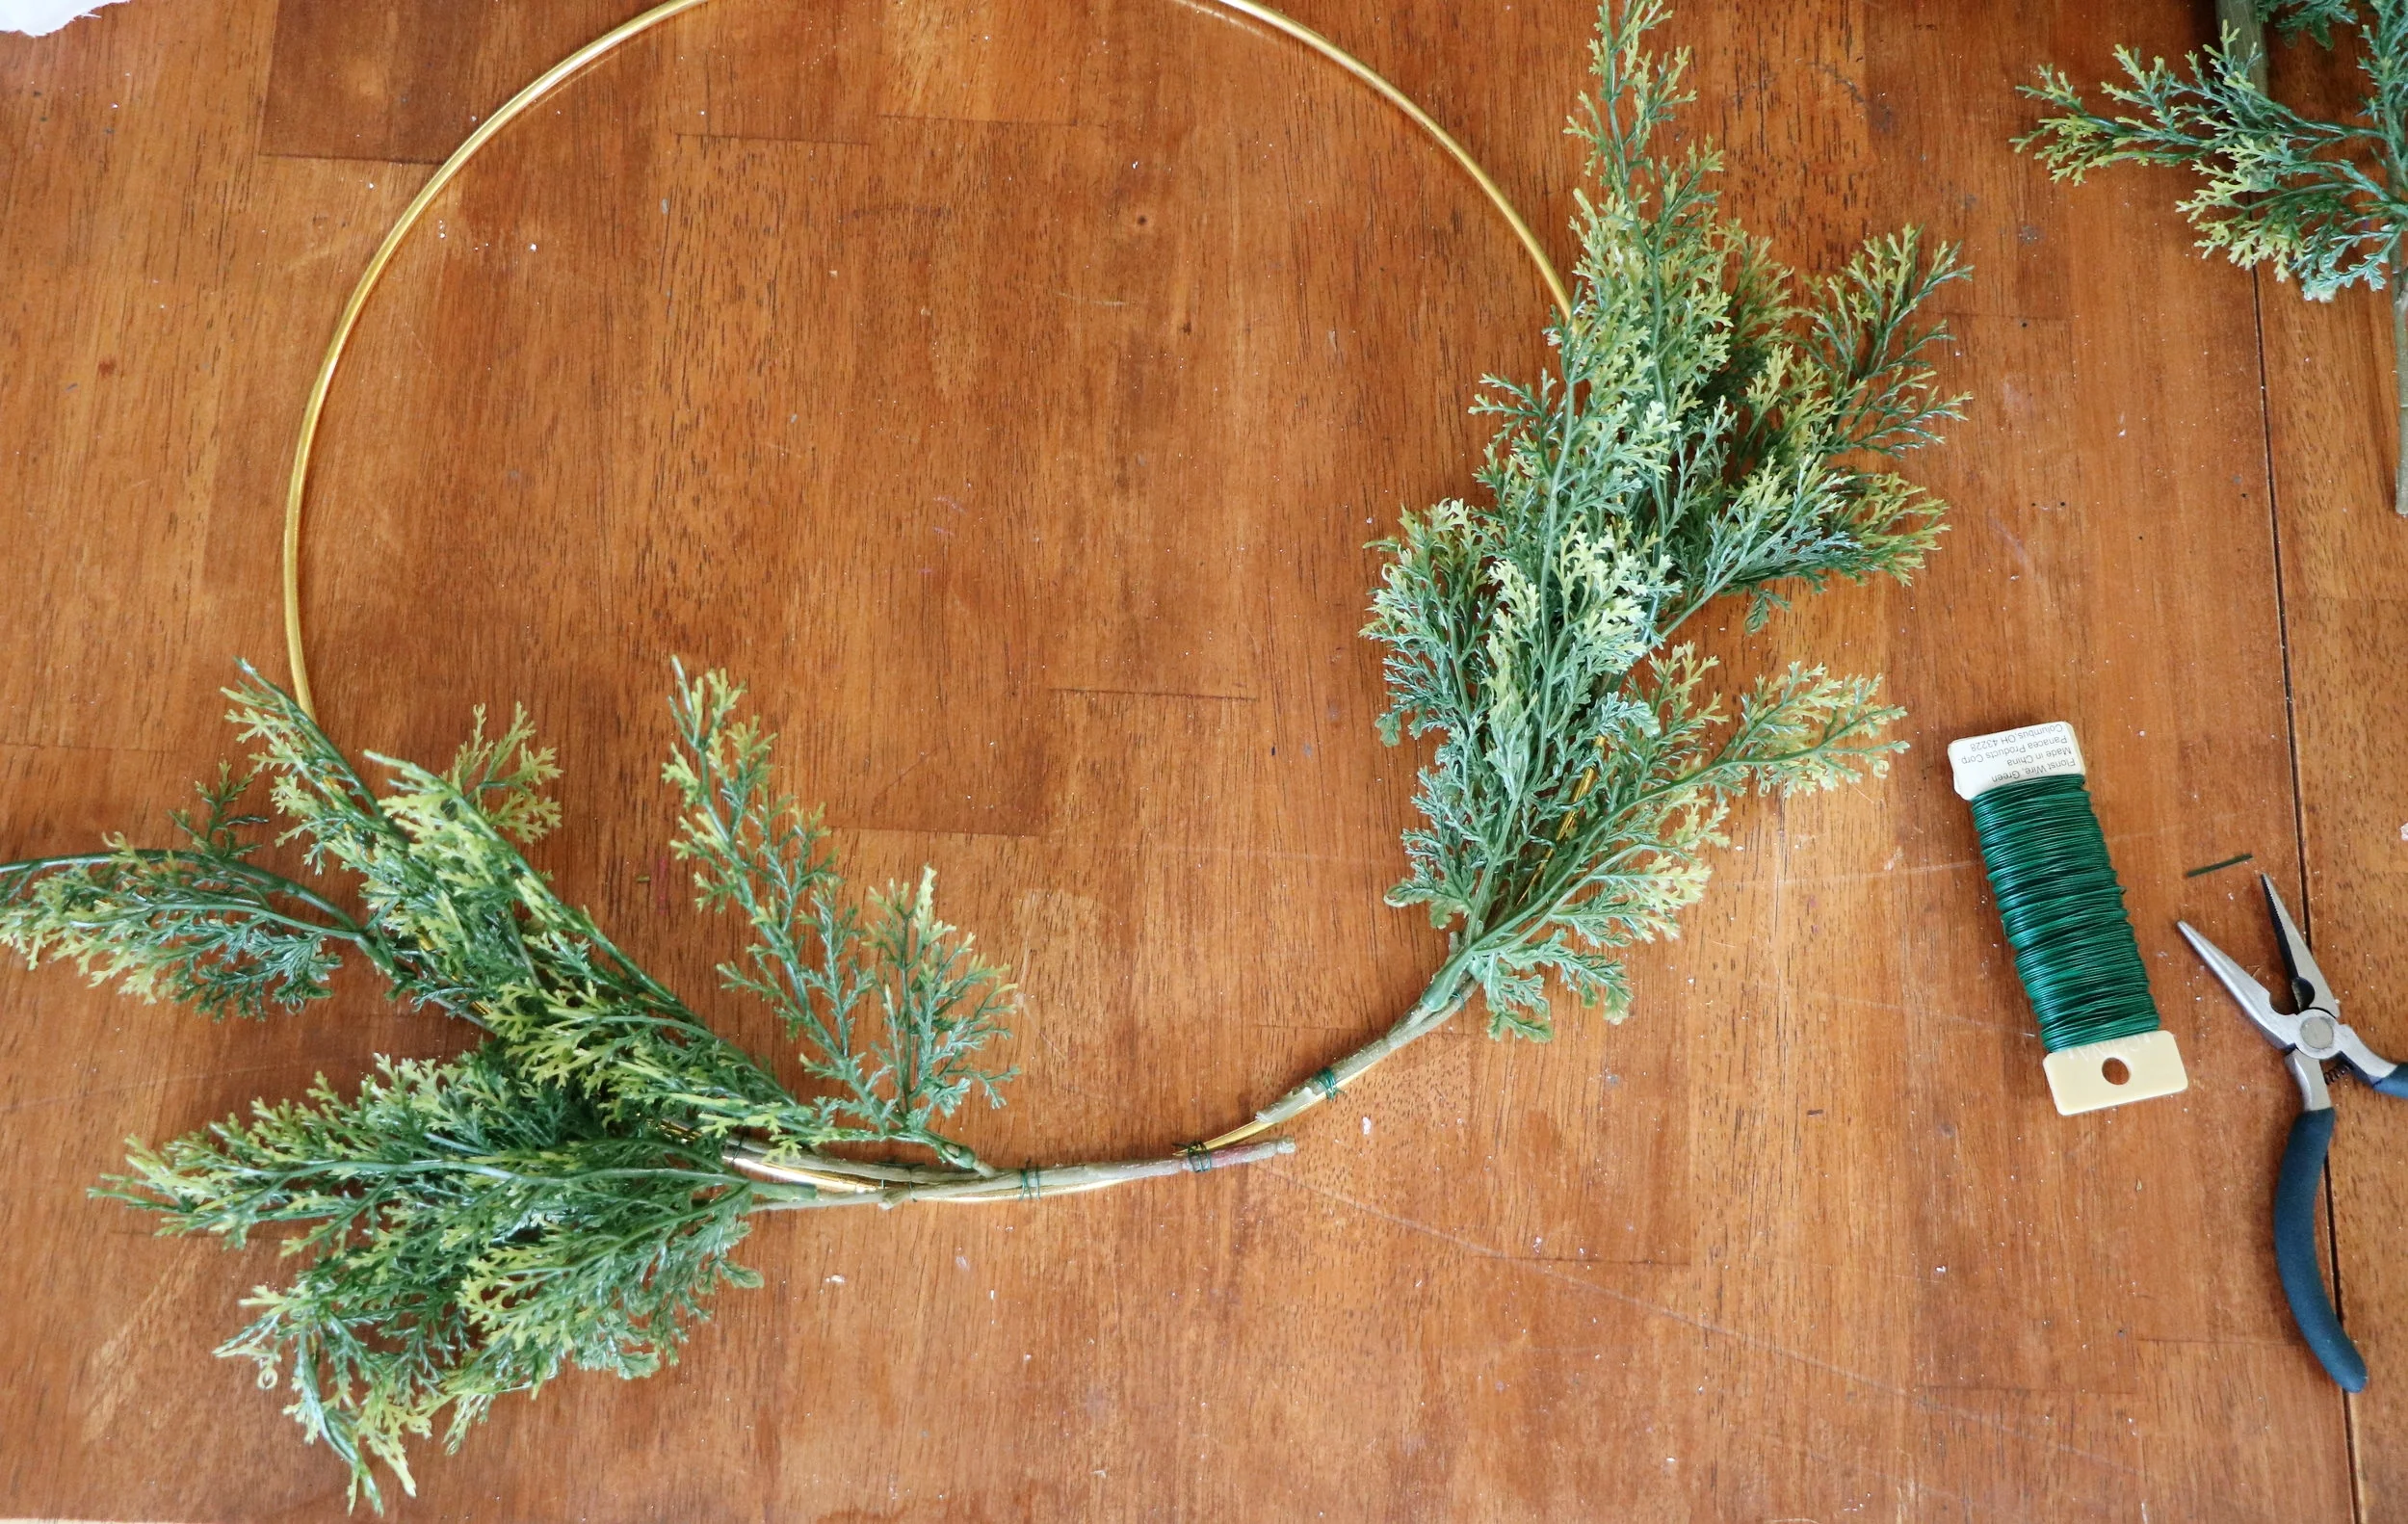
Using your wire, attach pieces of greenery, curving along the edge of the gold hoop. Don’t worry too much about the wire showing, as you’ll be adding plenty of other elements to cover it up later.
That middle section where the greenery meets is where your flowers will go. Add the magnolia leaves and the tree picks until the hoop is nice and full. The further you go, the more attentive you’ll want to be about wire placement - the more hidden, the better.
Step 4:
Once you’re happy with the greenery, it’s time to add the flowers. First, arrange them to get a general idea of placement. Then, using your hot glue, secure the flowers directly to the greenery on the hoop. Add extra hot glue to the back of the wreath. They should feel very sturdy.
Clip on your little birdies and add a twine loop at the top for your hook, and you’re done! All said and done, this took me about 40 minutes. I hope you love your own DIY as much as I loved doing this one. Or, if you’d rather save the effort, I’d be happy to make one for you! Email me at diydarlingblog@gmail.com for pricing and any inquiries.


