Decorate Your Front Porch for Fall
I don’t know about you, but fall is my favorite time of the year. While I miss the changing leaves in Colorado, even Southern California gets a crispness in the air around this time. Sweaters start to come out. Various pumpkin-scented/flavored things roll out in stores. I love it all.
One of the big draws of our new place is that it has it’s own private gate/entrance. Having an actual front porch area was so exciting to me after living for years in apartments (or college dorms before that!). I knew this was my opportunity to flex my holiday decorating muscles, and first up was the wonderful challenge of fall decor. Often the stuff you typically find in stores falls under the ‘cheesy’ category… no thank you to the fake scarecrows or the cutesy pumpkin signs. It may work for some people, but not for this gal. So how did I achieve a modern take on fall decor? Read on.
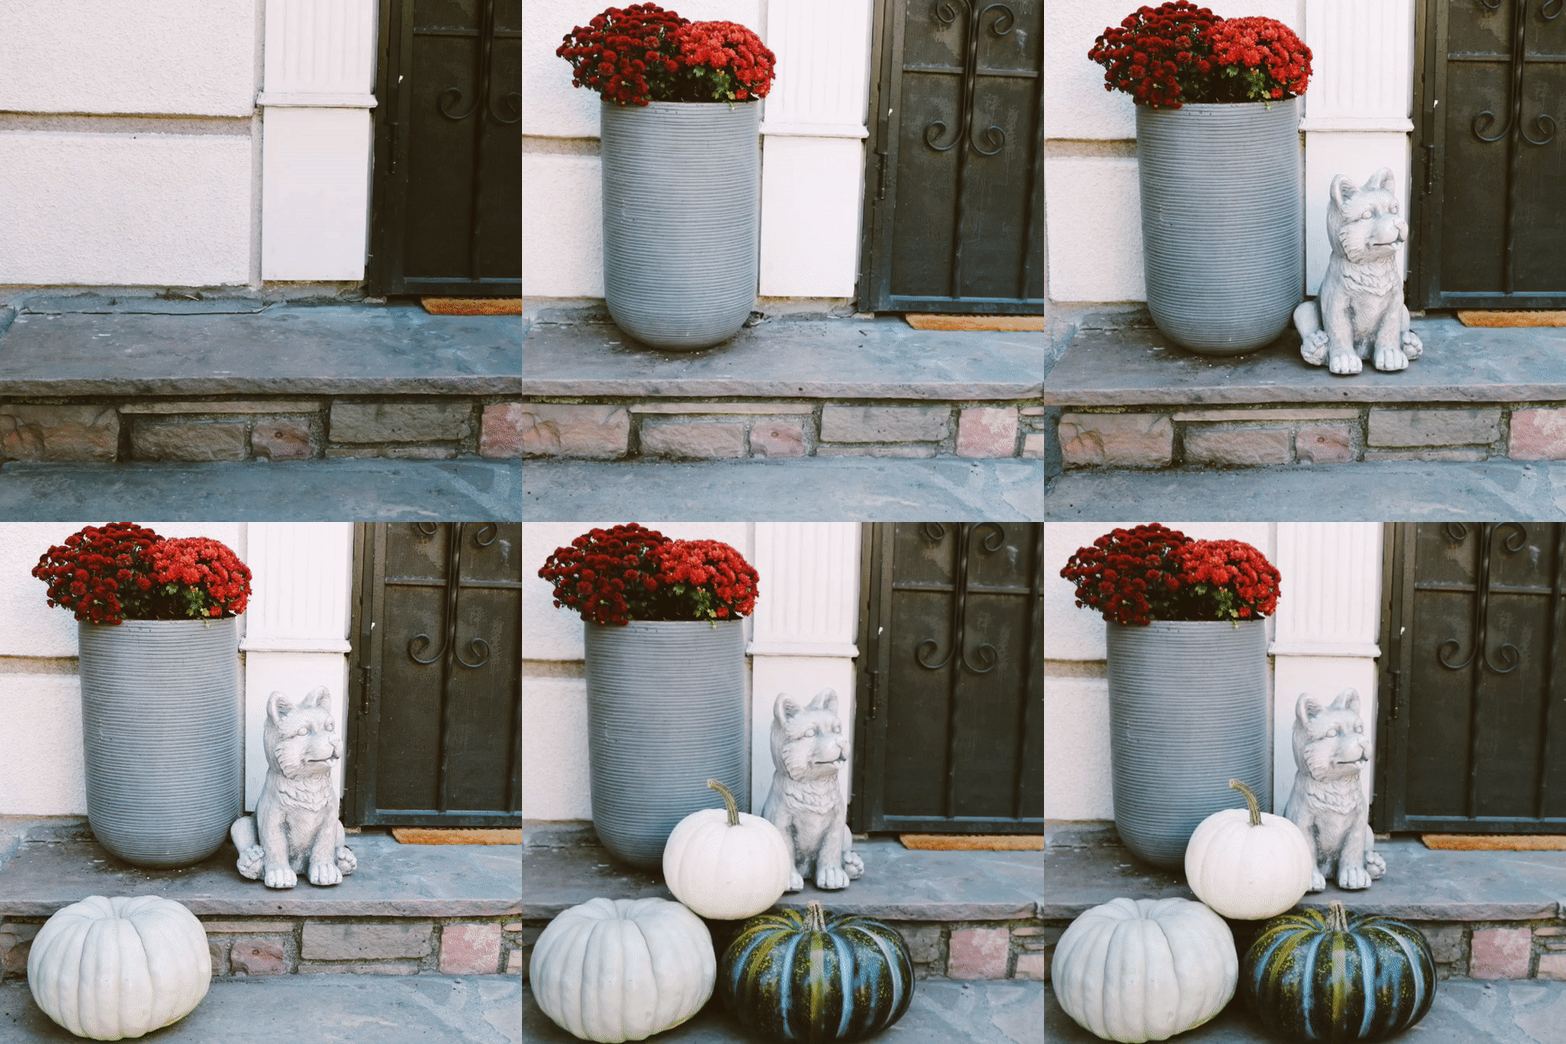
As you can see, our steps are fairly narrow. This limited the size of planter I could purchase, but I knew I wanted one with some height. I visited Rolling Greens, a fabulous home + garden store in Los Angeles, and found this great grey concrete one. They also had some cool colored pumpkins and I liked that they were not your typical orange. The darkest green one is actually fake! The stone doggie was a purchase by my guy when we first moved in - a stand-in guard dog until we find a real dog. Not exactly in the '“fall decor” category, but he stays regardless of the season.
Red is my favorite color, and I love how these mums pop against the white stone and grey planter. Not too shabby for my first planter! By the way, mums are super easy to keep alive, and they come in a bunch of fall colors. Pick your favorite and enjoy all season long!
Ready for the easiest DIY ever?? Behold the mum in a pumpkin. This can be used as a centerpiece during Thanksgiving, or as entryway decor as I have done here. Not sure how long it will actually last until the pumpkin rots, but I’m holding out hope that it’s at least until Halloween…
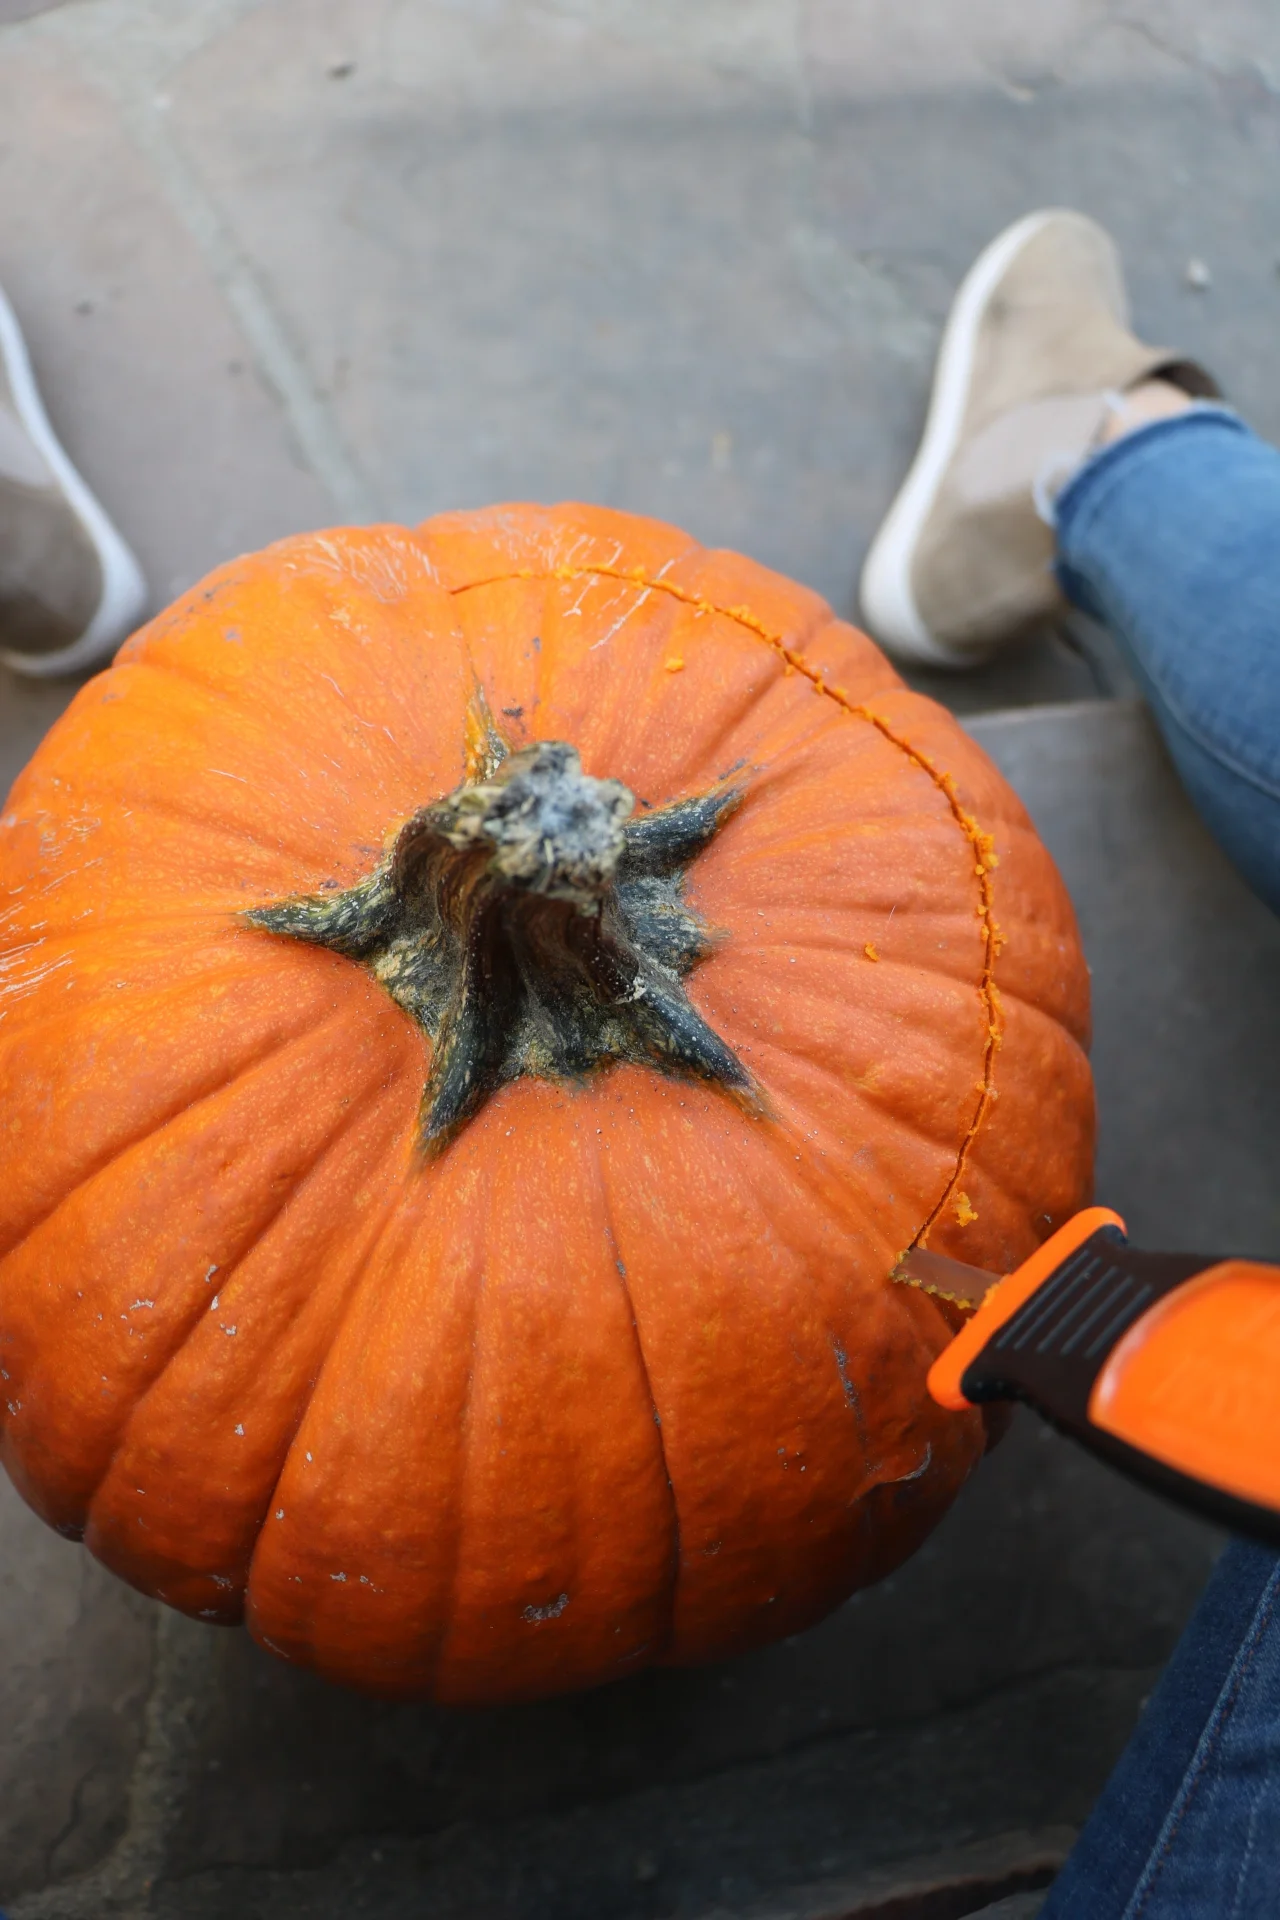
Cut out a hole on the top of the pumpkin that’s big enough for the flower planter. Scoop out the seeds and guts. Check out my Cinnamon-Nutmeg Roasted Pumpkin Seeds for a yummy snack.
Pop the mum still in it’s planter and you’re done. Seriously easy, and seriously pretty.
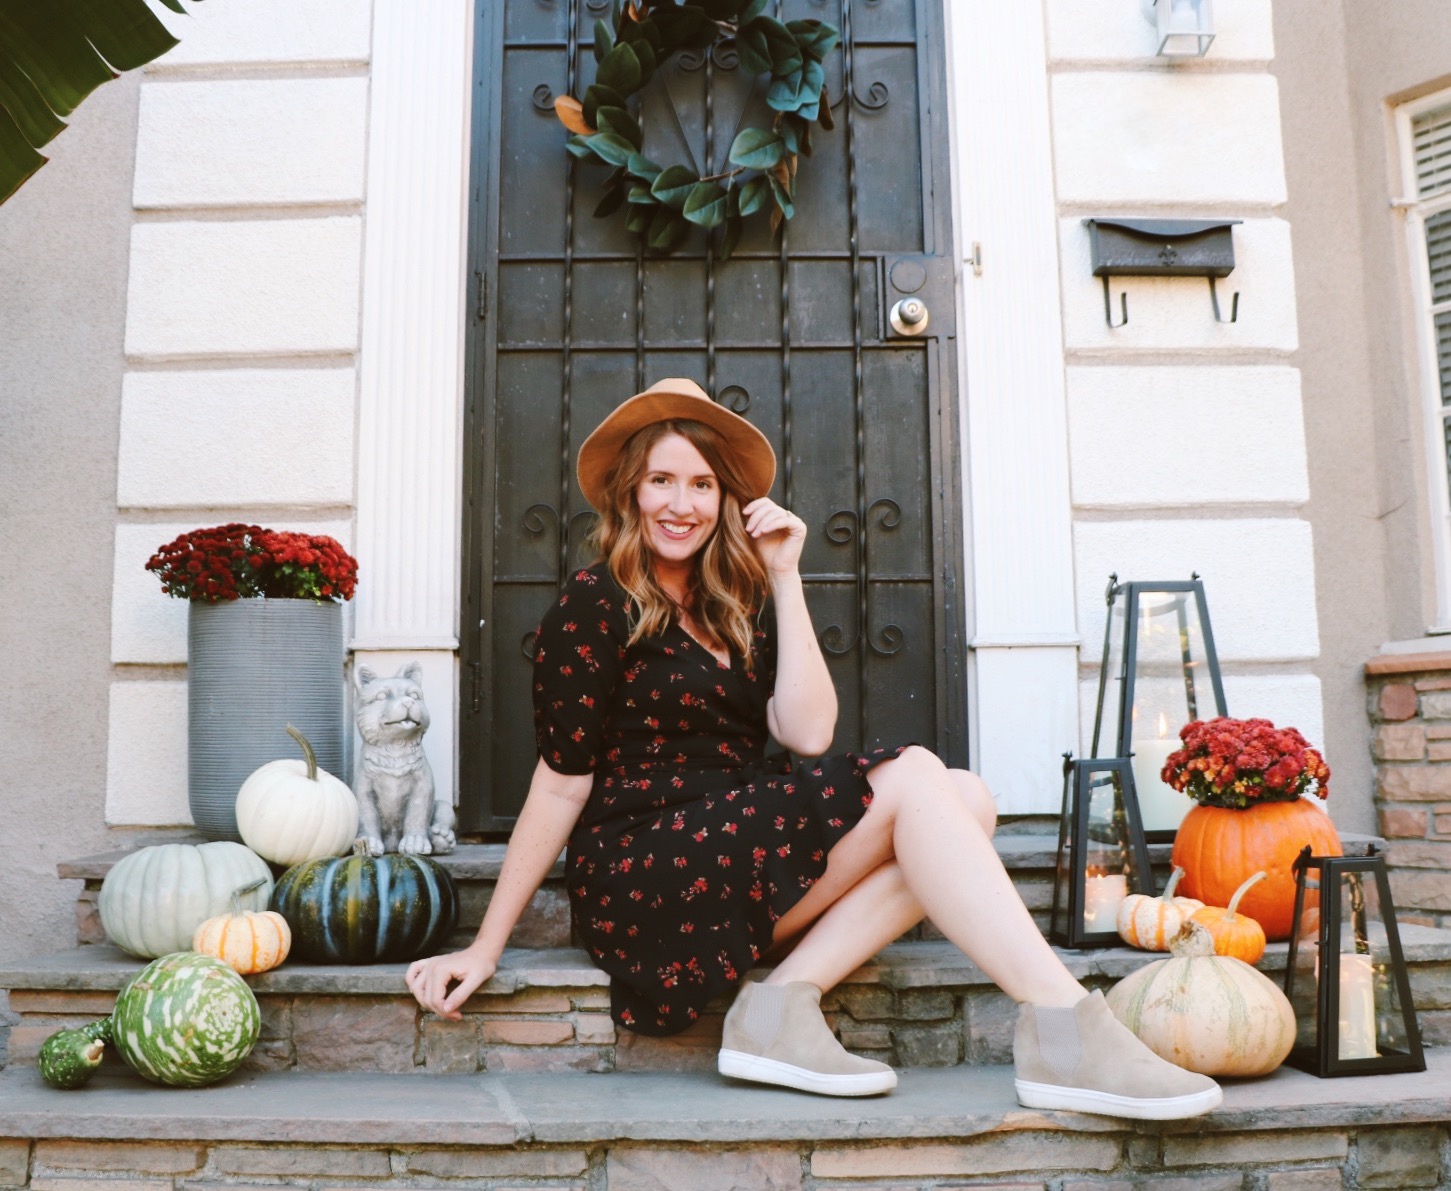
I really liked the look of these black lanterns from Target with layered pumpkins and squash, as well as my completed DIY project. That big lantern in the back ties in the height of the planter on the other side, and balances out the whole look. I was inspired by the black metal of my storm door and mailbox, so decided to tie that in with the lanterns. The wreath on the door is from Magnolia and I love that green is a dominate color throughout, rather than your typical orange and yellow. Also obsessed with the green squash that semi looks like a duck in the bottom left. ALSO love that the stone doggie looks like he’s looking at me in this photo. A true guard dog. Overall a success! I will be able to reuse everything except for the pumpkins, and I’m sure I can make the lanterns transition from fall to winter to spring to summer and back again. They were my biggest expense, but I decided it was worth it. It makes me really happy walking up to my front door - I hope this inspires your own fall decor projects!


