Hand-Lettered Wooden Sign
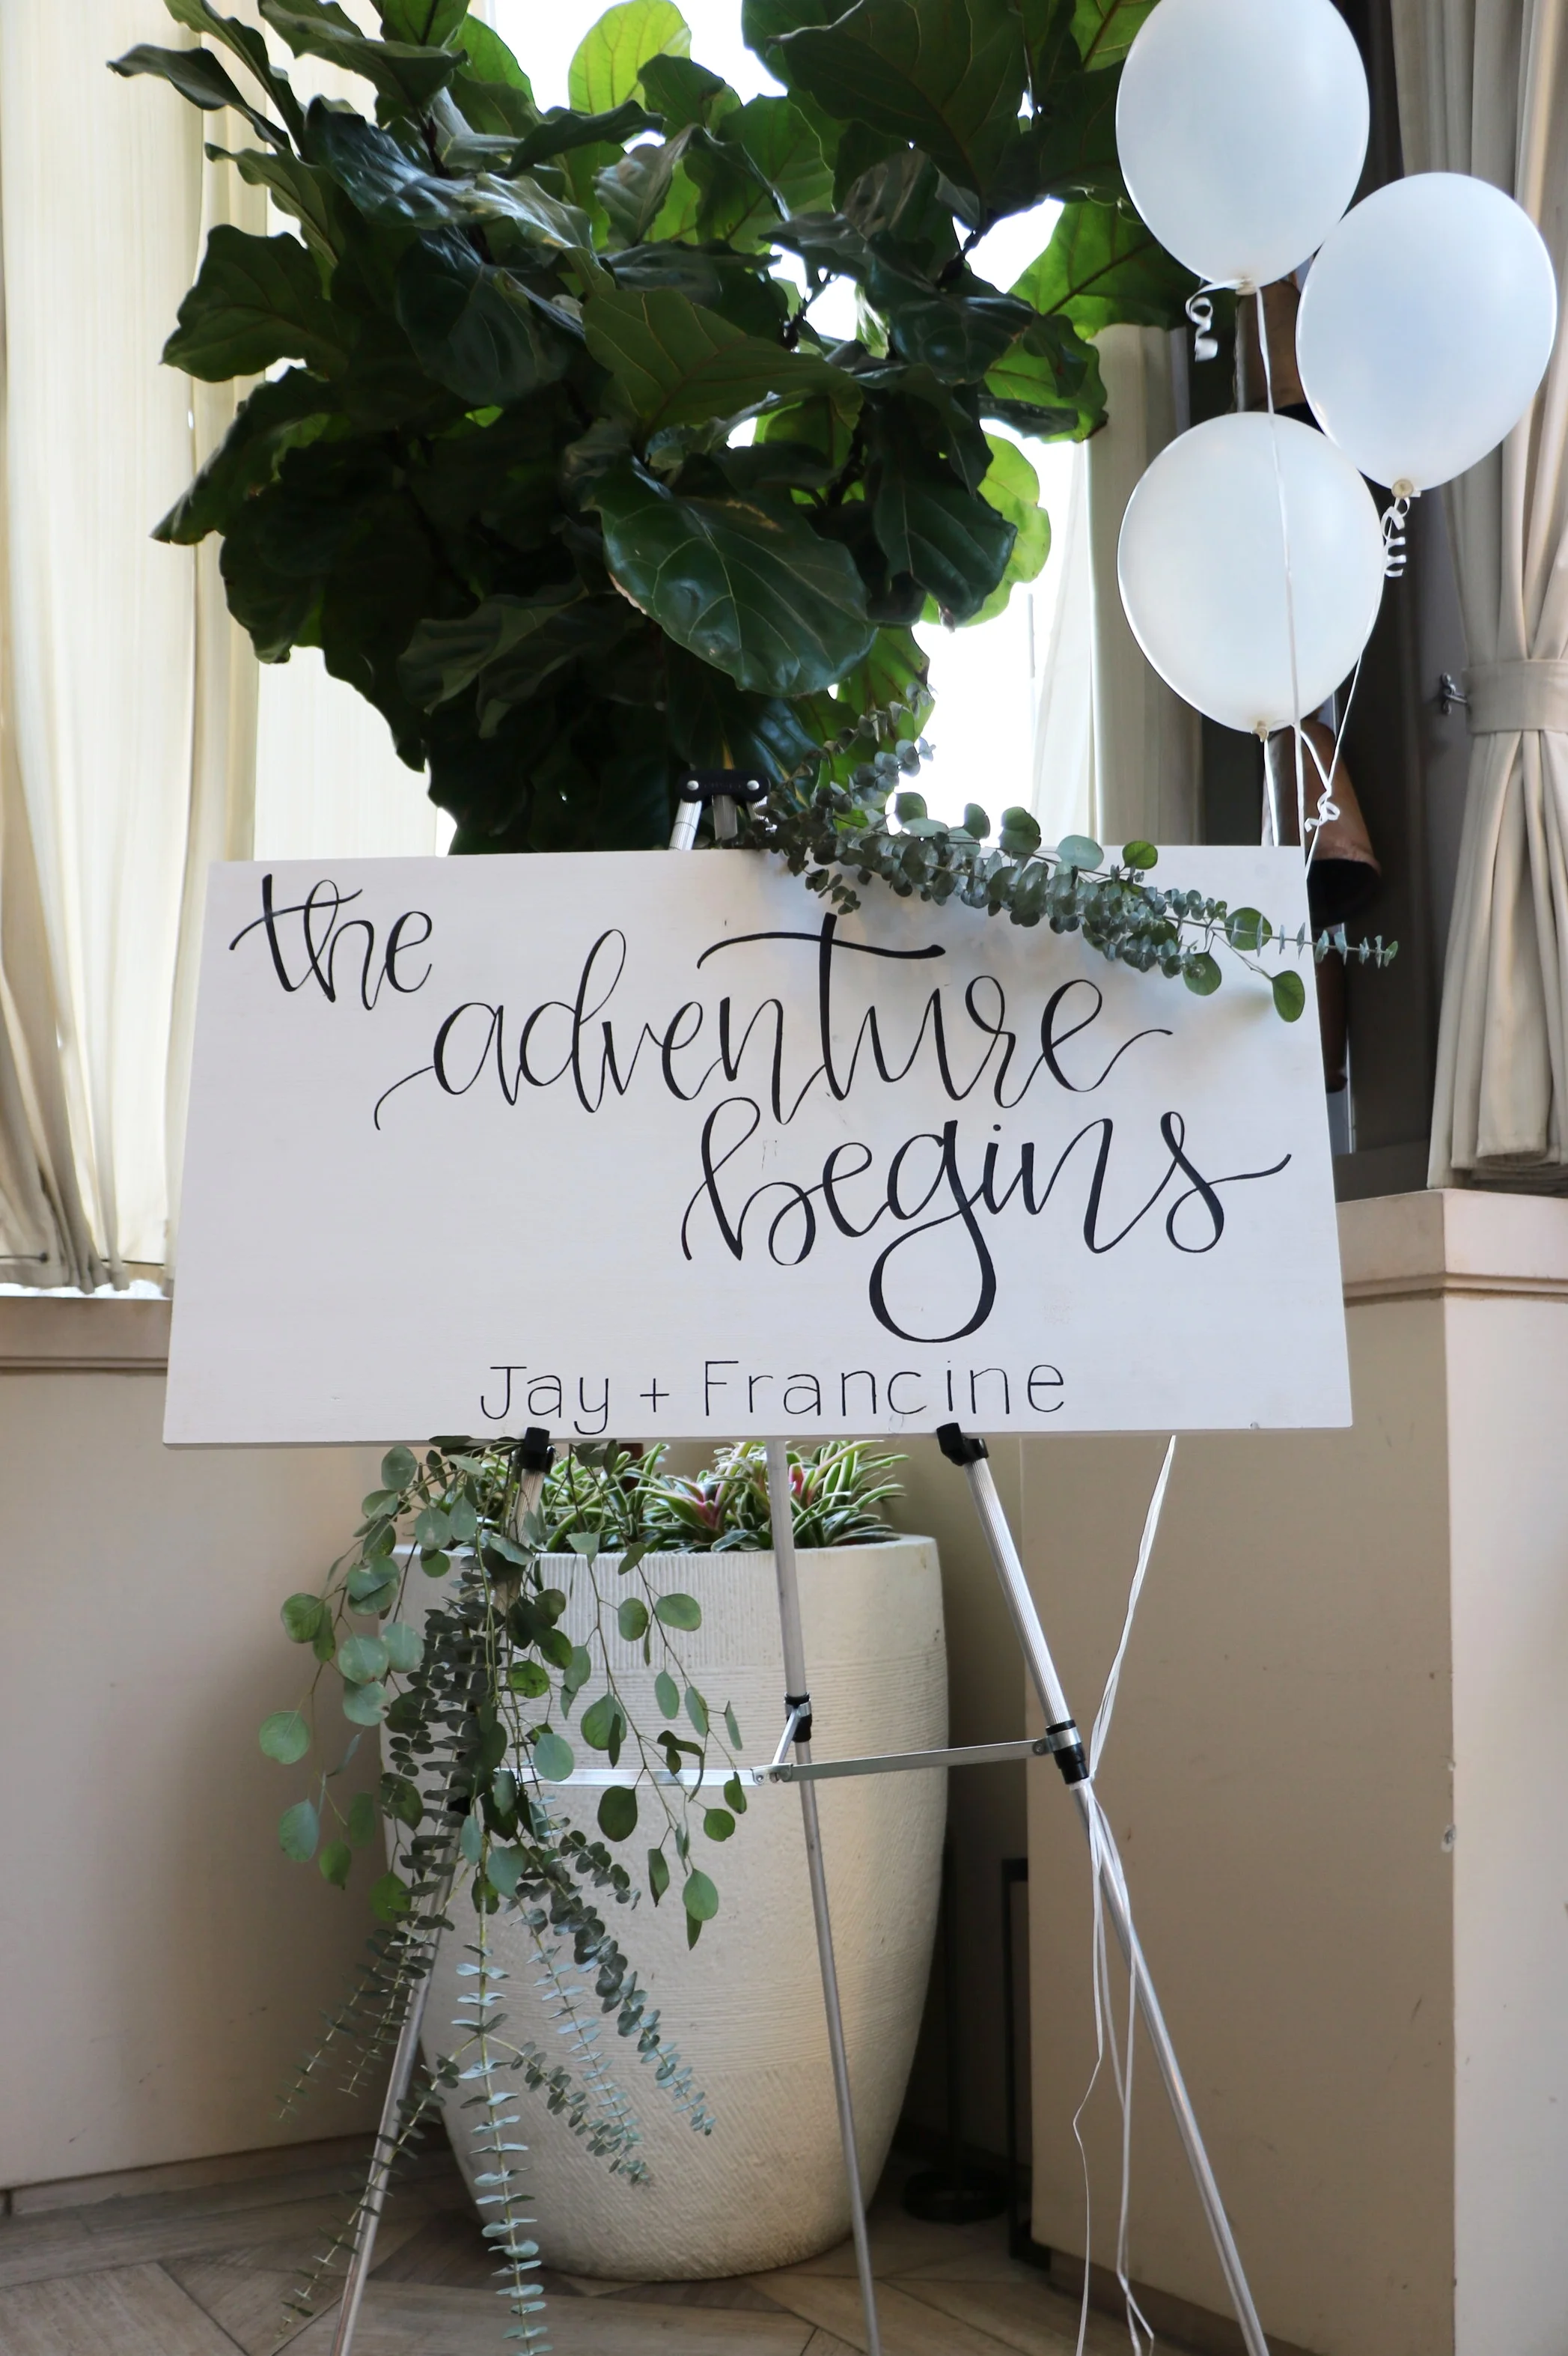
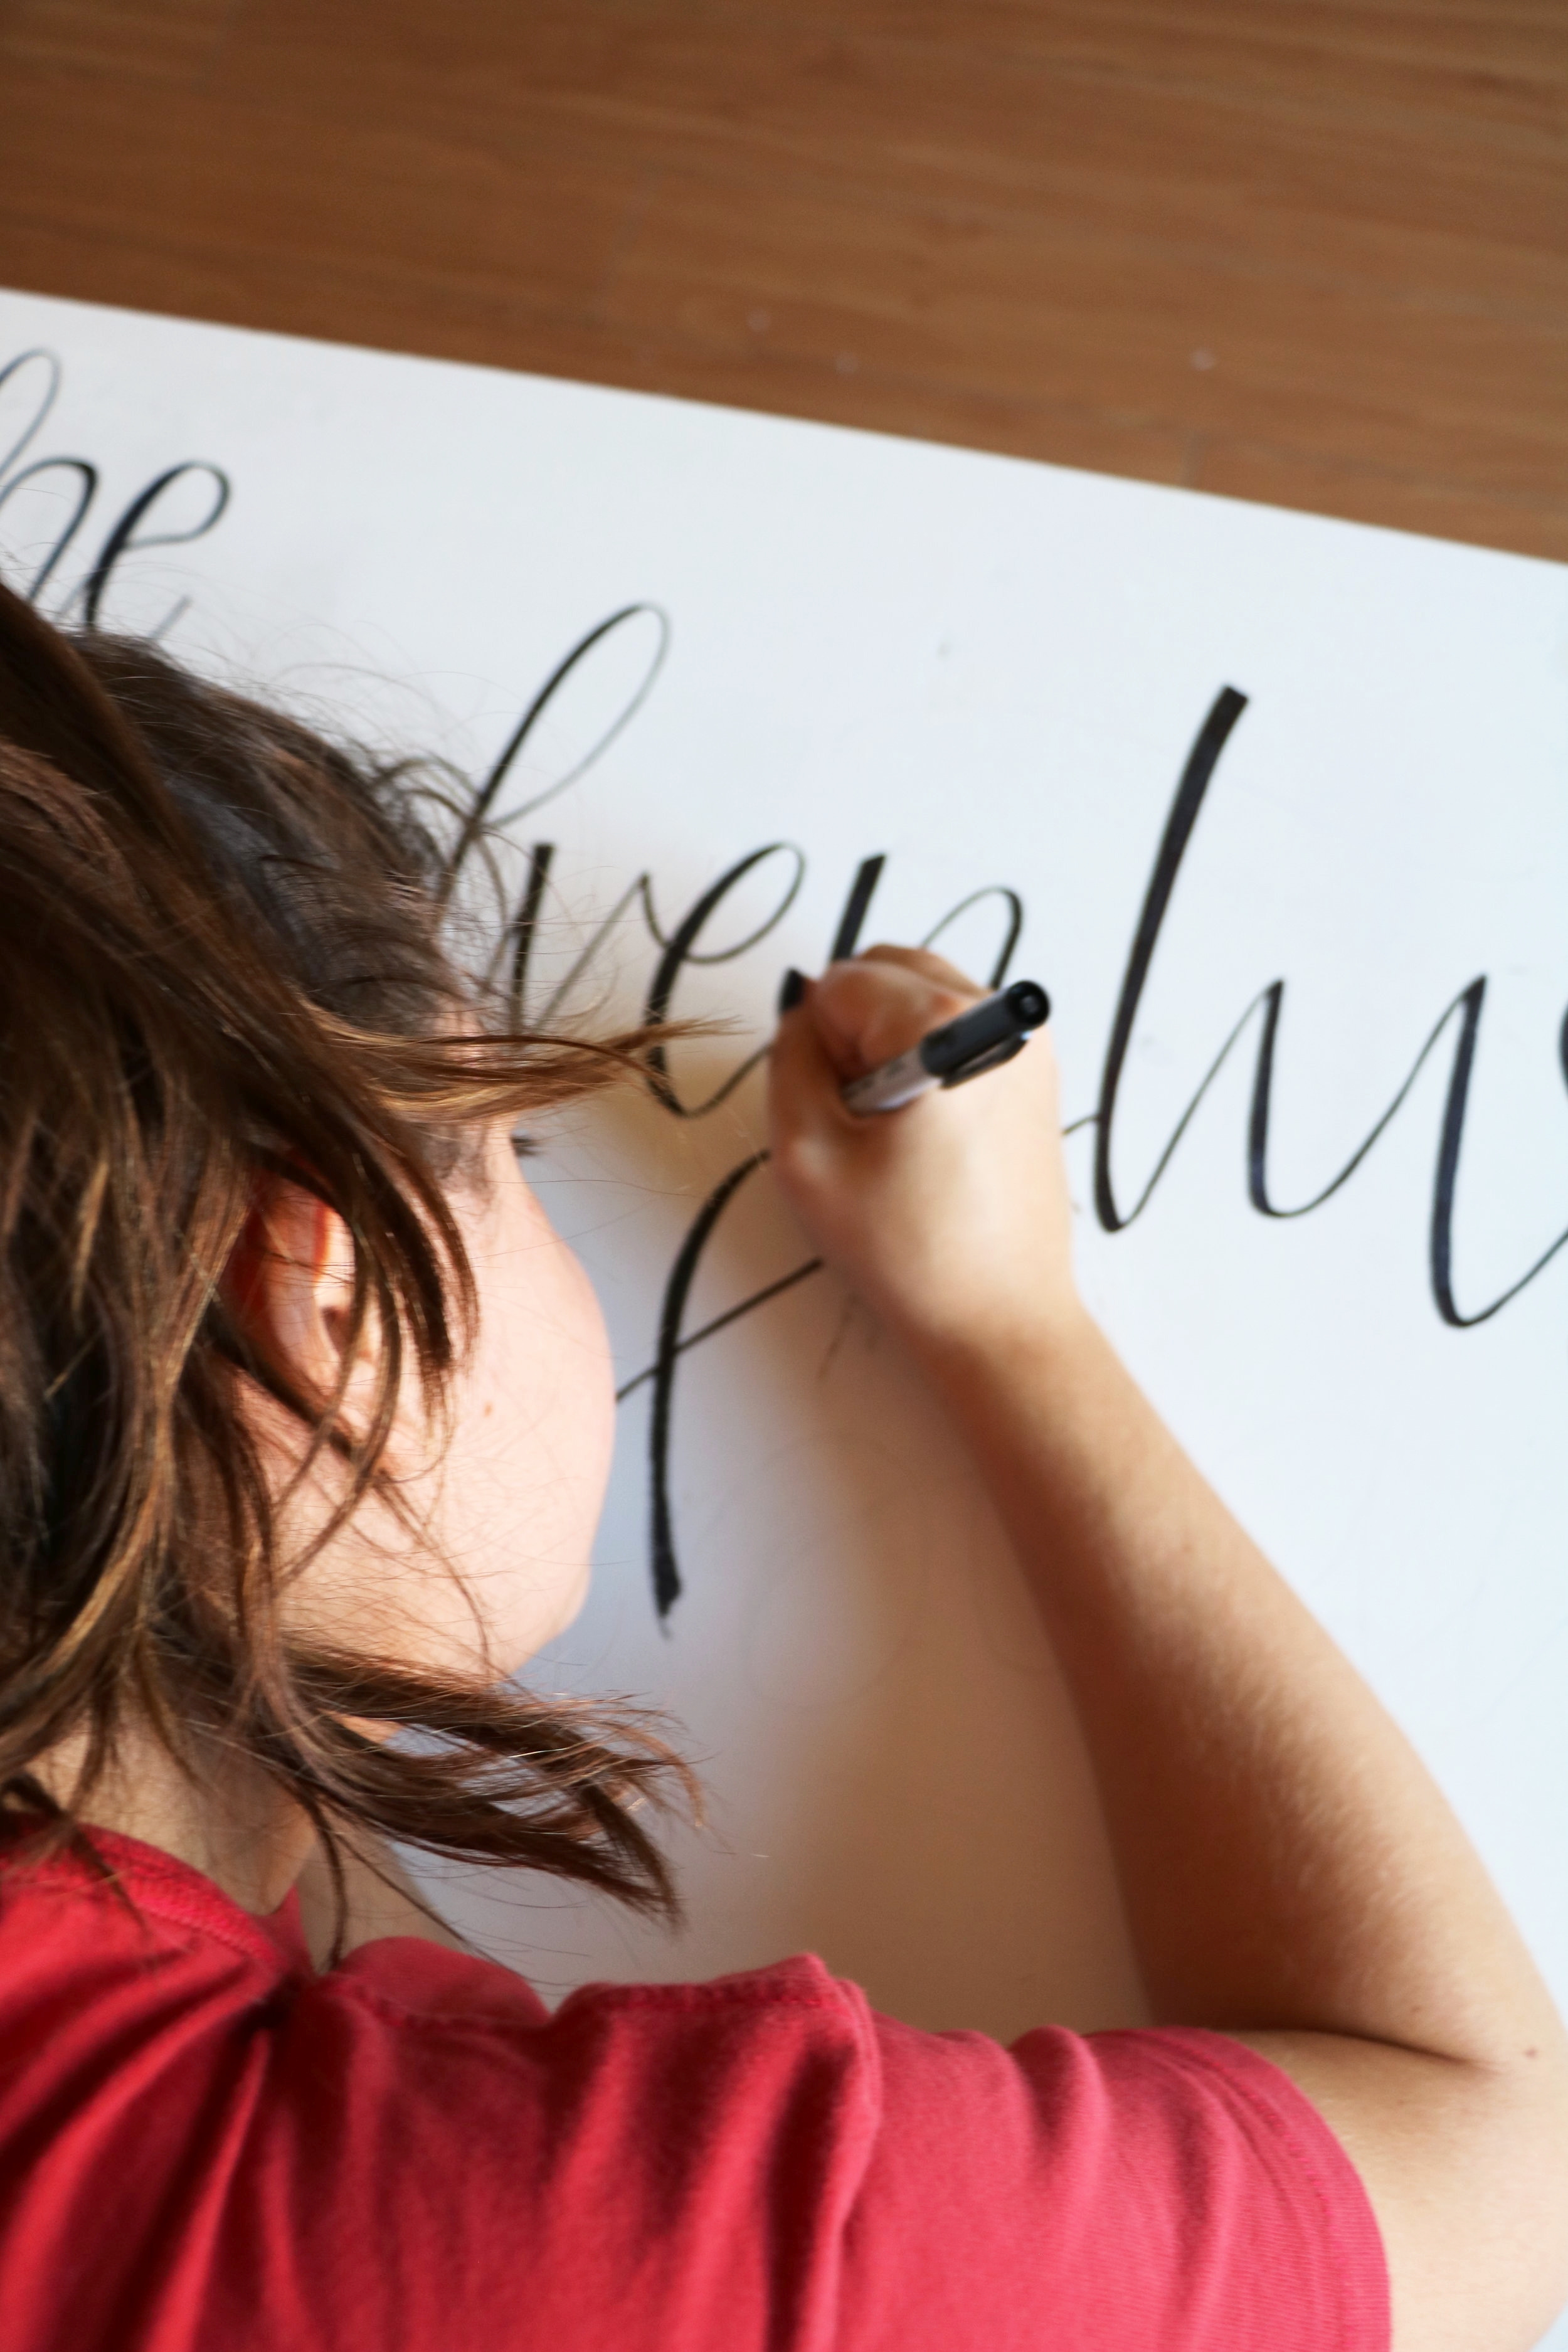
I love working with other crafty babes, so I was thrilled when I got together with Chalk&Awe to make this custom hand-lettered wooden sign. Below you’ll find my interview with the lady behind the letters, Gabi Milo, where we discuss how she started her business, trends in hand lettering, and how you can DIY your own signs! Then, continue scrolling on to see Gabi’s process and the finished product, which was used at my brother’s rehearsal dinner during his wedding weekend. I added my own DIY Darling touches and I think the finished result is a showstopper!

Gabi Milo, founder of Chalk&Awe.
DIYDarling: Okay, so my first question for you is - how did you get into chalk-lettering?
Chalk&Awe: Kind of by mistake! I worked at a restaurant, and they needed someone to do the chalk sign, and I thought “I feel like I have pretty good hand-writing…”. They left me alone for about an hour, and I went to town! I had the time of my life! (laughs) When they came back, I was officially designated “chalk designer”. Thus birthed my love of chalk art!
DD: Cool! My next question for you is - what is your advice for someone who wants to DIY their own chalk art?
C&A: Let’s see… find good chalk markers. Test out hundreds of them. Because for some reason, the consistency changes. You want to make sure you have a marker that works really well for whatever you’re trying to do.
DD: So you use markers that are actual ‘chalk markers’ not real chalk.
C&A: Right. And a good chalk trick is this - Take an actual piece of chalk first, lay it down on it’s side on the board, and do a thin layer all over your surface, so it kind of looks like chalk dust.
DD: And that does what?
C&A: It creates a fine layer that you can write over, so that if you make a mistake and you have to erase something, it doesn’t leave a mark on the actual chalk board.
DD: Whoa. That is a great DIY tip!
C&A: Thanks!
DD: Okay - do you have a favorite chalk job, or lettering job, that you’ve done?
C&A: Ooh… let’s see. I did the chalk art on wood for a wedding about a year ago. That was my favorite. I got to do the whole state of New York, with all the little Boroughs, which was a lot of fun. [The couple] used them as their place settings!
DD: Sounds amazing. Where was the wedding? How were you able to take the vibe given to you by the bride and translate that into your art?
C&A: It was for my big sister in my sorority - hi Megan! - in San Juan Capistrano. She and her now husband met in New York. All of their tables were the different Boroughs, so the guests would take their hand lettered place cards with the Borough name and find their tables that way. I made every single sign for the wedding!
DD: Have you noticed any trend changes in hand lettering since you’ve started?
C&A: Just that it’s becoming more popular! There are books you can buy to practice lettering, to trace lettering, which is so cool. There are a bunch of tutorials on Instagram that you can follow. And then this bubble looking cursive style is very popular. Which is what I’m doing right now!
DD: It sounds like it’s more accessible - if you want to learn how to do it, you can just hop online -
C&A: Totally! There are classes, and with this wave of social media, it’s just becoming available for anyone.
DD: How long does it take for you to complete a design?
C&A: It just depends on the size of the board, really. I’ve done ones that are, like, 18 feet long, which have taken me hours upon hours. And then I’ve done teeny, tiny ones, which have only taken me 5 minutes.
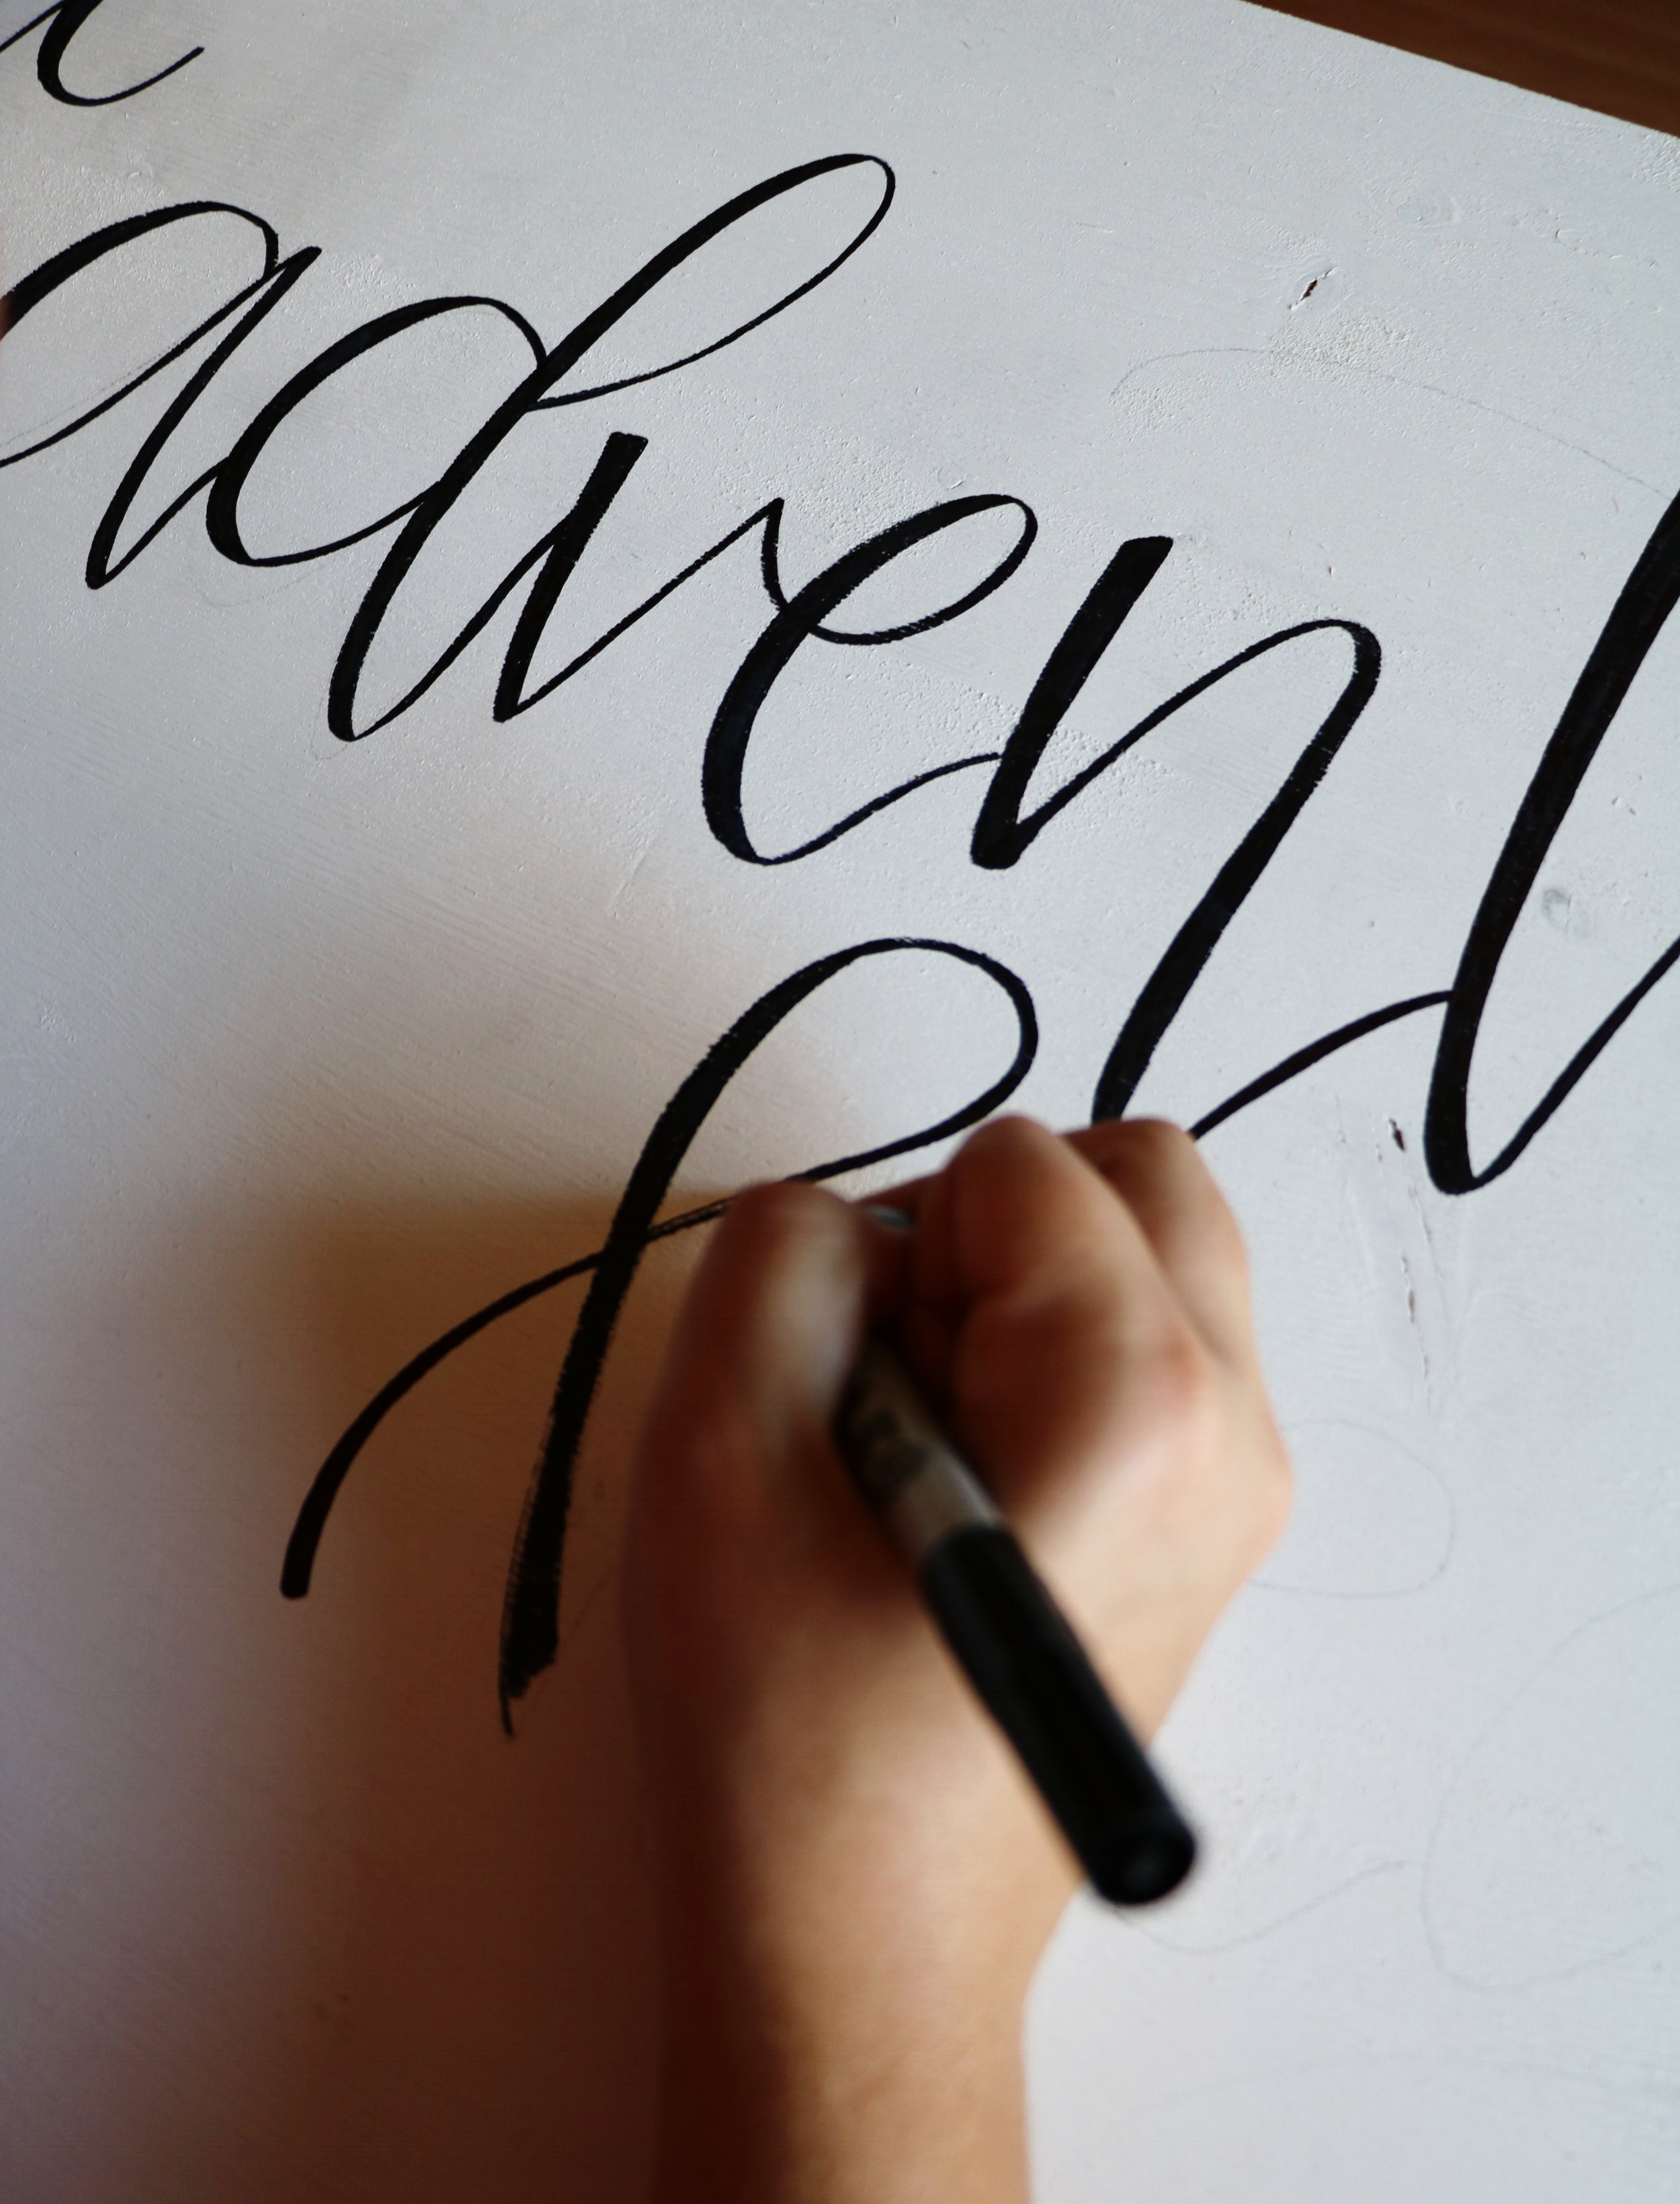
DD: And do you sketch it all out before you start going over it with the chalk markers?
C&A: Yes. Always - always sketch it out before hand, typically just with a pencil.
DD: What materials do you need for best results?
C&A: Really any surface is great, whether it’s wood or a classic chalk board. It’s really just about testing your markers to make sure that their suitable for whatever surface you’re using, so you know they aren’t going to bleed or smudge, or anything like that. Do your research in regards to what other people have found to be most beneficial for the project you’re trying to create.
DD: Well, thanks Chalk & Awe! You’re the best!


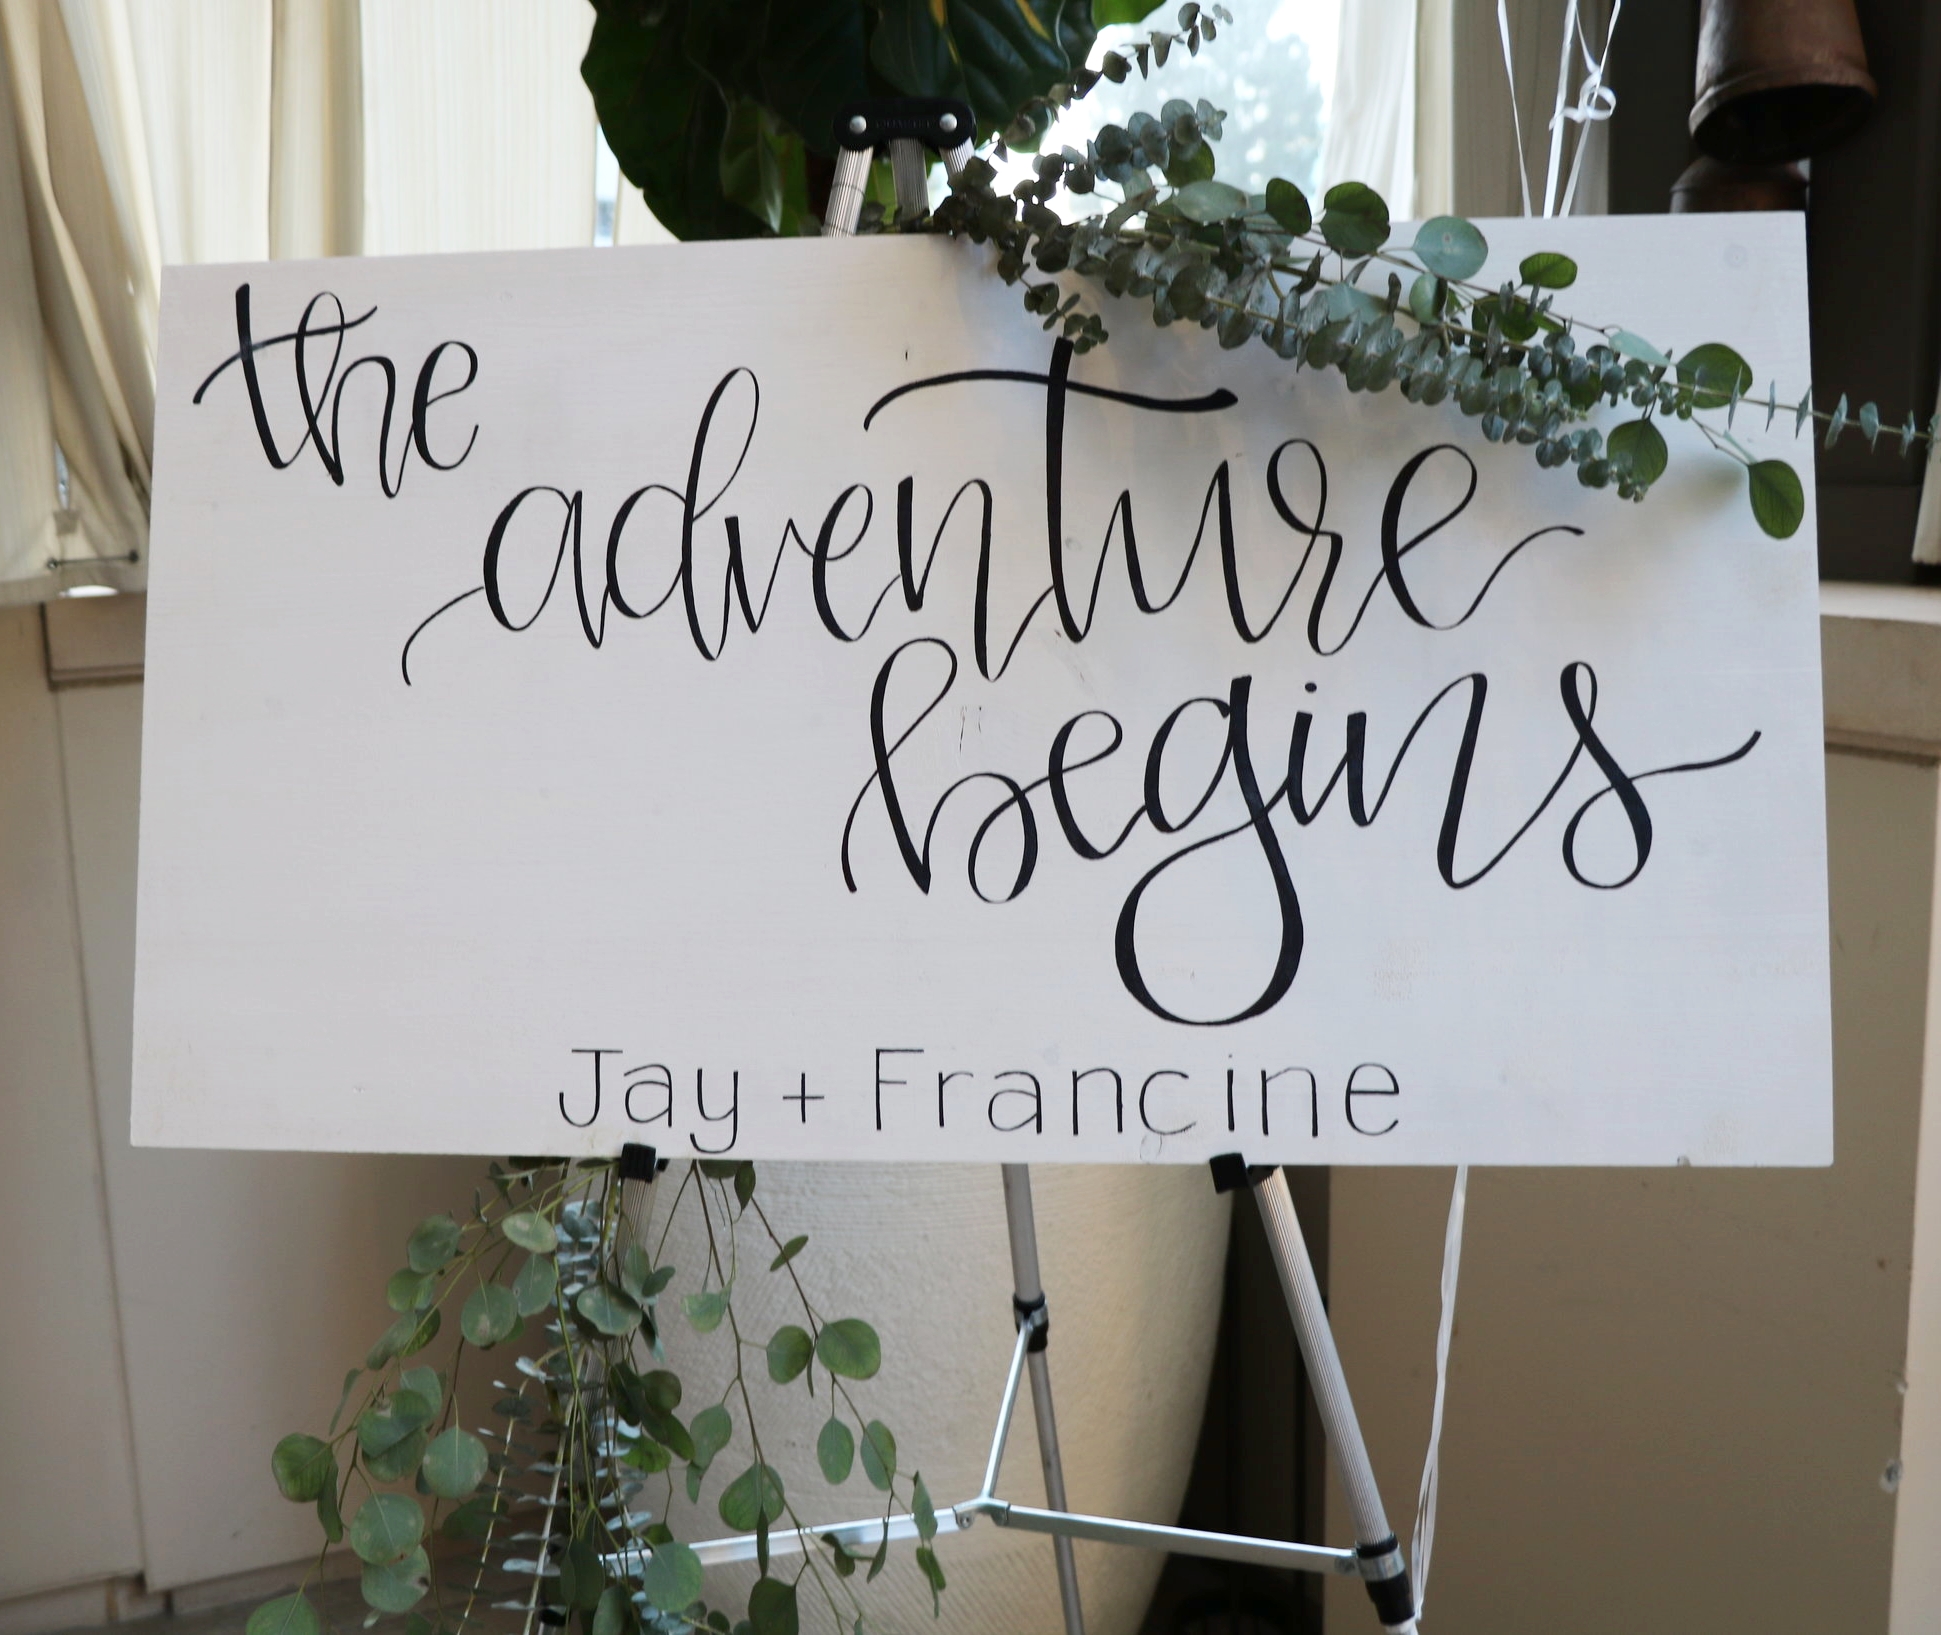
Here’s where my DIY skills came into play. I used regular and seeded eucalyptus and a few white balloons to complete the decoration for the sign. It provided a cute photo opportunity for the couple, and they can use the sign as decoration in their home in the future. (I also think it could be cute as outdoor decor in a garden!)
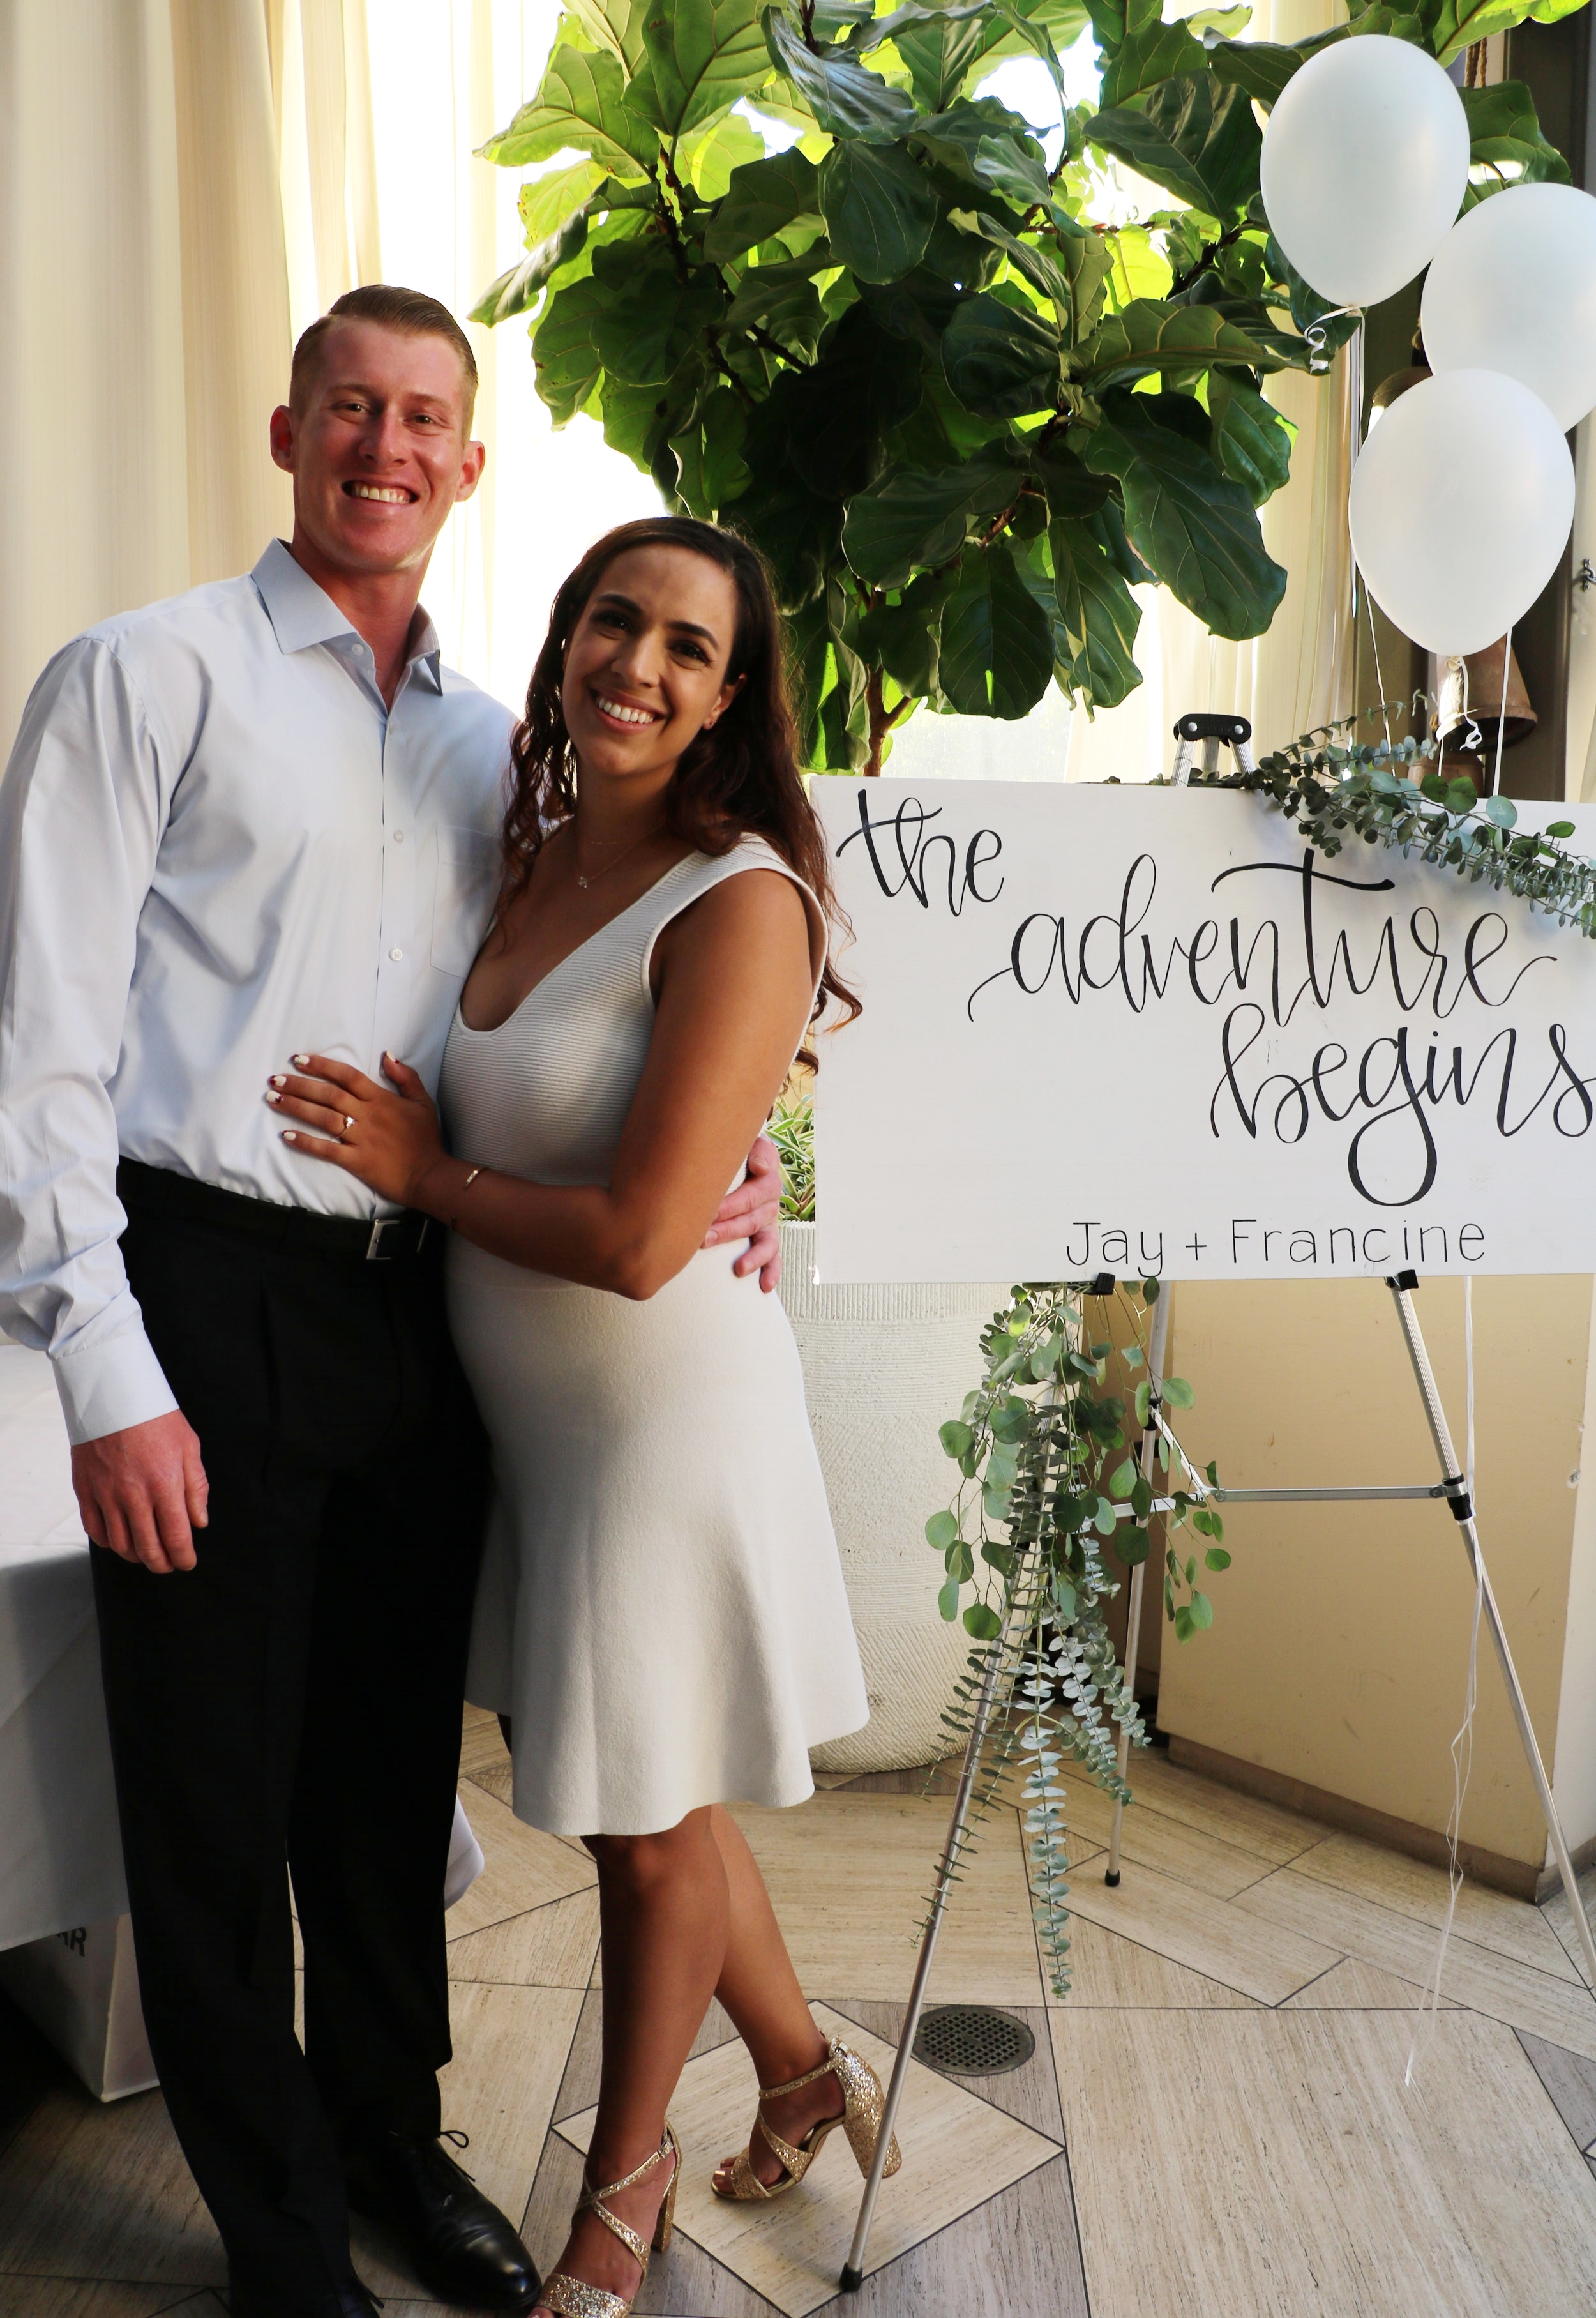
Cheers to the happy couple and for future craft collaborations in the future! Let me know if you got inspired to make your own hand lettered projects and how it turned out!