

How to refinish a dresser

My sweet niece Indigo was born almost exactly one year ago today… and since I’m behind on sharing projects, I thought it would be the perfect occasion to share this dresser flip I did for her nursery! Read on to learn how to refinish a dresser.
A little backstory on the dresser: My sister, Kasey, inherited it from my Grammy Jan when she passed. Grammy used it for her son, my Uncle Barry, when he was a baby, and she’d inherited it from her mother. This piece has been in the family a long time!! And definitely needed a refresh.
Disclosure: My content is reader-supported, which means that when you purchase through links on my site, I may earn an affiliate commission. Learn more here
Here is the BEFORE of the dresser, with the original hardware:


Their wish was to use it as a dresser/changing table combo.
Here was the brief:
Update it to reflect the neutral, modern aesthetic of the nursery.
Add height with a new base (both my sister and her husband are tall!)
Step One:

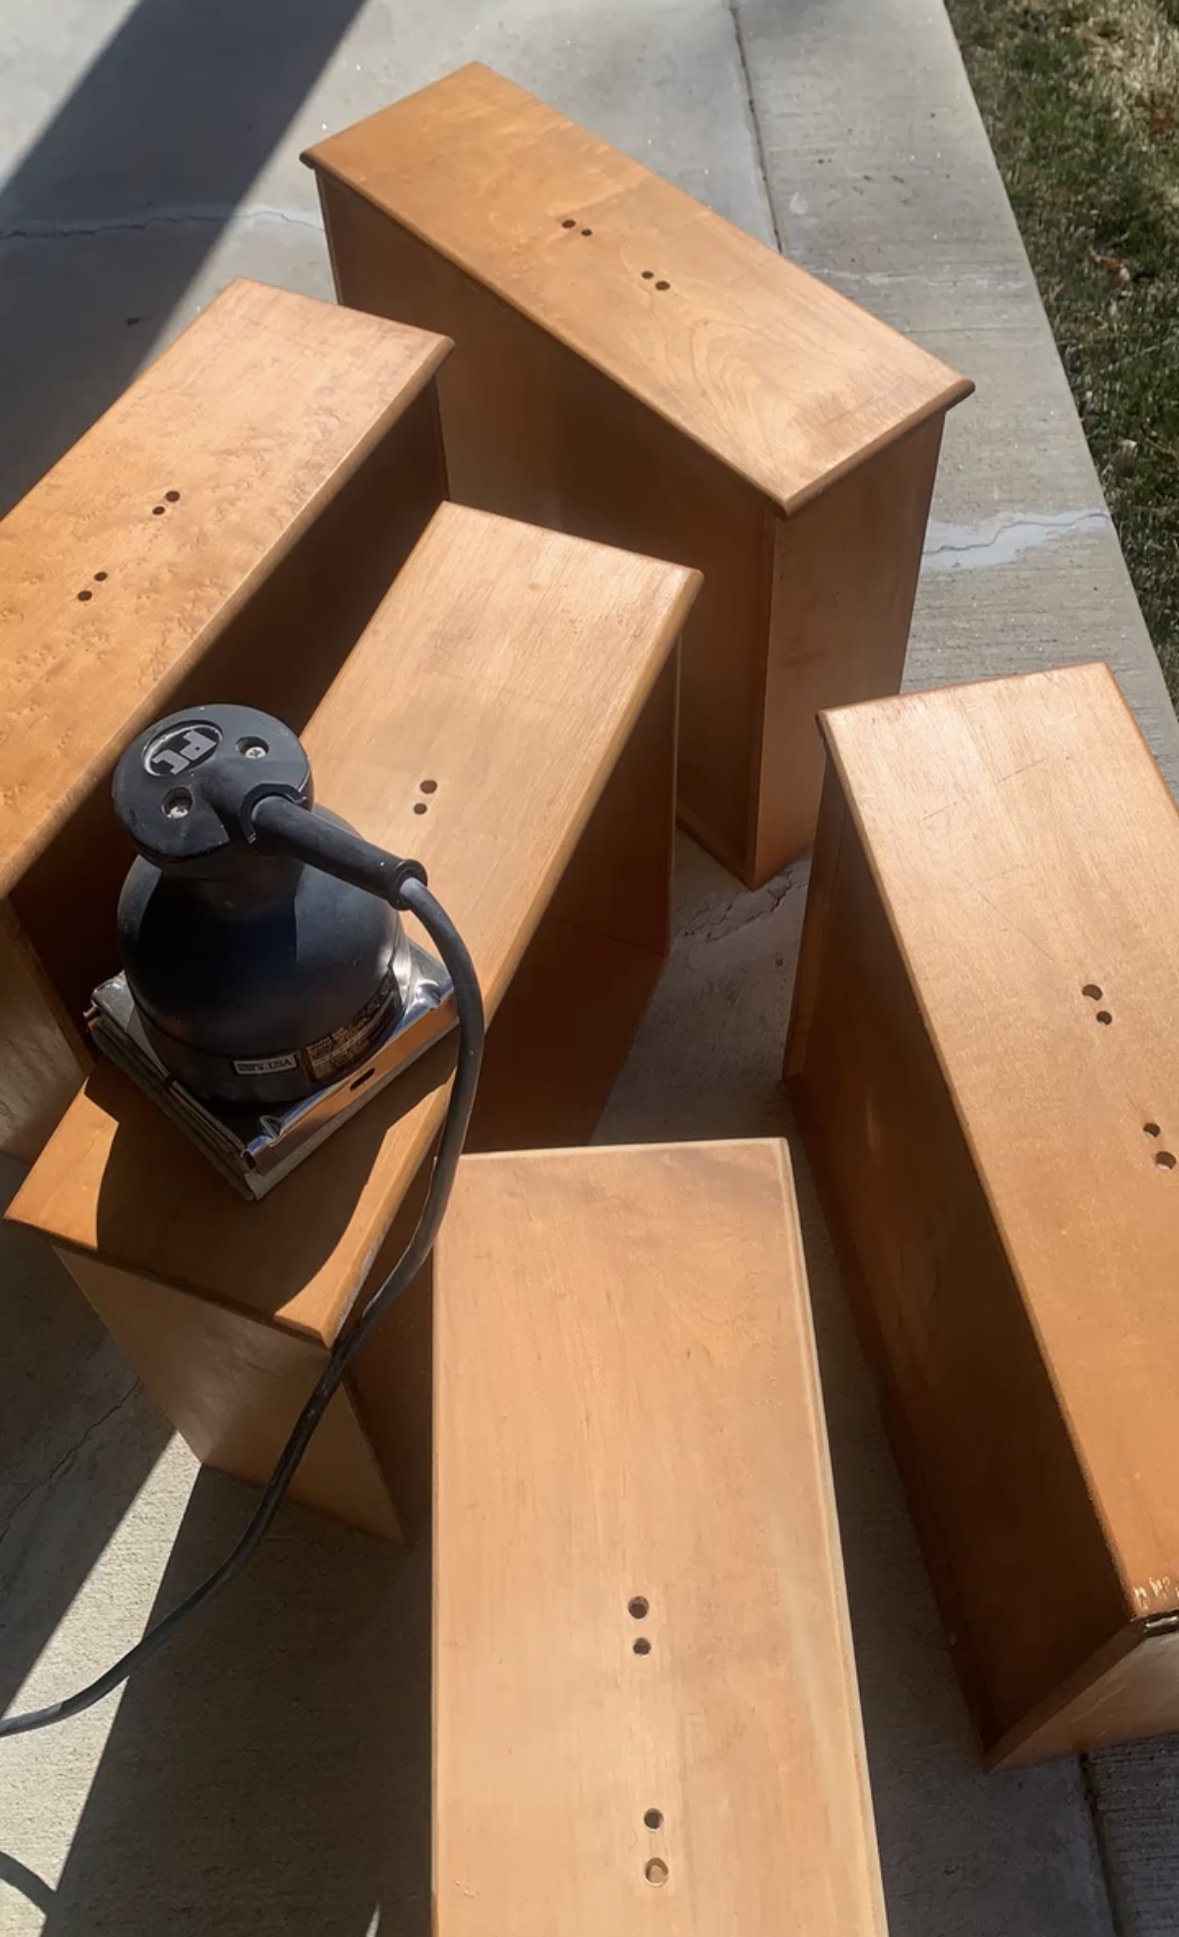
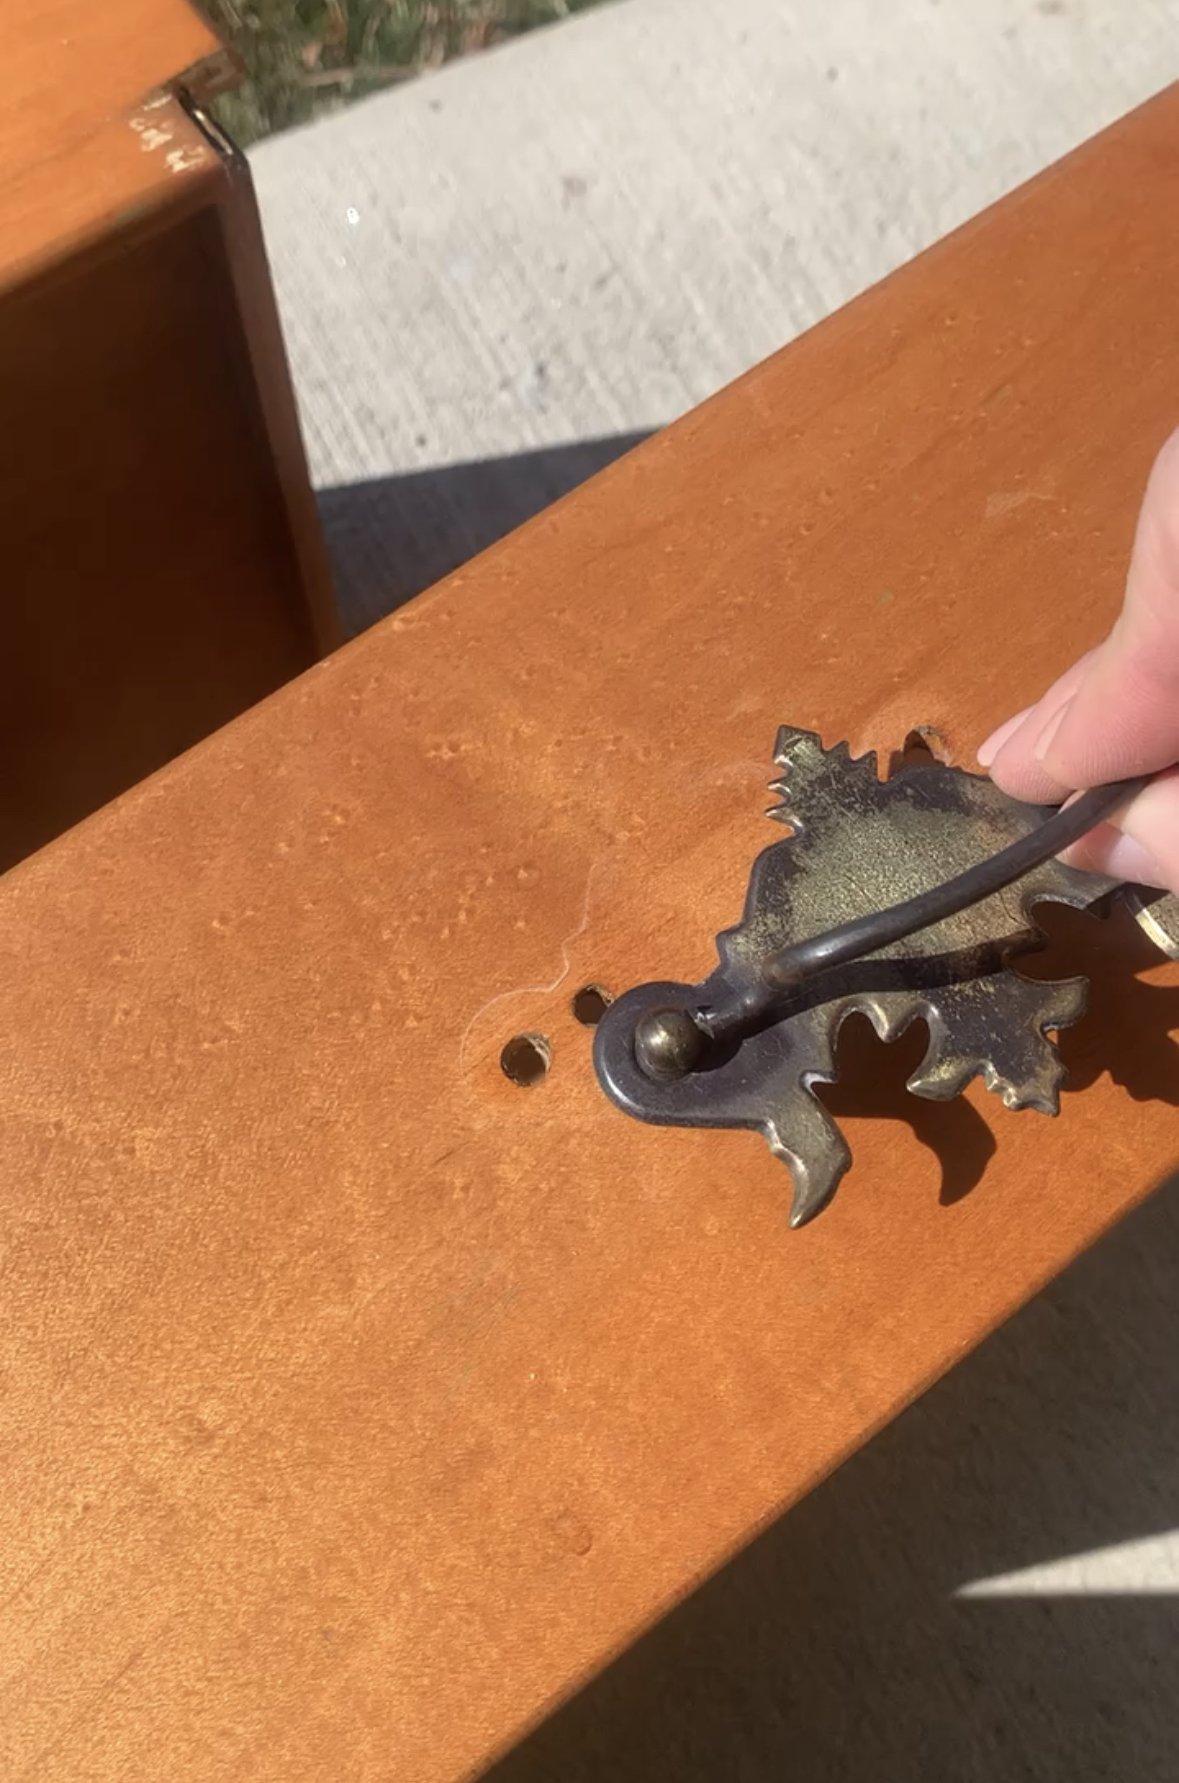
I removed the drawers and cabinet door. (One of the best ways to keep track of hinges and screws is to keep them in labeled plastic solo cups). The drawer fronts had multiple holes that needed filing from older pulls. It’s a quick and easy fix - all you need to use it wood filler. It goes on pink, dries a tan color, and then can be sanded and painted or stained.
Since I was using chalk paint for the body, drawer fronts, and cabinet door, I only needed to do a “scuff sand”. This knocks the original finish off but doesn’t get the wood all the way down to the raw wood. That’s all you need when using chalk paint! For the top, I was staining, so I spent more time sanding the wood down so it would absorb the new stain.
Step Two:


Using a table saw, I cut 12” wide white oak boards with mitered edging to form the new base of the dresser. To attach to the original piece, I first used a layer of wood glue (let it dry for 15 minutes) and then secured it with a Brad nailer.
Table saw | My favorite wood glue | Brad nailer
Step Three:
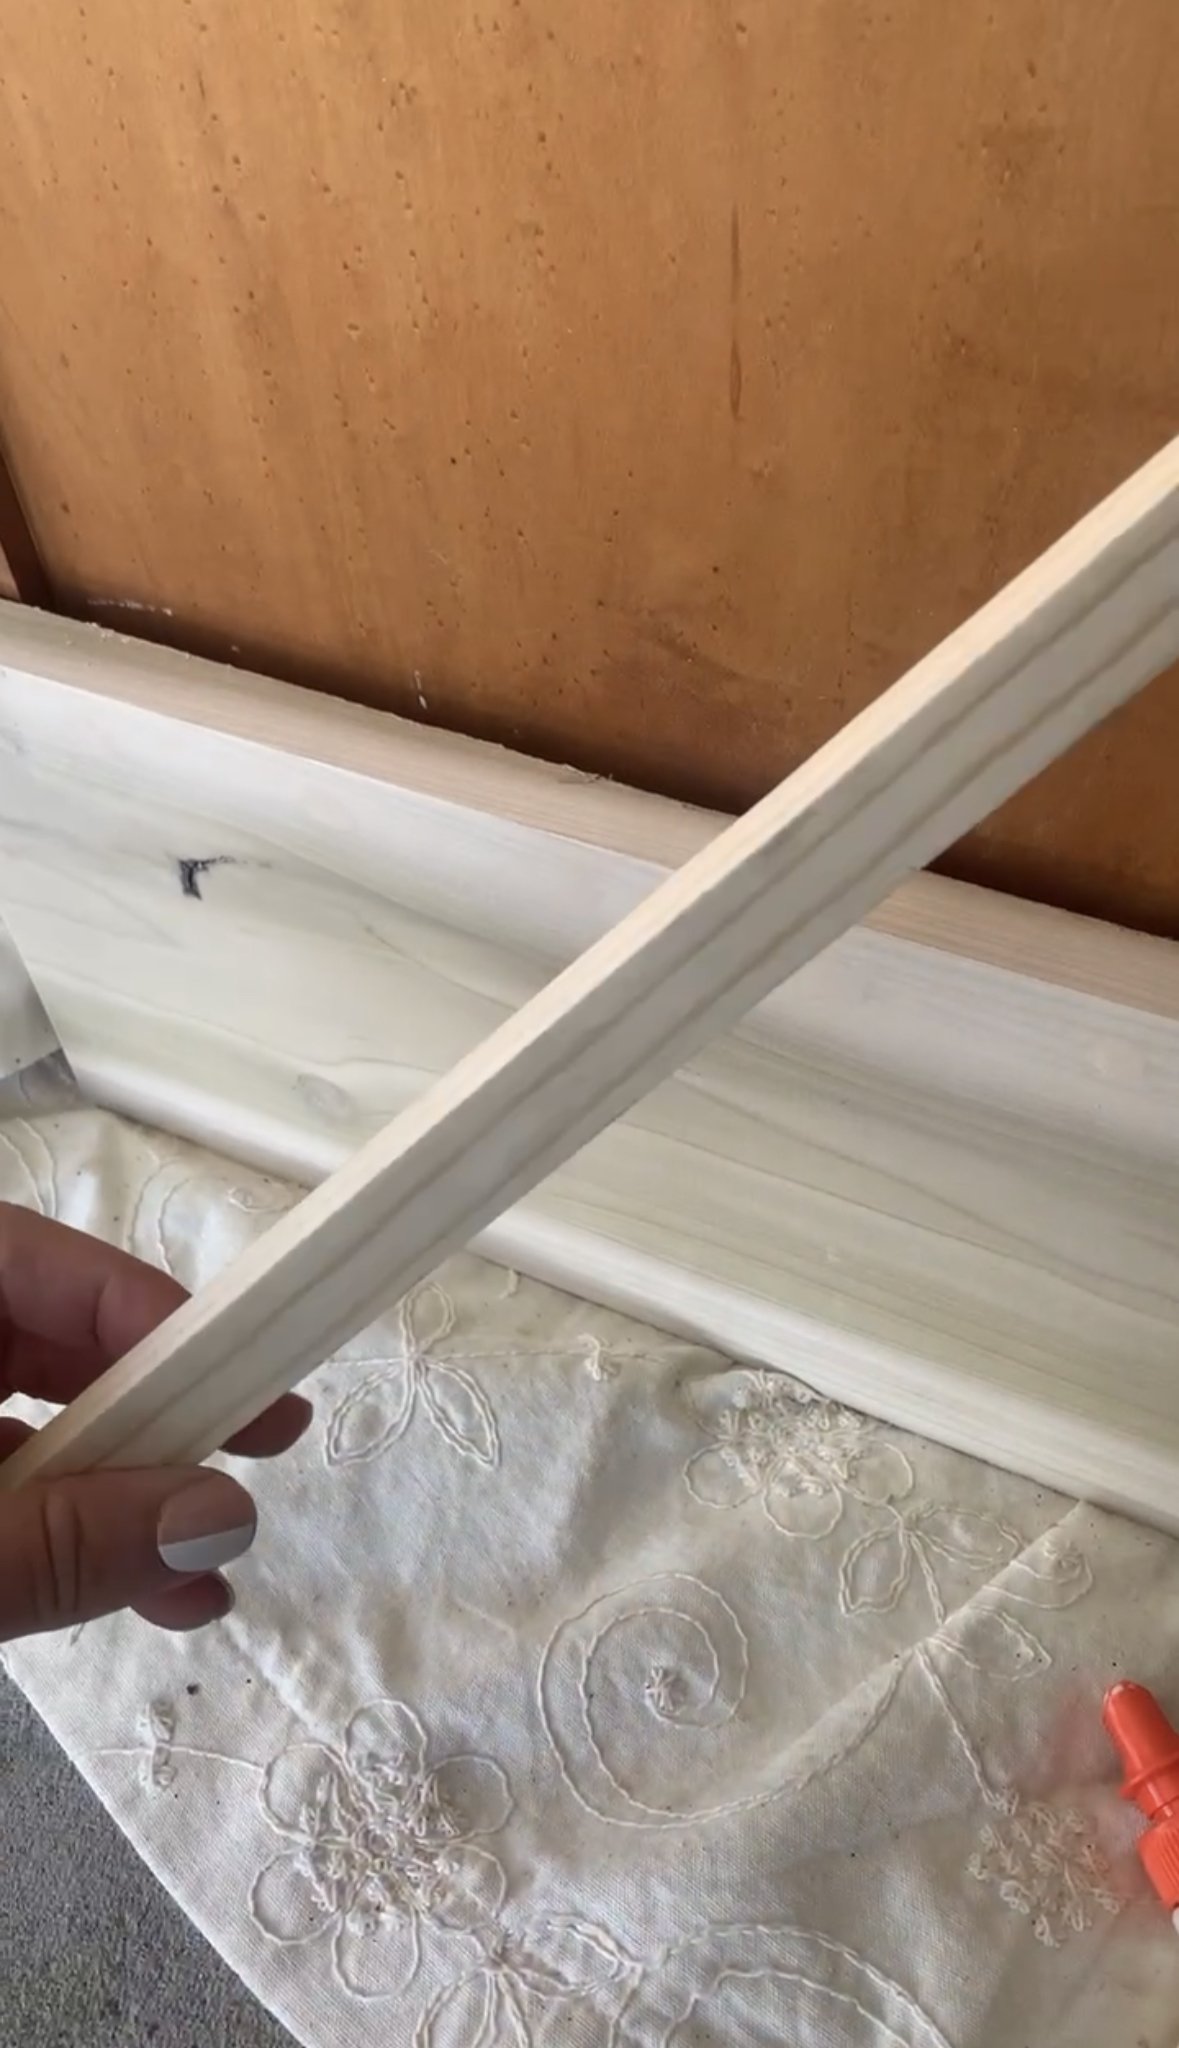


There was a gap between the new base and the inlaid sides of the dresser. To fix this, I added a simple piece of wood trim. And then to make it look less random, I added another matching piece to the top. Paintable caulk is a DIY-ers best friend - using a caulk gun, I ran a thin line between the new wood and the original wood. Remember to wipe off excess caulk with a damp paper towel!
Tortoise-shell safety glasses | Interior paintable caulk | caulk gun
Step Four:


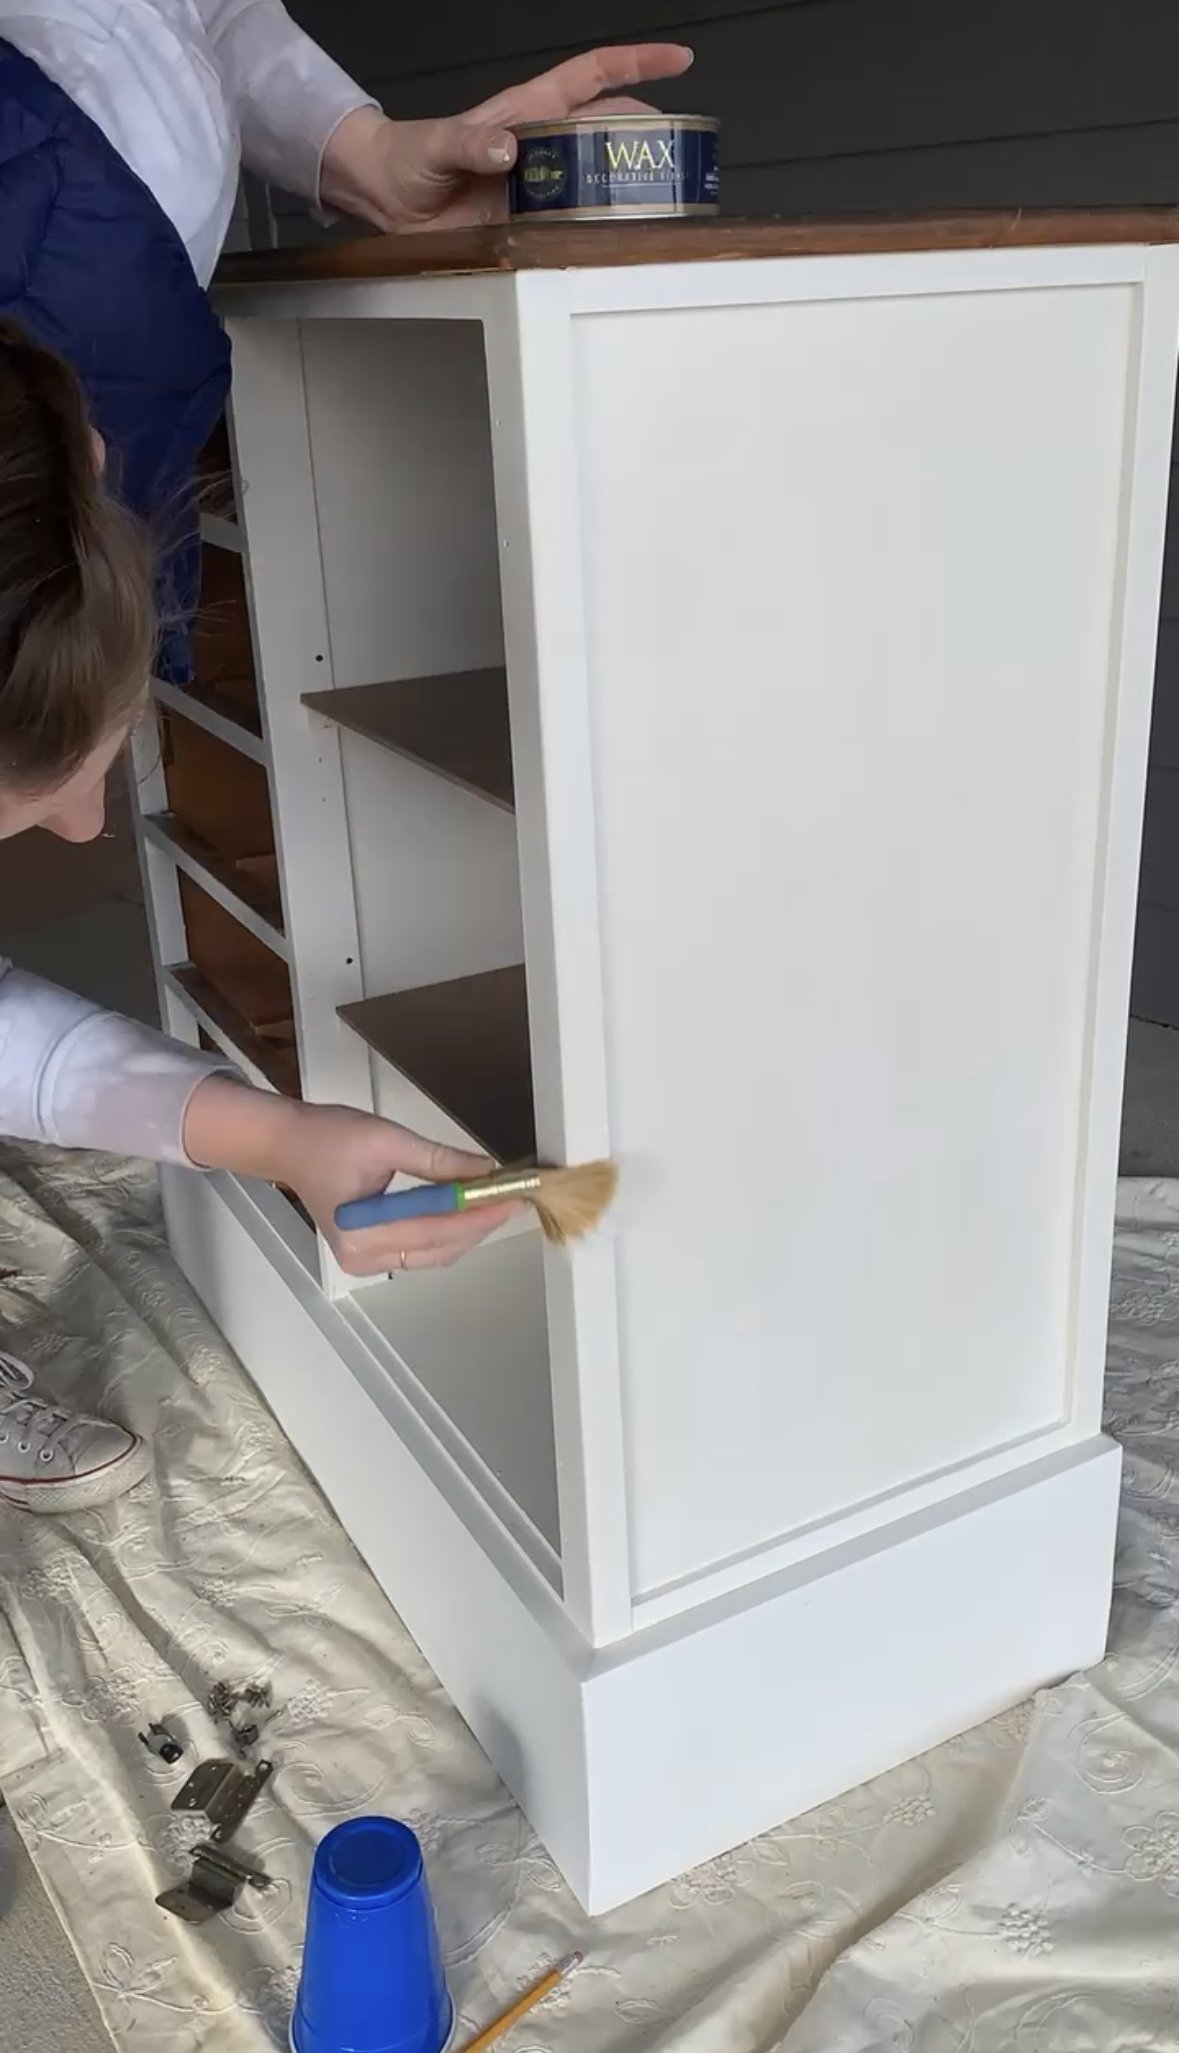
Priming, painting, staining, and sealing. You don’t have to prime with chalk paint, but since the original wood was pretty orange, I didn’t want that color to bleed through. One coat of primer on the entire base (original and white oak) was perfect. Once that was dry, I used my favorite Behr chalk paint to cover every part of the dresser, except for the top. For that, I used Minwax Walnut.
I love used an angle sash brush any time I’m painting. And for stain, I always use these black gloves + a spare rag.
When using chalk paint, it’s recommended that you add a layer of finishing wax after the paint is dry. There are a few versions of the wax, depending on the style of furniture you want. I like the clear wax - it goes on easily and dries quickly.
Angle sash brush | Behr chalk paint | Black staining gloves | Staining rags | Minwax dark walnut | Behr clear wax
Step Five:
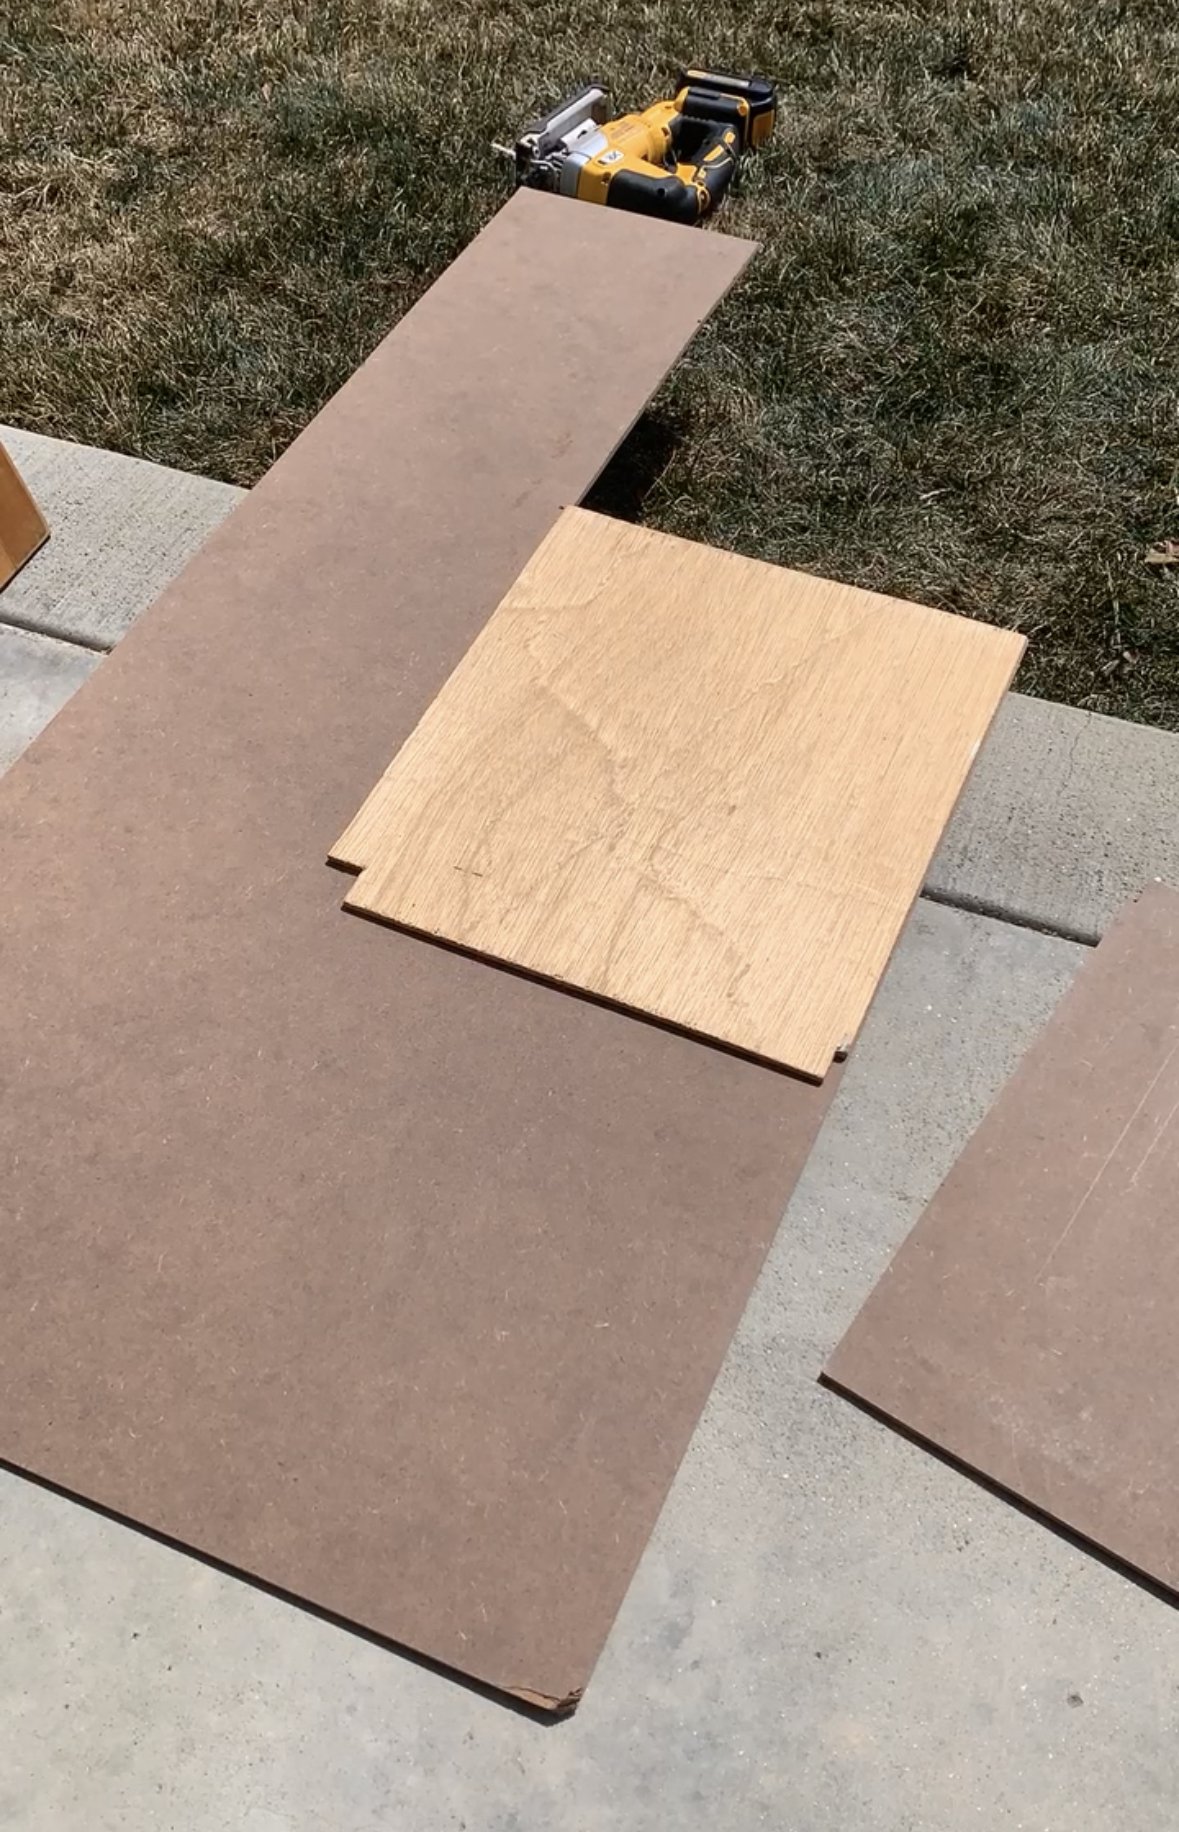
There was only one original shelf in the cabinet area. I wanted to add another one to maximize storage and use the space better. Using the original shelf as a template, I traced the shape out on a piece of particle board. Then, I cut it out using my jigsaw.
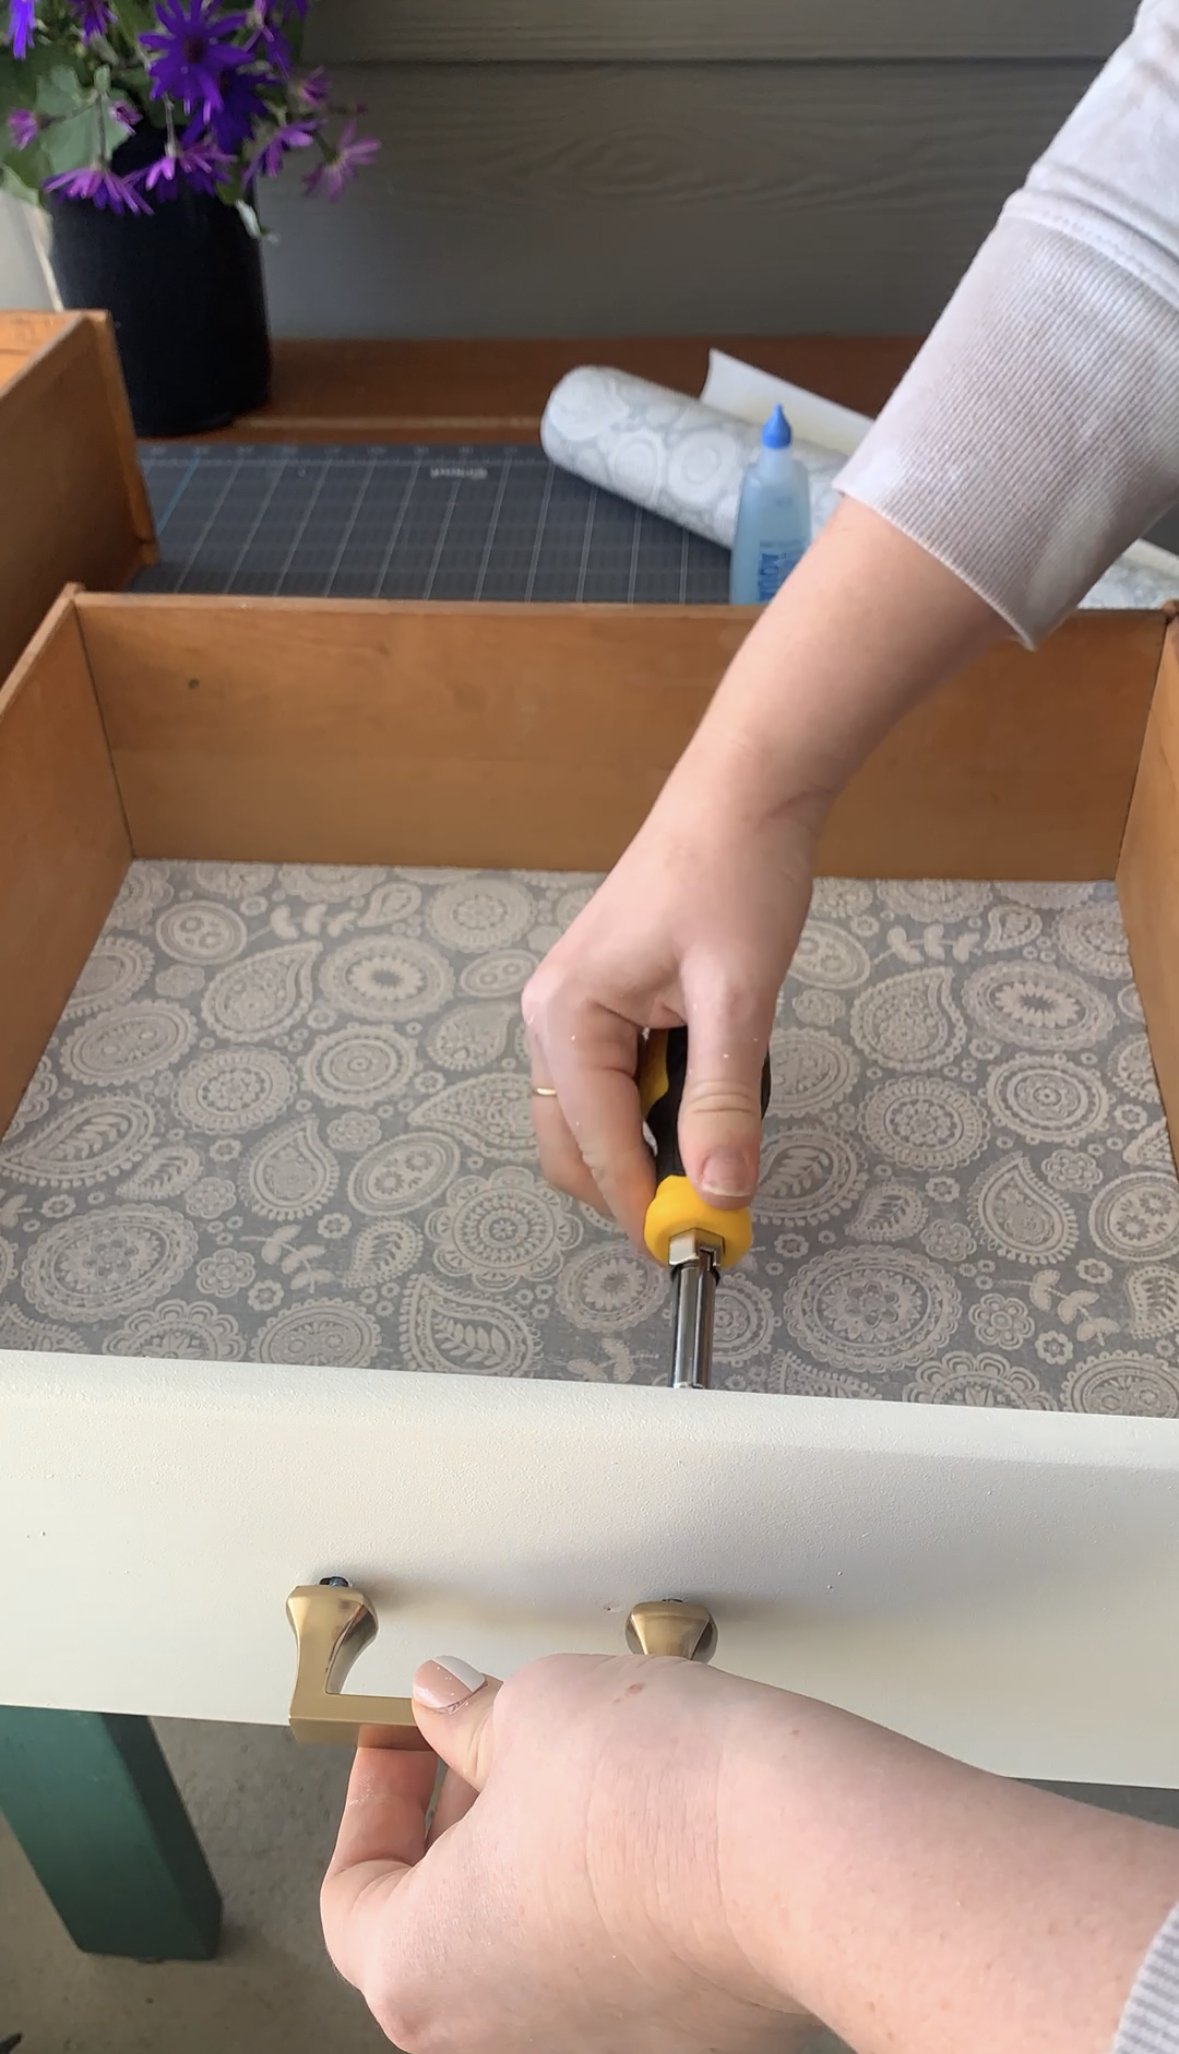
I found this pretty drawer liner for the four drawers, and securing it in place with a small dab of glue in each corner. The new gold handles were the finishing touch!
BEFORE

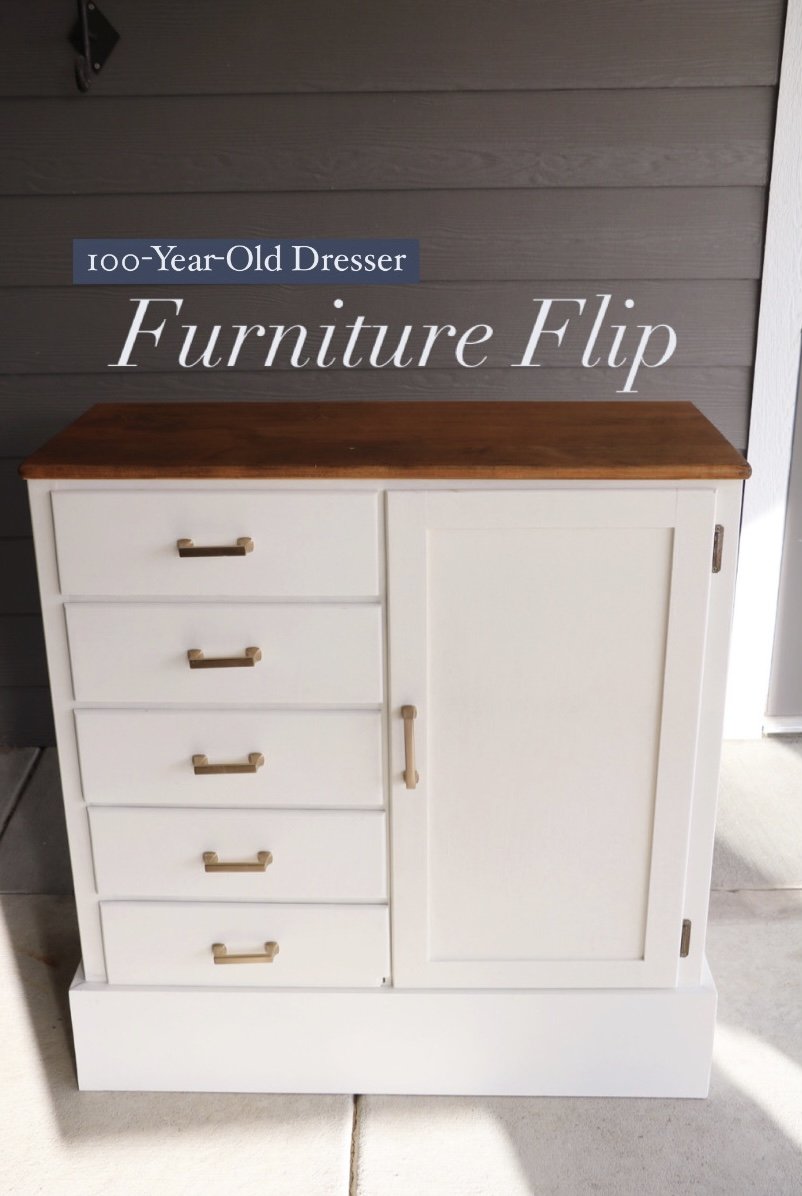
AFTER

I’m so happy with how it turned out! And, more importantly, it works perfectly for Indigo’s nursery. I love that we were able to keep a piece within the family and give it a new chapter. Would you ever refinish an old piece of furniture? Check out this thrifted dresser I worked on for a client for more inspiration - there are so many ways you can upcycle furniture!
And now some adorable pictures of Indigo and my sister enjoying the dresser/changing table. Isn’t she the cutest??


