Creating a Home Office on a Budget: Mega Desk, Part 1
It’s not news to anyone that 2020 made working from home the new norm. I feel very fortunate to have a job that allows me to do so (same goes for Berto’s job!) and it became very clear to both of us that we needed a better office setup. Let’s talk about how to create a home office on a budget that functions efficiently and looks aesthetically pleasing in our Los Angeles apartment.
Here’s what the space looked like before:

We shared the small desk in the corner, which was fine, but not sustainable when we both needed to get work done. I had the oldest laptop in existence, so typically I worked on Berto’s computer. Again, not really conducive for both of us. I also felt like the room looked cluttered. I knew we could do better.
Thus, the idea for MEGA DESK was born.
Picture this: a desk that stretches the entire length of the wall. Shelves above it to replace the ladder bookshelf. A place for both of us to designate as our own. We were so excited to make it happen. (Note: the piano doesn’t get played frequently enough to justify it taking up so much space. It’s currently living in the nearby closet, easy access, for when I need it).
For you visual learners, here’s a quick sketch of what I mean. It’s really quite a simple concept. The hardest part was figuring out the material for the top. It needed to cover 13 feet. That’s way bigger than a traditional desk top, so we decided to go with two butcher-block countertops from IKEA. The legs are also from IKEA, and apparently they are a HOT commodity right now. Even with multiple IKEA locations in Los Angeles, there was only ONE that carried black desk legs, and by the time we got there, they were totally sold out! So we ended up getting white and planned to spray paint them black.
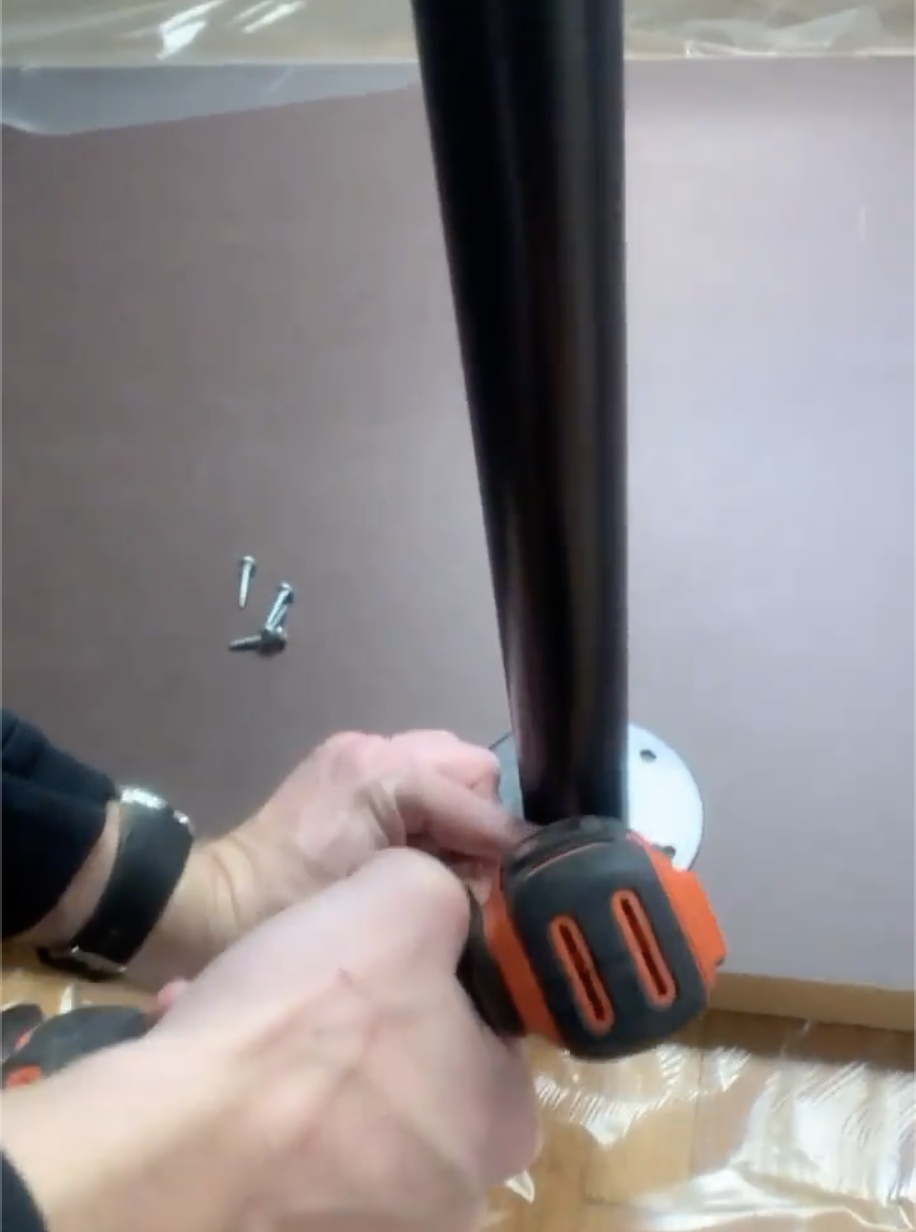
Like so:
I used Rustoleum Universal Satin Black spray paint. Works on most surfaces, including these metal legs and the filing cabinet below. My biggest advice while spray painting is to spray from far away and plan on doing more than one coat. This helps avoid drips and give complete, even coverage.
I already owned this white filing cabinet, so no need to spend more money buying a black one when I could just paint it!
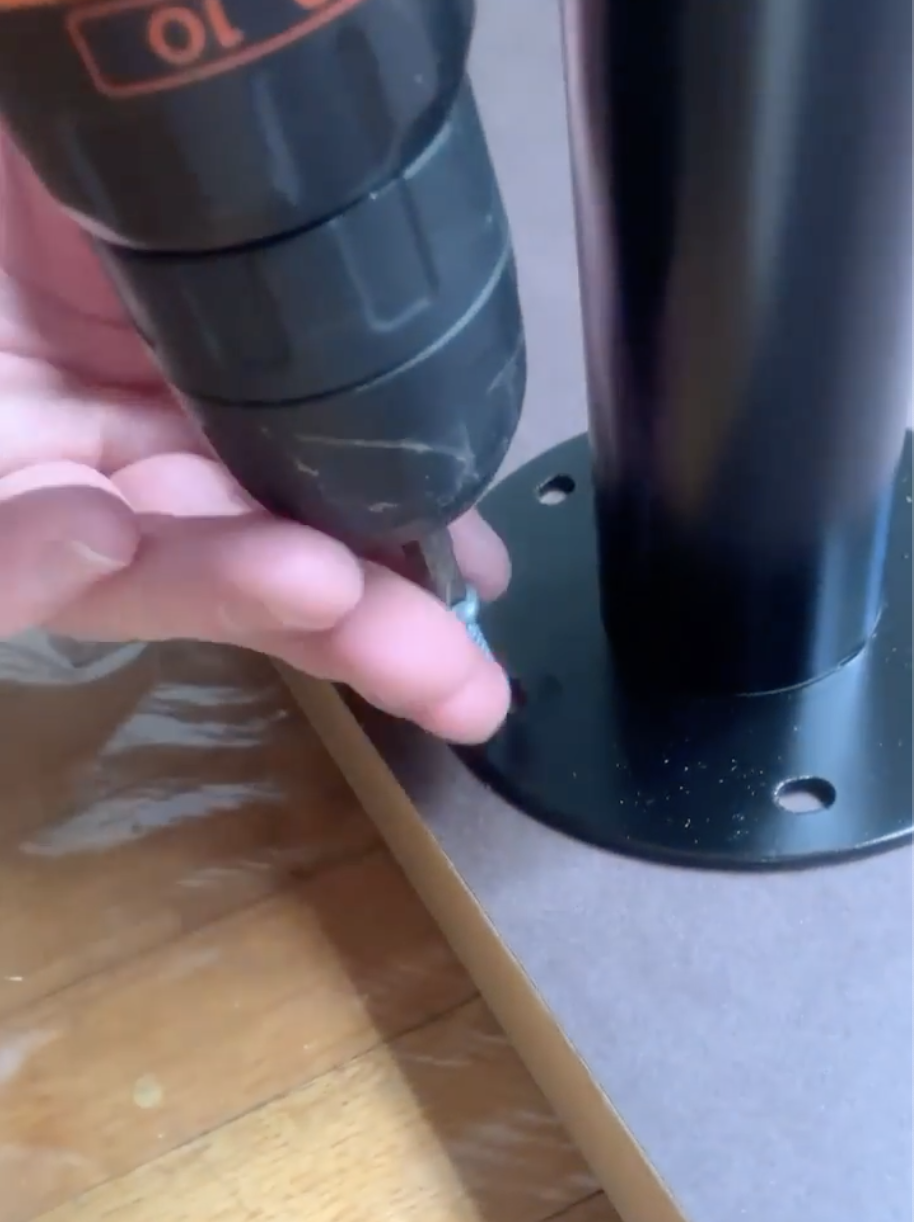
While everything was drying, we worked on putting the desk together, adding cord covers for all cables, and touching up paint. The windows were in dire need of a face lift (honestly they should be replaced, but alas - dat renter life) so I used my trusty Pure White by Sherwin Williams to spot treat it. The legs screw directly into the bottom of the butcher-block, making for a fast project!
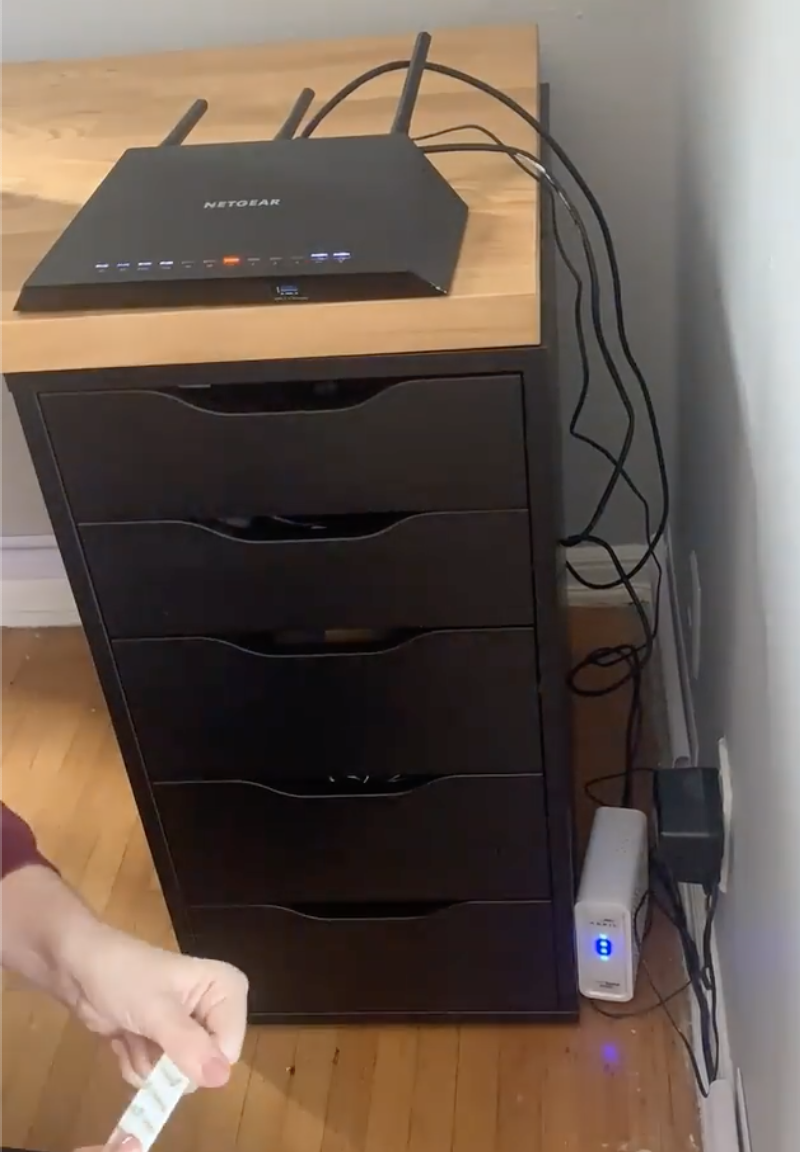
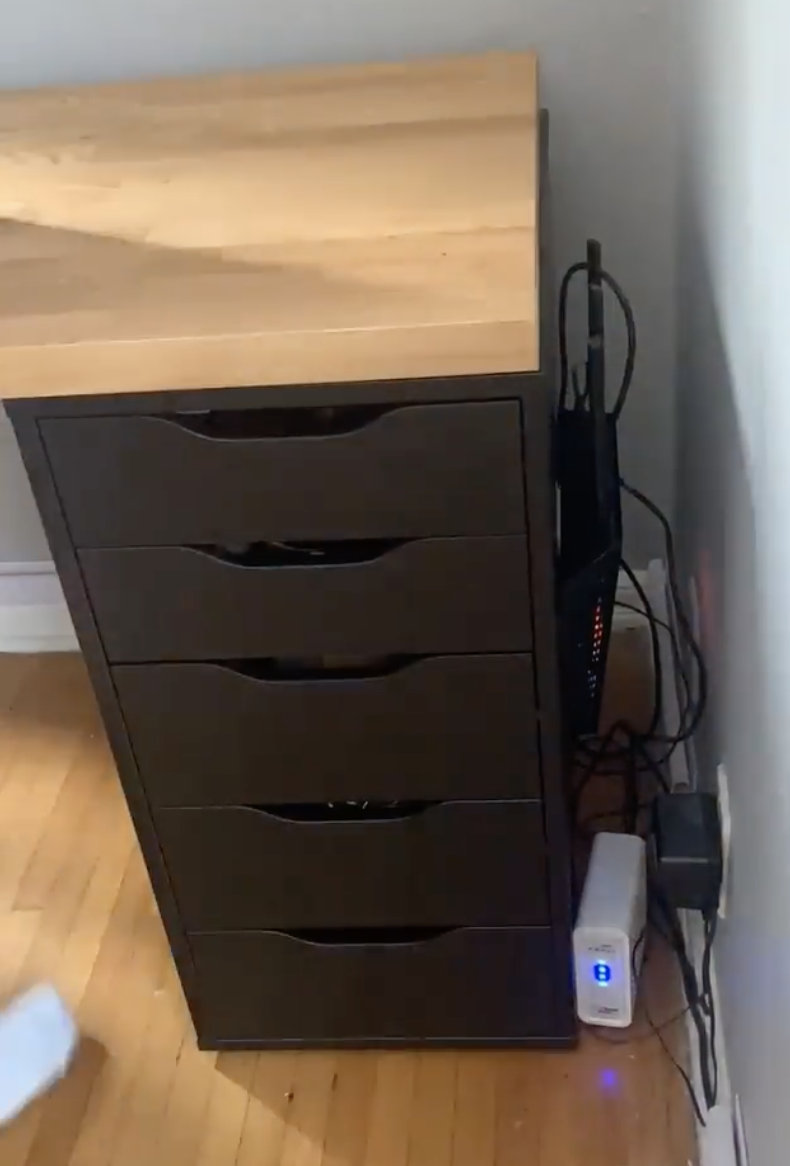
One last thing to finish up Phase One was to hide the Internet router. I used Command Strips and put it on the side of Berto’s filing cabinet - happy to report that a few weeks later and it’s held up perfectly. I love finding ways to hide things like cords and routers. The bulky stuff that’s not too pretty to look at, but certainly is essential in daily living.
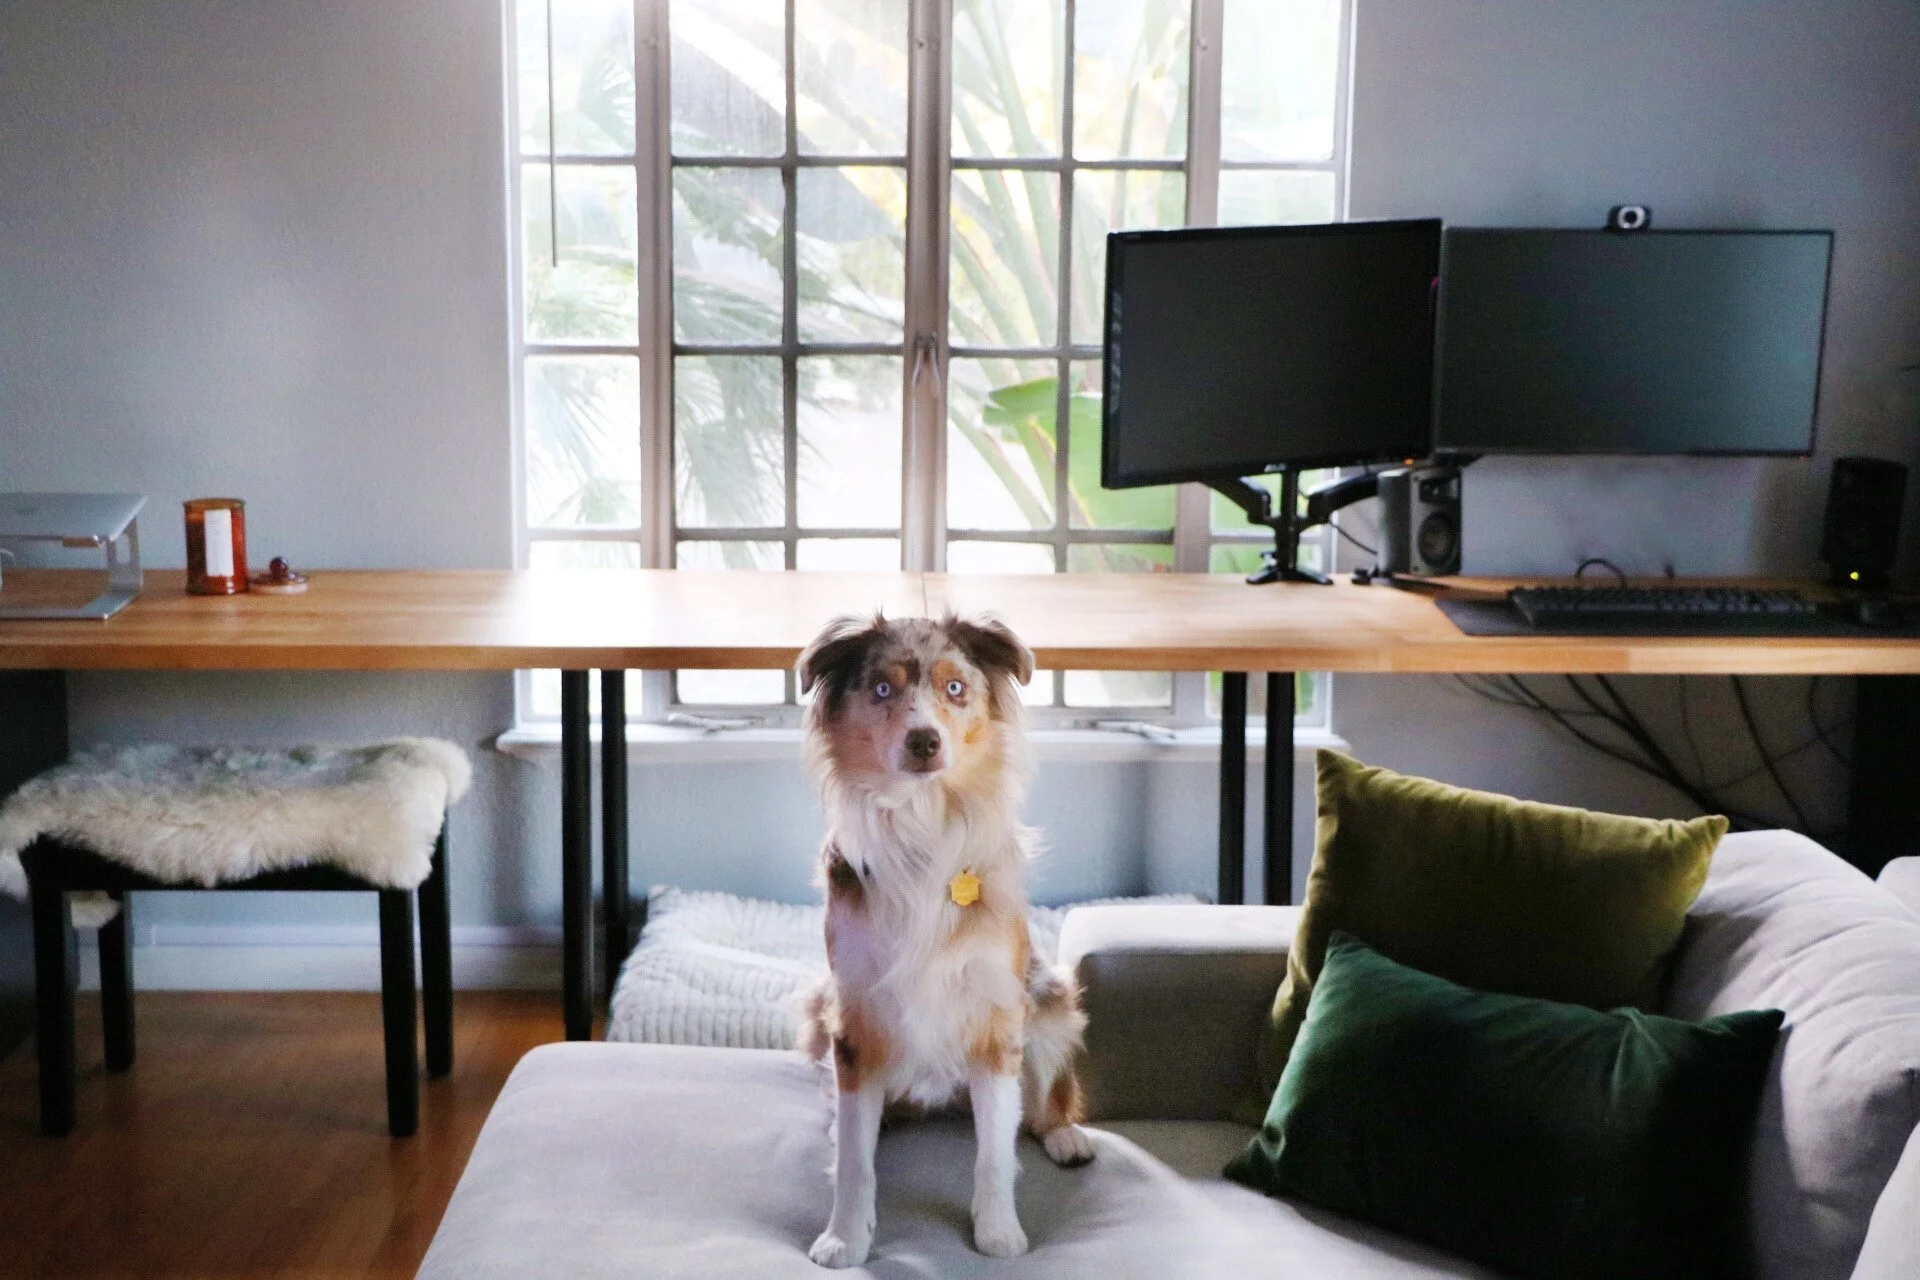
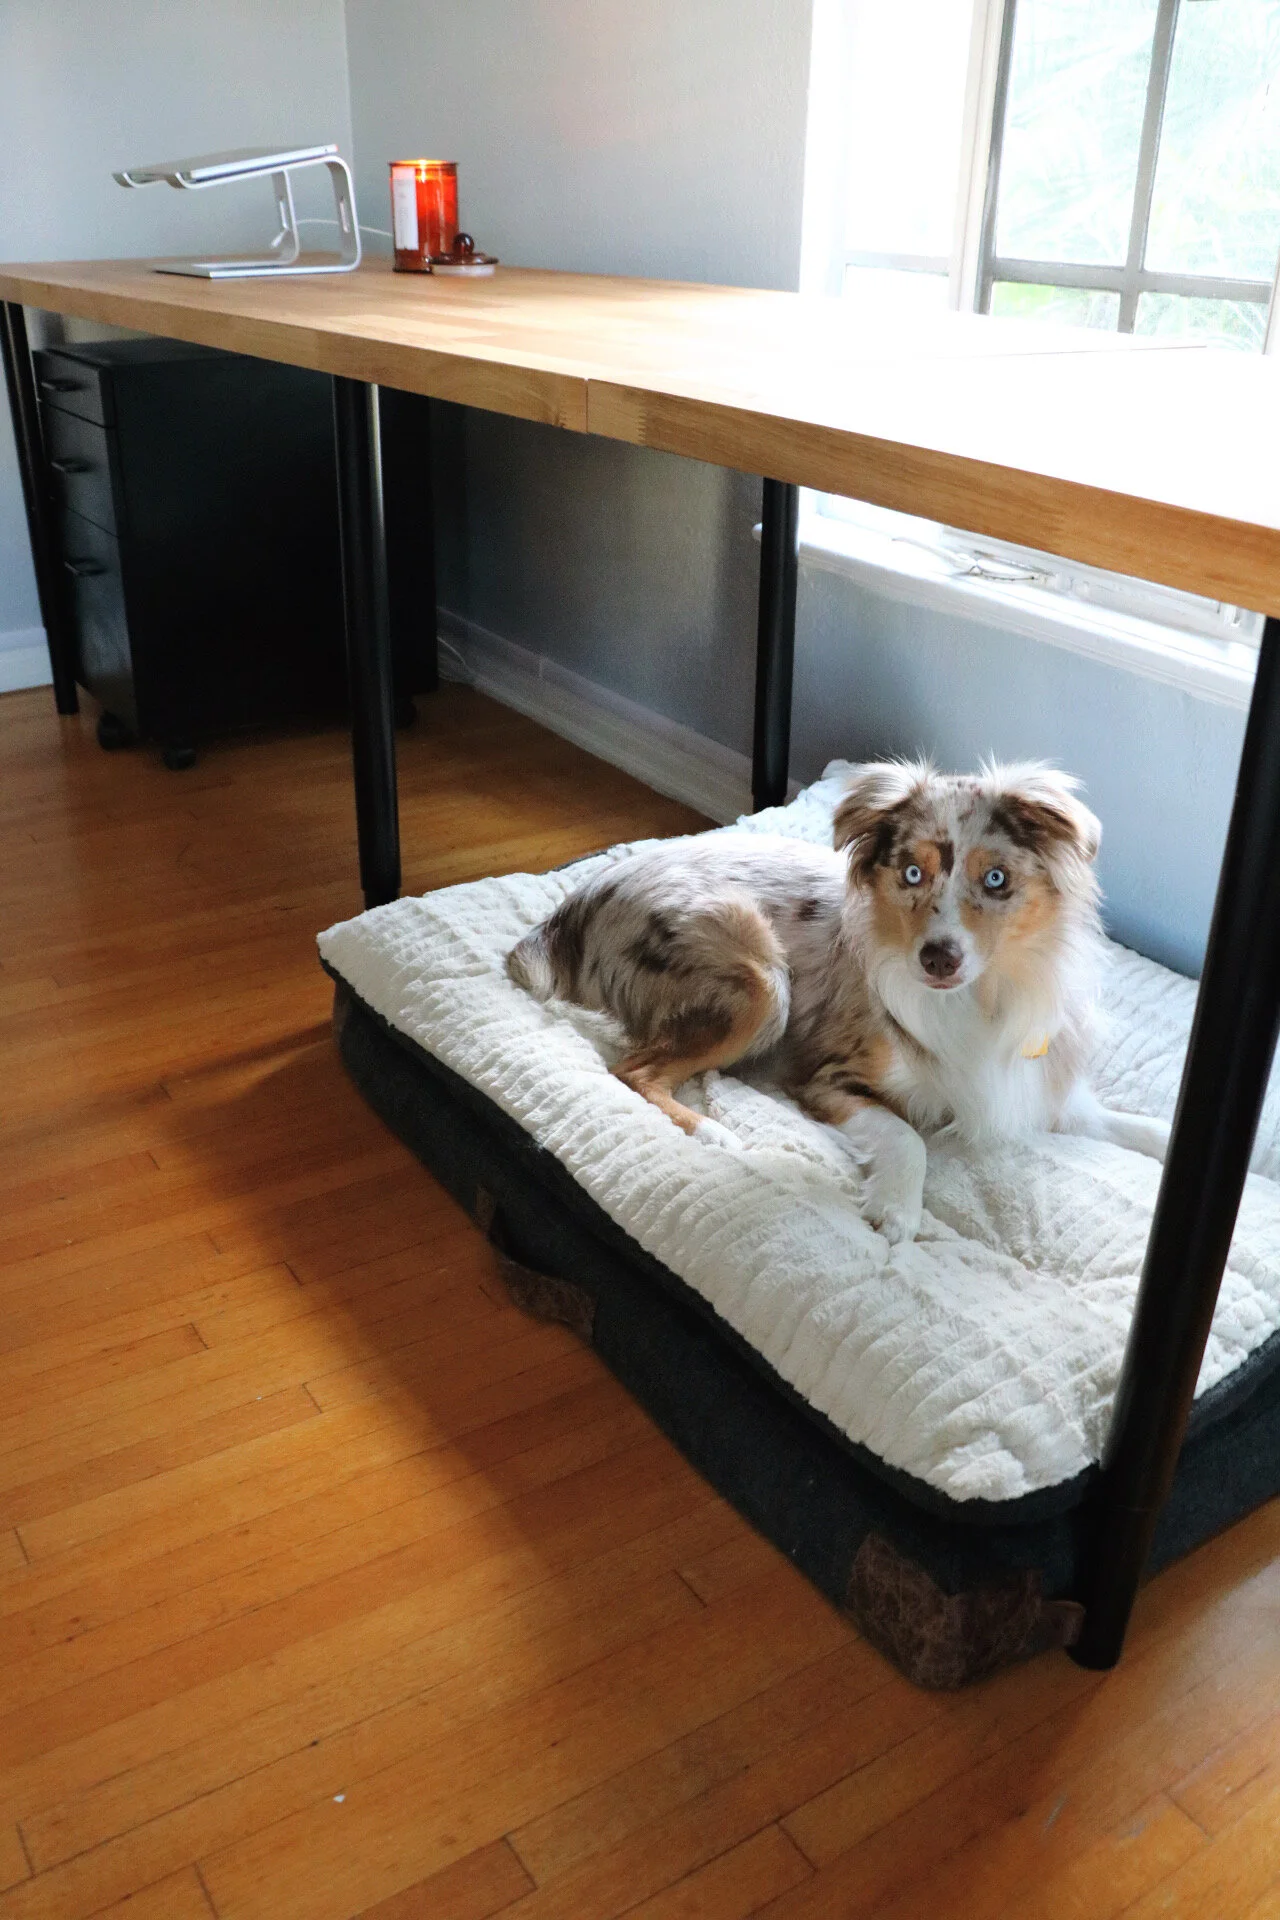
Phew, after a long days work, Phase One = complete. You’ll notice we spaced out the middle legs and that was to accommodate Walker’s bed, which he loves to sleep on while we are working. It’s adorable.
Another big change was that we got a new couch!!! That blue velvet one was beautiful but dang, she was UNCOMFORTABLE. Like truly the most uncomfortable sofa you’ve ever sit on. And in addition to working from home, Lord knows we’re all watching a lot of Netflix with our butts parked on the couch… and after a certain point we were fed up with blue velvet and in need of something we could really sink into. In comes Facebook Marketplace to the rescue! We found this sectional (originally from West Elm and only a year old) for less than $400. I creeped the original price tag and it was over 3K. Needless to say, we scored BIG TIME.
So enjoy these Phase One photos (how CUTE is Walker??) and check out how Phase Two went next!

Makes “going to work” on Monday mornings not so bad.
Check out Mega Desk, Part 2 to see our desk setup completed!