Mega Desk - Phase 2
Now that the bones of the desk are in place, we can move onto the decorative part (my favorite)! If you haven’t yet, check out the Mega Desk - Phase 1 which should catch you up to speed on our home office process. So far, we have the butcher-block countertops, metal legs, and filling cabinets on either side. Totally functional, but I knew I could make it even better.
Enter in Mega Desk - Phase 2.
On the to-do list is DIY shelving, sconces, a new desk chair for me, and a little plant action for decor.
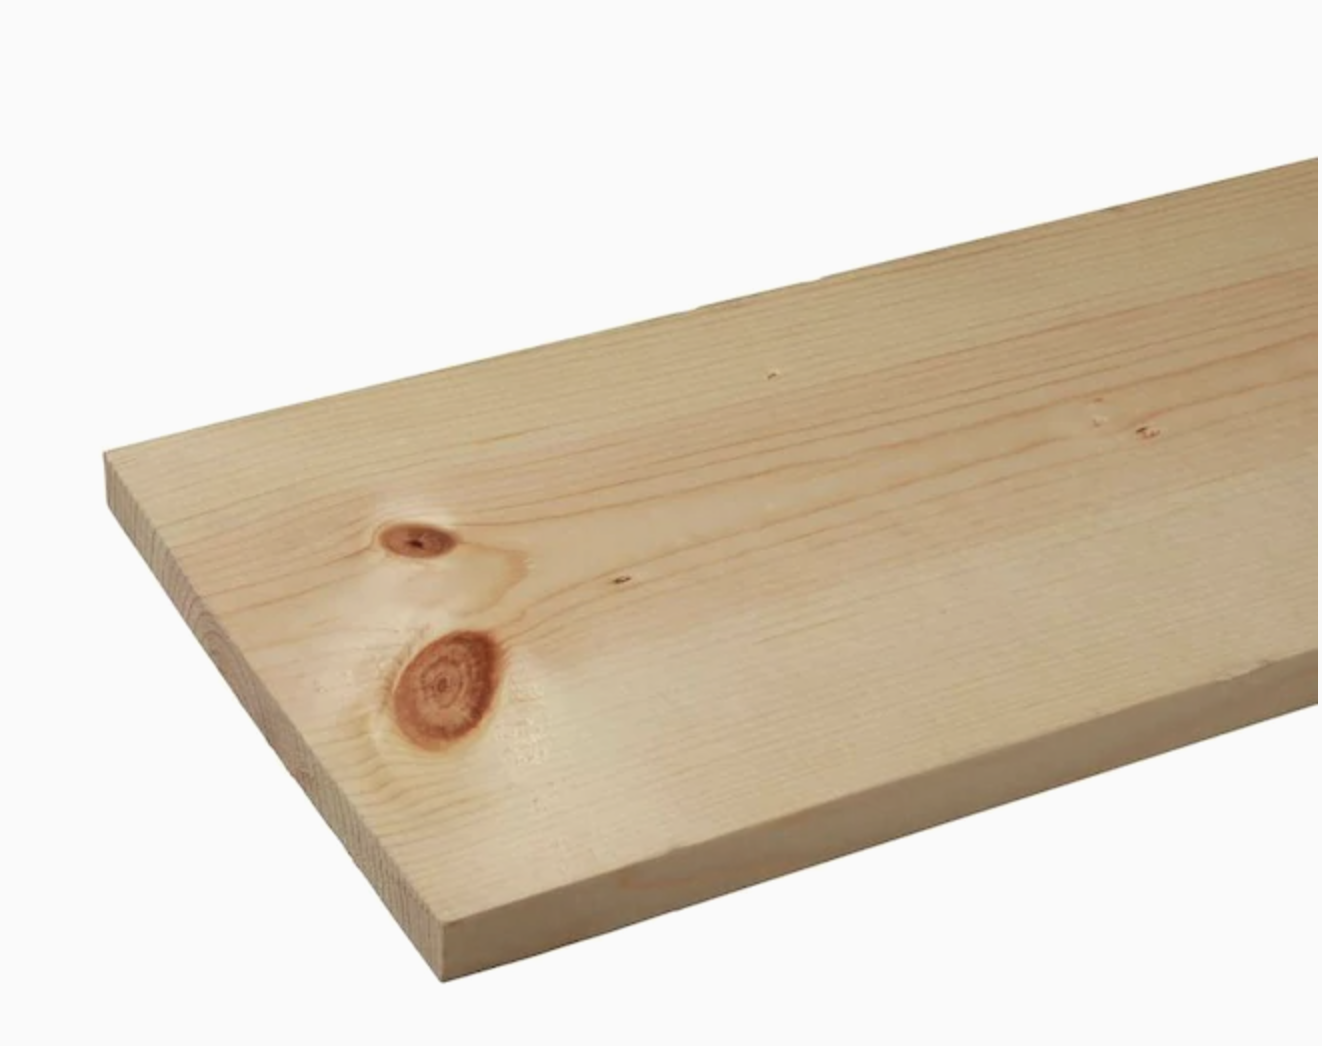
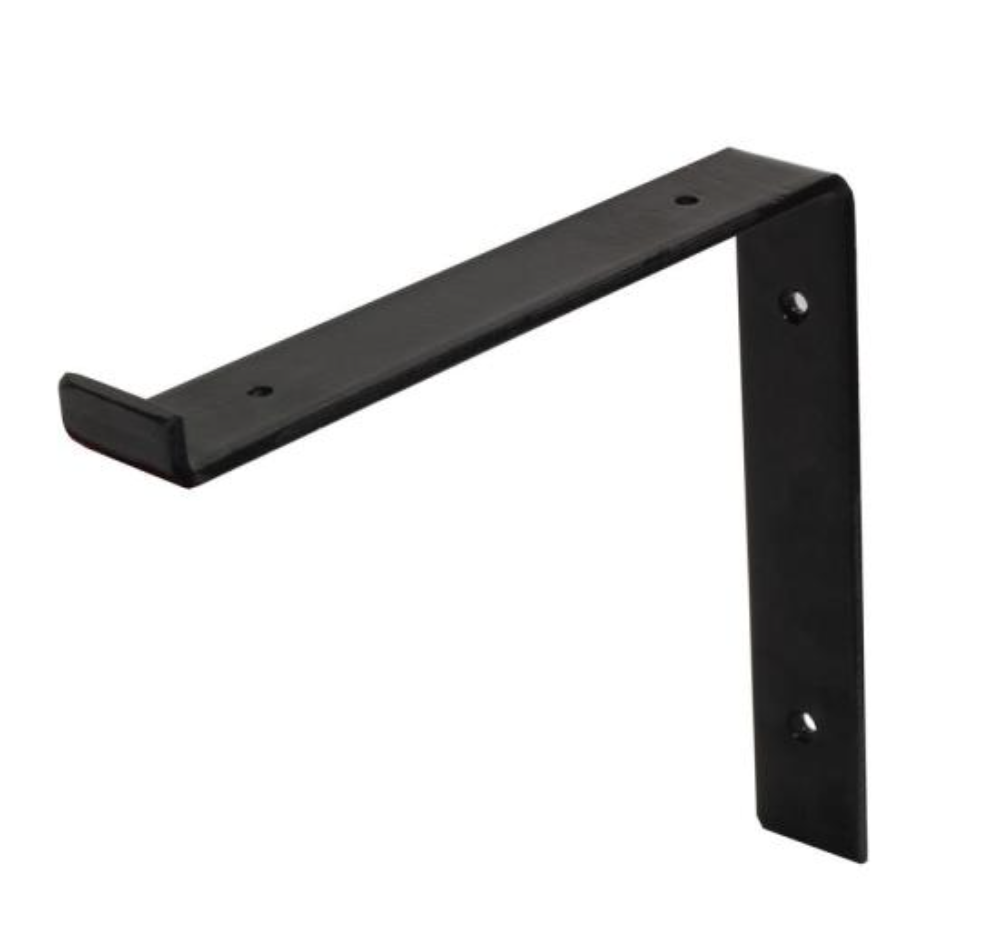
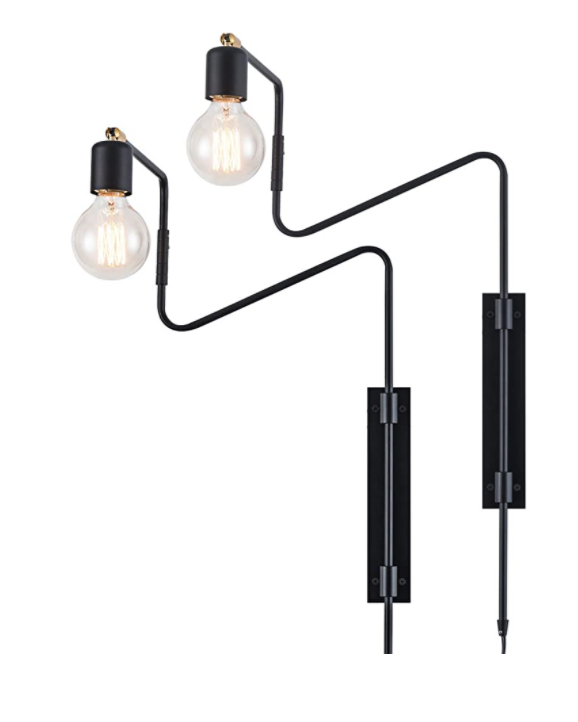
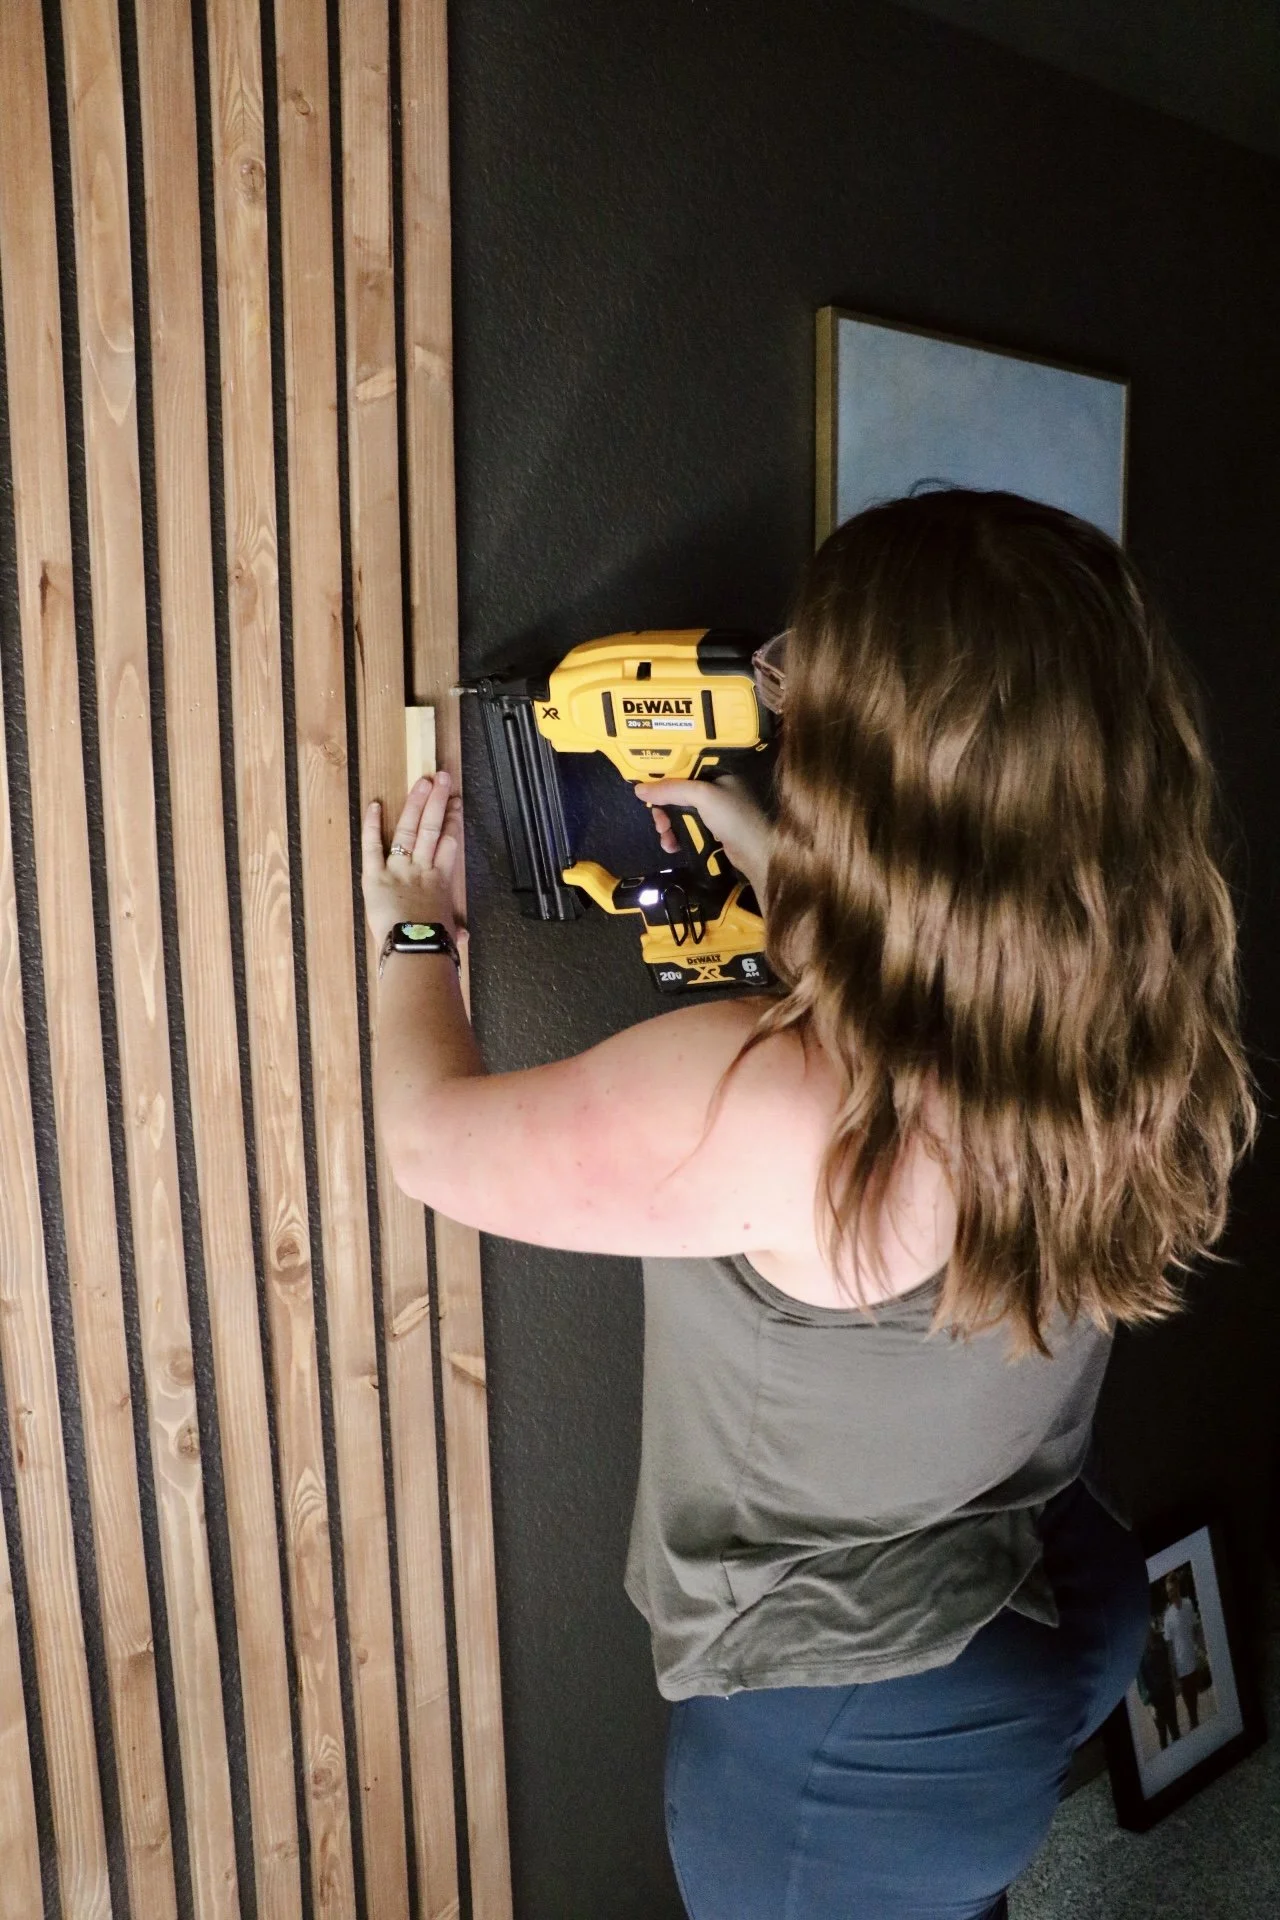
The materials for the shelves were simple. We got whitewood common boards from The Home Depot and cut them to size, which ended up being 1-in x 10-in x 8-ft. The 10-in. black metal brackets were also from The Home Depot. And I loved that the sconces picked up the black metal from the shelves and the desk itself, tying everything together.
First up (after the boards were cut and sanded) was finding a stain that matched the butcher-block desktop.

Early American was the clear winner. This was my first time using Behr Wood stain and I must say, I really liked the product. I thought it absorbed nicely and had great coverage. Once they were dry, it was time to hang. We found that it was easier to attach the brackets to the wood first, and then hang on the wall, but I suppose you could do it just as well the opposite way. (We mirrored this on Berto’s desk side as well, so there were four shelves total).


I had a total SCORE moment for my desk chair. It was another Facebook Marketplace find - I’m telling you, if you need anything for your home, look on there first because chances are you’ll find what you’re looking for at a fantastic price. As was the case for the desk chair. I saw it on the West Elm website, loved it, and then found someone who was selling it the next day. Fate? I think yes.

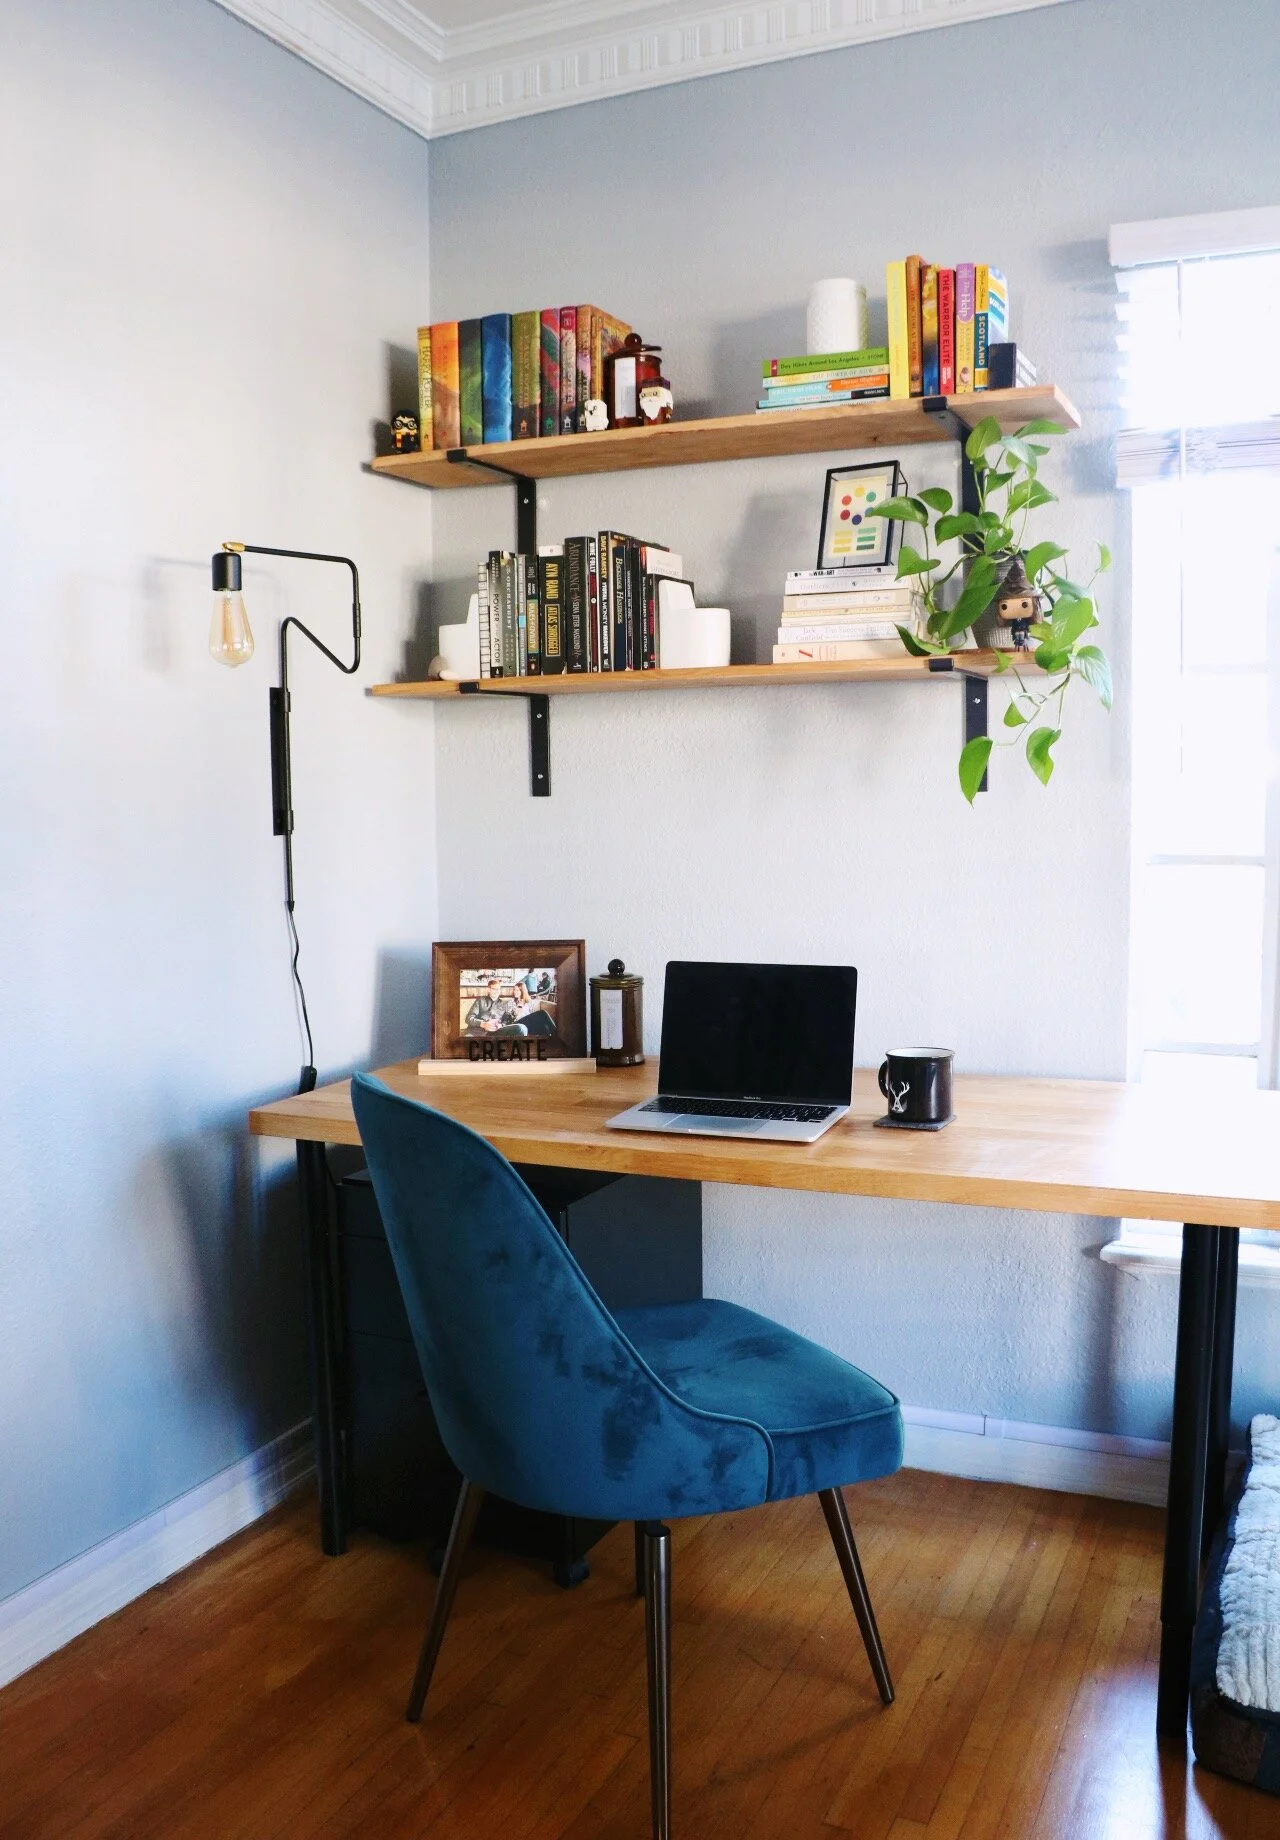
Pretty sweet set-up, right? I loved how everything was coming together, but I had a few more additions. I wouldn’t say I’m a plant mama, or an expert by any means, but there’s no denying that adding greenery really brings any space to life. Notice those bookends, so lovingly pointed out to me to look like toilets? And the Found Pottery vase on the top shelf? Perfect plant holder candidates.

Grabbed a snake plant (impossible to kill) and a spider plant, both low-maintenance according to the Internet. I drilled a hole in the bottom of the bookends first to allow for drainage.

Plants in and we were officially done. I can’t tell you how nice it is to work at my new desk and have a designated space that is all mine. Berto was a sweetheart and brought me roses a few weeks later, which of course I had to display on Mega Desk.
In total, this cost less than $500 - that includes desk chair and the decor elements. When you do a comparable search for home desks of this size, you’ll go over that number easily. Plus, with this plan you can customize it to your needs. On Berto’s side, he has enough space for his duel monitors which is perfect for him for gaming and work. On my side, I like having a bit more room to spread projects out, in addition to my laptop - happy to report that I ended up purchasing a new one to celebrate getting a new job. No more sharing or old, slow computers for either of us!
What does your WFH setup look like? I hope this inspires you to make your workspace fit your needs, and to get creative when thinking about how to make it work. Let’s crush our work goals this year!