Elegant & Bold Dining Room
I love working with clients with a bold vision. And that was exactly what Justin described when he laid out his vision for the dining room in his new apartment. My heart holds a special place for Justin because he was my very first client when I started DIY Darling. I will forever be grateful for the trust he placed in me, back in 2018 - it gave me the confidence to continue DIY-ing and designing and I don’t think I’d be where I am today without him. It was truly an honor that he asked me to makeover his dining room, and I’m thrilled with the result.
Here’s what we started with, the bare bones of his new apartment:


Both the blessing and the curse of a blank white box is that the design potential is endless, which sometimes makes it hard to decide where to start. The best part about this apartment were the freshly redone wood floors, the new white subway tile in the kitchen, and the fact that it was in good condition. I had Justin make a Pinterest board to give me an idea of his vision. I saw lots of bold, moody color, with finishes and furniture leaning in a modern-traditional direction. From there, I created a moodboard (I like to use Photoshop, but Canva is a great free option if you’d like to make your own!)

I had a lot of DIY’s ahead of me for this room! First up was the wood slat wall that I thought would give texture and dimension to the pony wall. Not only was I excited for the pizazz this simple project would give to the room, I also got the purchase a new tool - a Ryobi Brad Nailer!! One of the best pieces of advice I give to new DIY-ers is to build up your tool kit by project (rather than running out and buying all the tools at once). That way, over time, your kit grows without breaking the bank.

The process is actually quite simple. Here’s a quick instruction breakdown:
Cut 1x2’s to size. Keep in mind that most walls are not perfectly straight - so not all of your 1x2’s will be exactly the same length. Sand all sides using an orbital sander.
Add a thin line of wood glue to the back of the 1x2 before sticking to the wall. Use a large level to ensure a straight line. Using your brad nailer, drive 2 nails at the top, middle, and bottom points of the 1x2. Drive the nails in at an angle so they “lock” together in the wall.
Use a spacer wood piece in between each slat. Repeat the wood glue + brad nailer process until the wall is covered.
Use wood filer to cover up the holes made by the nails. I did not do this step and while it’s not the end of the world, I think it would have looked that much better had I filled in all the holes. After the wood filler dries, sand it down to a smooth finish.
Paint the slat wall the color of your choosing - or leave it as a raw wood finish.

Gosh, I loved how this looked without paint! It was amazing how much texture and dimension it added to the space. Already the “plain white box” was disappearing. I think if we had been going for a more boho or California casual design aesthetic, I would have left the slat wall as is (no paint). It just goes to show that so many projects you see can be adapted to fit your vibe.
Continuing on - we had to switch out that boob light…

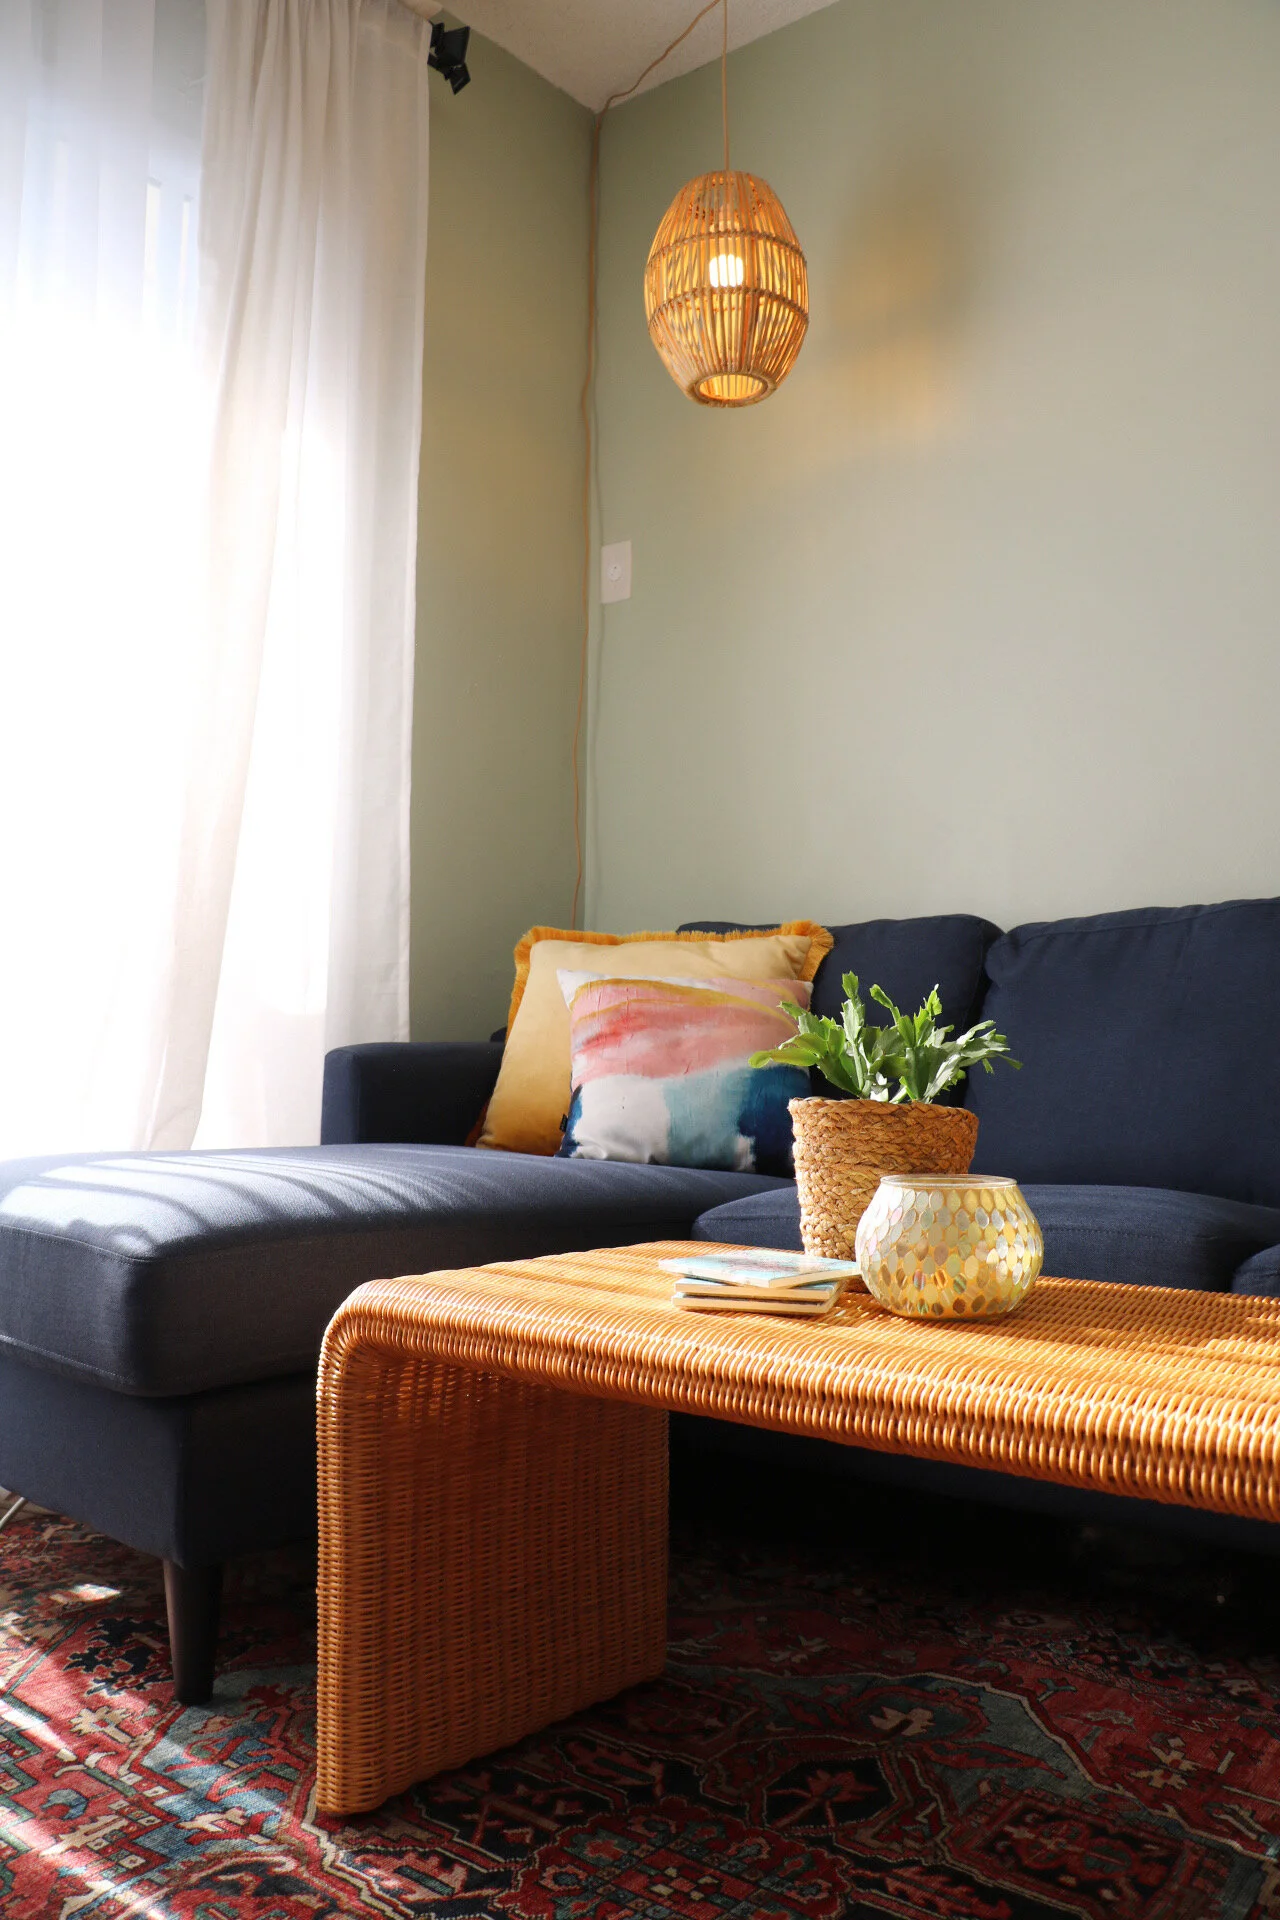
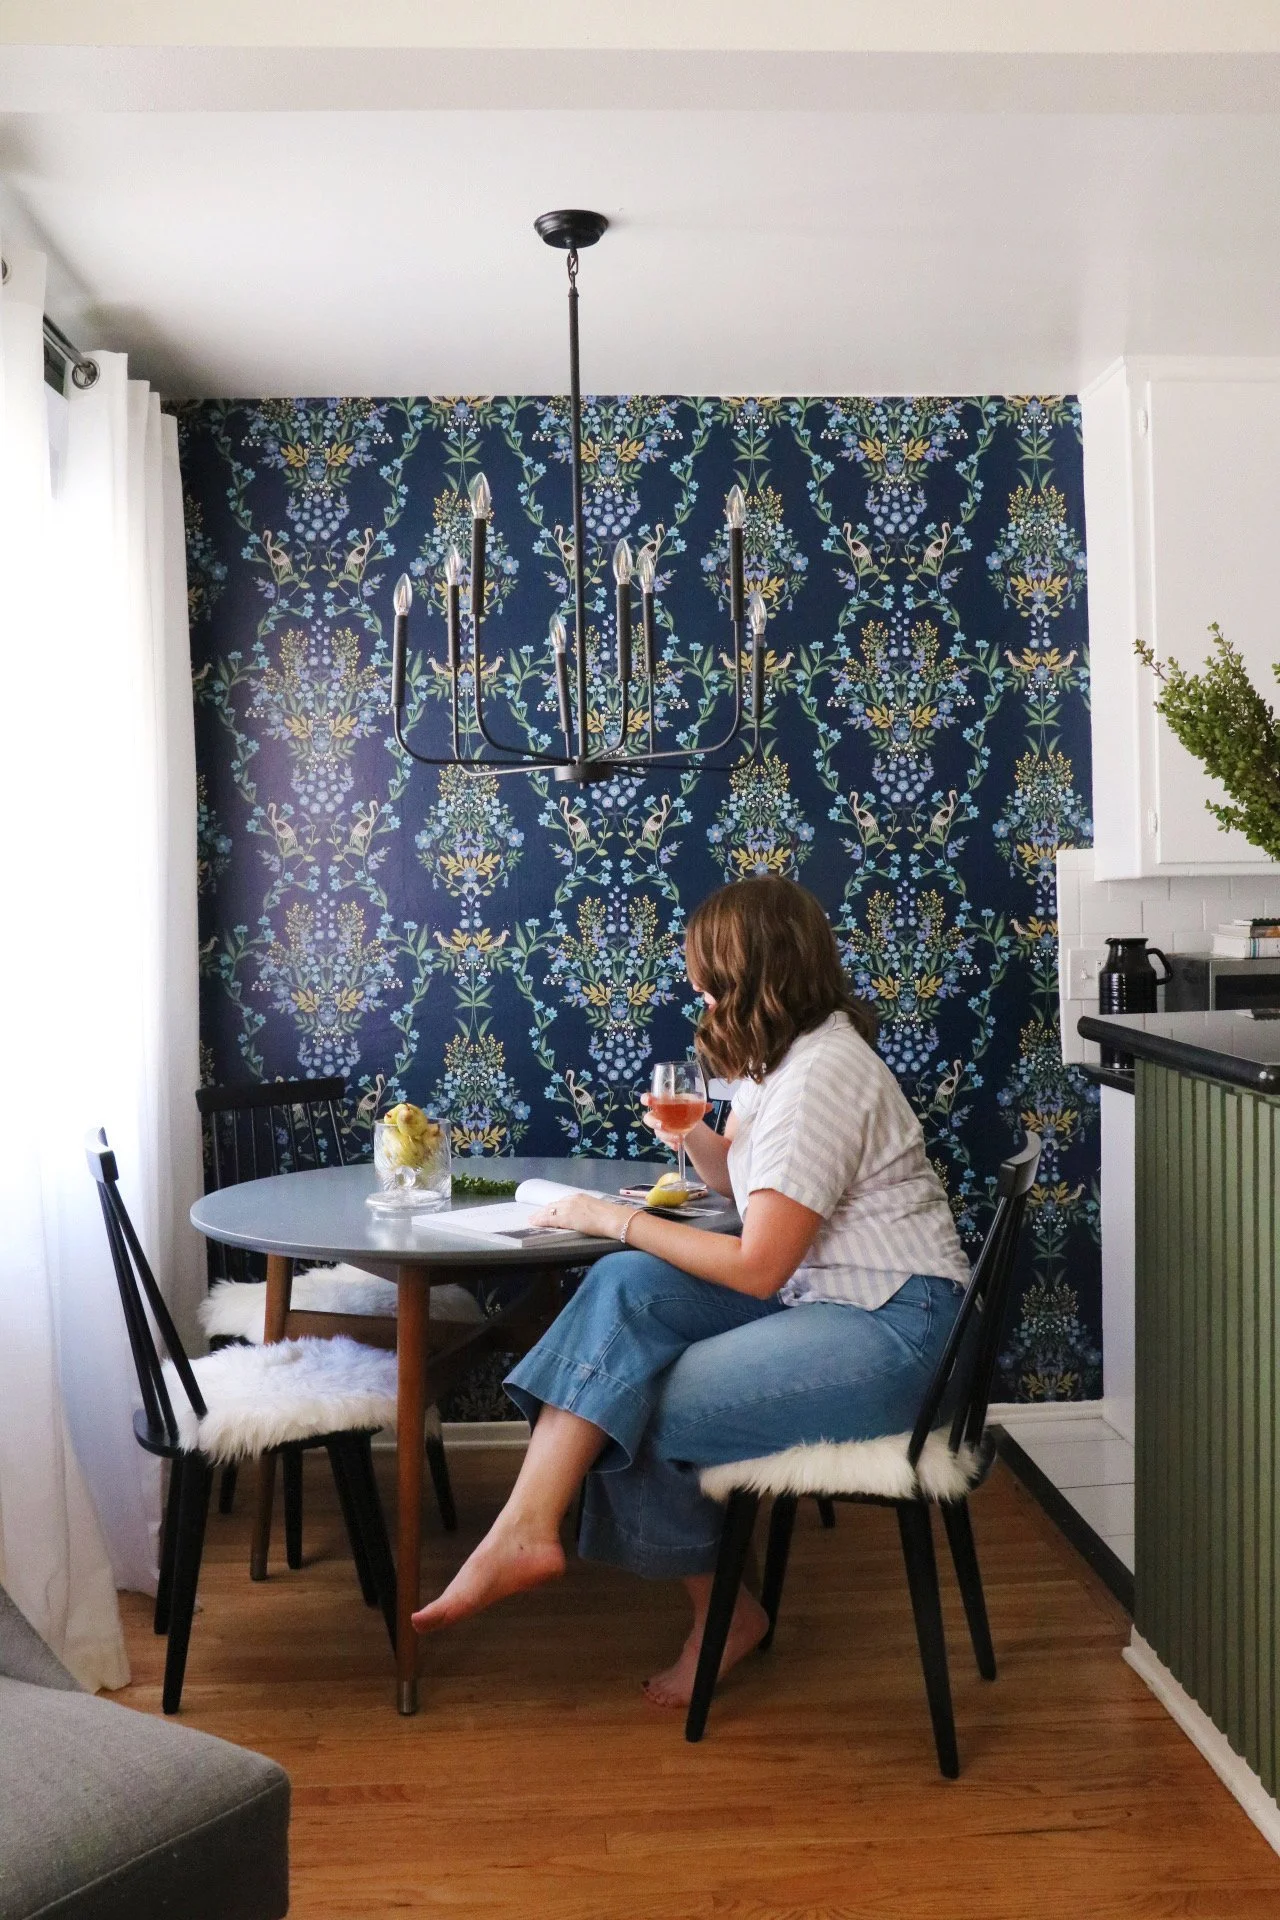
Much better. Other things added at this point: floor-to-ceiling double curtains and faux-sheepskin seat pads. Hanging curtains high and wide is one of my favorite tricks to making windows (and rooms) seem bigger and brighter. I like doing a double curtain rod with sheers closest to the window, and white panels on top. The sheers can stay closed during the day, allowing both privacy and light, and at night, the panels make it even more private and cozy. Those vertical blinds are my least favorite thing, and unfortunately they are often found in rentals. I get it - they are cheap and get the job done. But this double curtain trick looks so much better!
We used Justin’s existing table and chairs. The only problem was the chairs were originally yellow and blue… not quite in the color palette we were hoping for. An easy fix was to spray paint them black! Voila - practically new chairs!

The wallpaper/paint combo was the next decision to be made. I sourced this peel-and-stick wallpaper from Rifle Paper Co. and I have to sing it’s praises to the rooftops. The quality of the paper was beautiful, and the pattern and colors were so vibrant and lovely. All things considered, I thought it was priced fairly and would definitely order again.
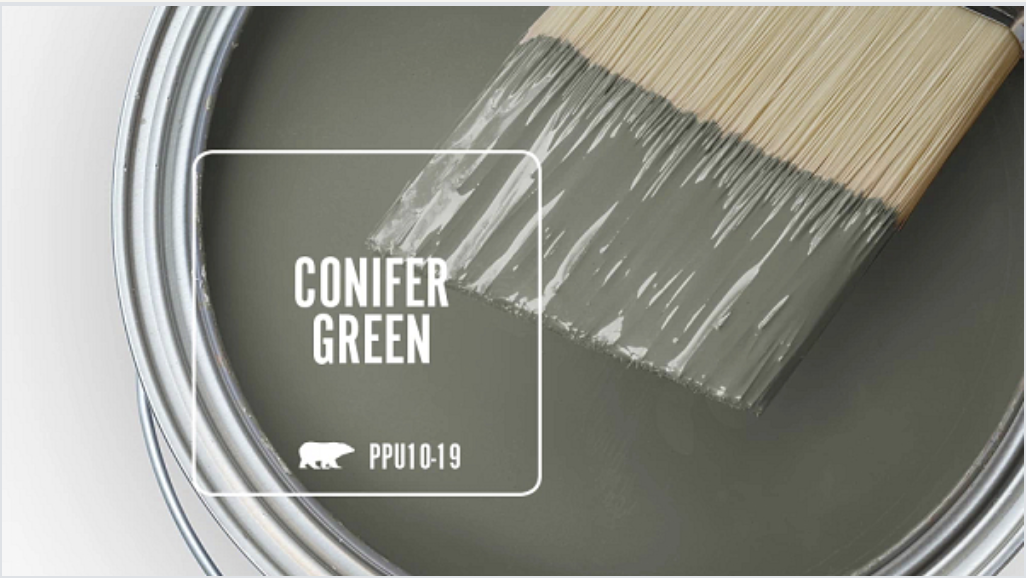
Since the wallpaper was going to be the star, I wanted to find a complementary paint color for the slat wall, and the window wall. As you can see above, there were SO many good options. Ultimately, I very happily settled on Conifer Green by Behr.
I continued the wallpaper into the kitchen slightly. (You can see above the kitchen sink there was a small expanse of white wall.) Even after I hung up an antique mirror, I love how the wallpaper peaks out around it, really making the design feel continuous throughout the apartment. Small details like that really customized the space.


Finlay, the homeowner’s dog and my fabulous design assistant during wallpaper install day.
The last DIY project was the antique frame wall, which gave me total modern-Harry Potter vibes. Here’s a trick to get that gold vintage look without the cost:
Find frames of any shape or size. Flea markets or thrift stores are great for this. Don’t worry about the color - we’re going to change that!
Take out the glass/backing and discard. For frames with intricate detailing, spray one coat of gold or black spray paint. Let it dry.
Use a clean rag and rub ‘n buff (antique gold finish) to cover the frame completely. The more you rub in the product, the more “natural” it looks. Let it dry for about 30 minutes.
Hang up frames on the wall, layering small frames within larger frames. This is a great alternative to a traditional gallery wall.

Don’t these look like a million bucks?? I think the total cost for this project (which included 9 frames and 1 tube of rub ‘n buff) was less than $40. And the good news is that the rub ‘n buff can be used on many materials - transforming regular pieces into antique treasures all through your home!


And now for all the beauty shots! I wanted to give the space an old-world, yet lived-in feel. I brought in gold accessories, fresh greenery, pears and glass bowls to really lean into the vibe. Here’s a tour of the space:
I’m so proud of how this dining room turned out. It just feels good to be in there, and my client has texted me several times, telling me he never wants to leave his home now! The ultimate compliment. I loved getting to try out new projects, new tools, and ultimately creating a home for a very dear friend of mine.